Hello guys it would be really great if you could help me with my ubuntu 18.04 installation on my preadator helios 300,
the problem is that after dual booting my ubuntu is not able to detect my fans. I typed in the following commands
"sudo pwmconfig; only to find the error statement no pwm modules found’.
my fans are not being detected.
on typing" sensors" in the terminal , i am not getting a reading of my fan speed
and on typing" fancontrol’ again the fans are not shown to be detected.
if you can help me . it would be really great as i have been running around this for almost a week and i really really need my environment set up before i can begin my programming.
I’m not familiar with Acer, and this model is an expensive gaming laptop, unless there is member who has first hand experience, to guide you. There is a good chance of it becoming an expensive paper weight.
Install method
It will be very useful to explain how you installed Ubuntu, using either the “alongside” or “something else” method. Did you disable Secure Boot or not, and did you format the partiton(s) with GPT/Ext 4.?
Please run this command: inxi -Fxz and when you reply look for this </> on the bar of the reply box, it formats and keeps the integrity of the inxi -Fxz print out.
while booting , i chose the something else option
disabled secure boot
and i formated the partition //“with GPT/Ext 4.?” i think so
and alloted the swap root and home.
had to set nomodeset to get in to ubuntu
and had to edit the quick splash to get the trackpad working
ill run the command and get back.
Jack have you tried doing a repair to see if that works? Sometimes things don’t quite get sorted in the install and you can sort it out by doing this. Just a thought for you.
well i tried everythin on ubuntu forums and stack exchange that i could find , there are a lot of people reporting the same problem but i cannot find a clear cut solution .
so are your fans working
i have the same error message with fancontrol
joseph@joseph-Predator-PH315-51:~$ sudo pwmconfig
pwmconfig revision 6243 (2014-03-20)
This program will search your sensors for pulse width modulation (pwm)
controls, and test each one to see if it controls a fan on
your motherboard. Note that many motherboards do not have pwm
circuitry installed, even if your sensor chip supports pwm.
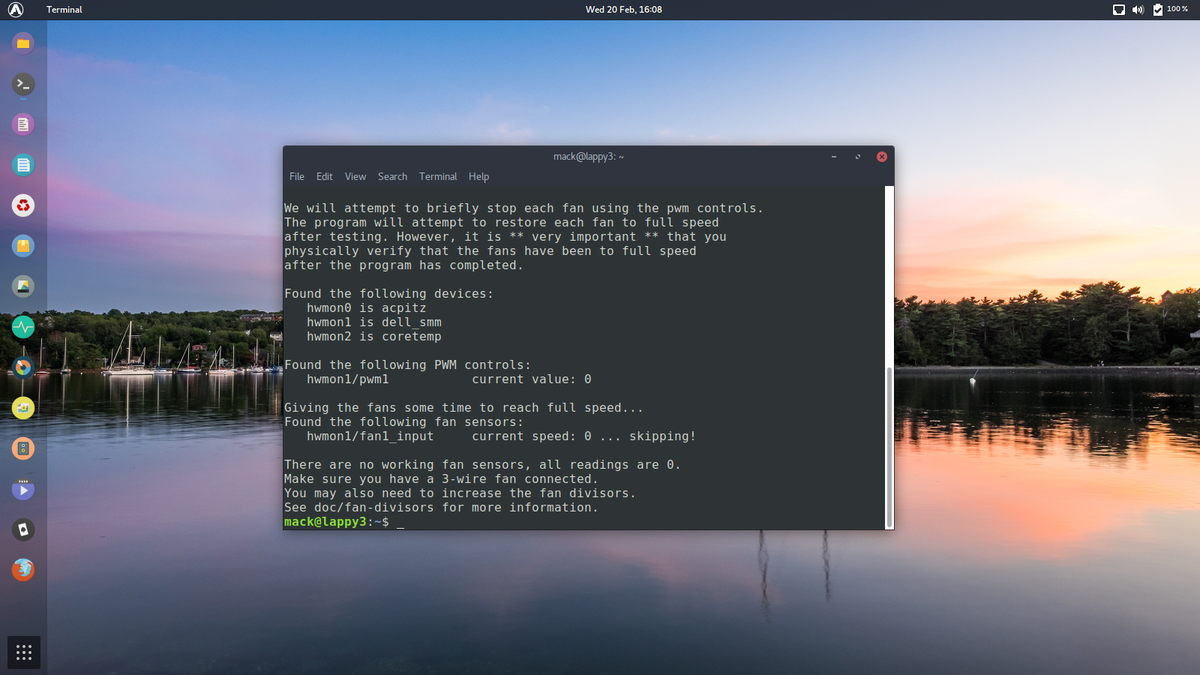
We will attempt to briefly stop each fan using the pwm controls.
The program will attempt to restore each fan to full speed
after testing. However, it is ** very important ** that you
physically verify that the fans have been to full speed
after the program has completed.
/usr/sbin/pwmconfig: There are no pwm-capable sensor modules installed
indent preformatted text by 4 spaces
acpitz-acpi-0
Adapter: ACPI interface
temp1: +16.8°C (crit = +18.8°C)
temp2: +27.8°C (crit = +119.0°C)
temp3: +29.8°C (crit = +119.0°C)
coretemp-isa-0000
Adapter: ISA adapter
Package id 0: +31.0°C (high = +82.0°C, crit = +100.0°C)
Core 0: +29.0°C (high = +82.0°C, crit = +100.0°C)
Core 1: +30.0°C (high = +82.0°C, crit = +100.0°C)
Core 2: +29.0°C (high = +82.0°C, crit = +100.0°C)
Core 3: +29.0°C (high = +82.0°C, crit = +100.0°C)
Core 4: +30.0°C (high = +82.0°C, crit = +100.0°C)
Core 5: +28.0°C (high = +82.0°C, crit = +100.0°C)
# pwmconfig revision $Revision$ ($Date$)
This program will search your sensors for pulse width modulation (pwm)
controls, and test each one to see if it controls a fan on
your motherboard. Note that many motherboards do not have pwm
circuitry installed, even if your sensor chip supports pwm.
We will attempt to briefly stop each fan using the pwm controls.
The program will attempt to restore each fan to full speed
after testing. However, it is ** very important ** that you
physically verify that the fans have been to full speed
after the program has completed.
/usr/bin/pwmconfig: There are no pwm-capable sensor modules installed
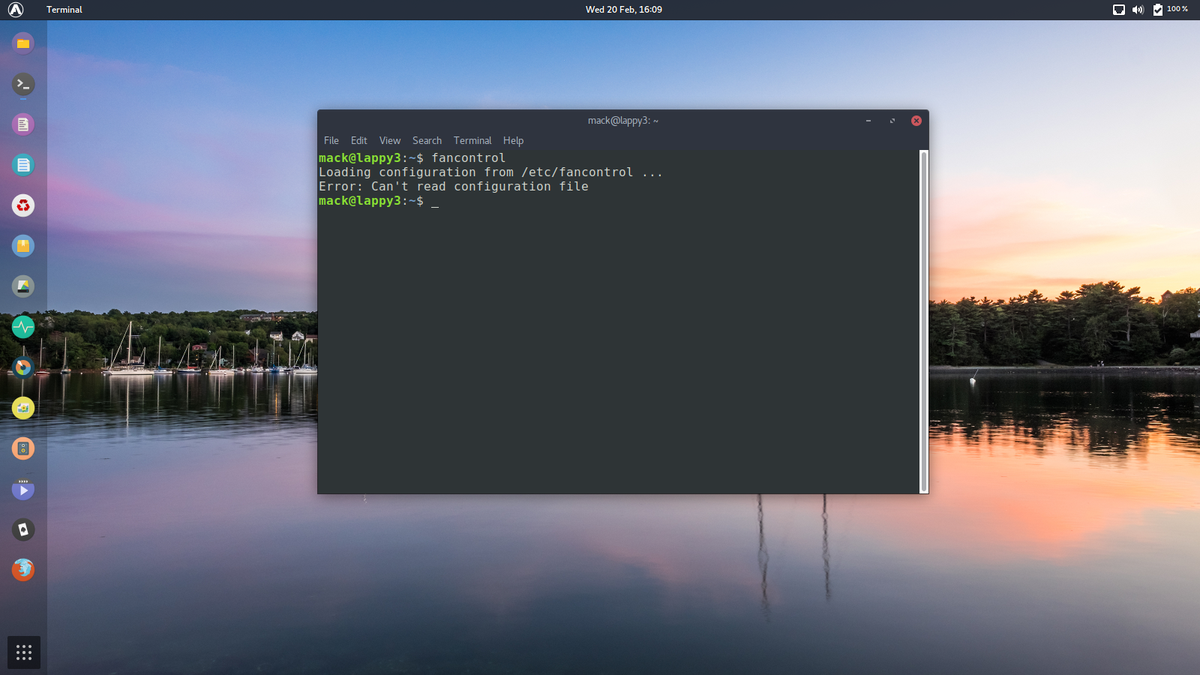
fancontrol
Loading configuration from /etc/fancontrol ...
Error: Can't read configuration file
This is the print out from my 8th Gen Master Cooler Aorus Gaming Rig, it has 3x120mm fans at the front and 1x120mm on bottom panel. It has been up and running since 10am this morning, cool as a cucumber.
Edit 20/02/19 1730hrs addition info below
Both my computers the ATX sized rig and the old Dell 5430 laptop do not have a cooling problem nor do either run hot. There for I do see an issue, though the commands you used do contradict this.
Your Graphic card is being choked, as it going through Intel’s GPU and Nvidia.
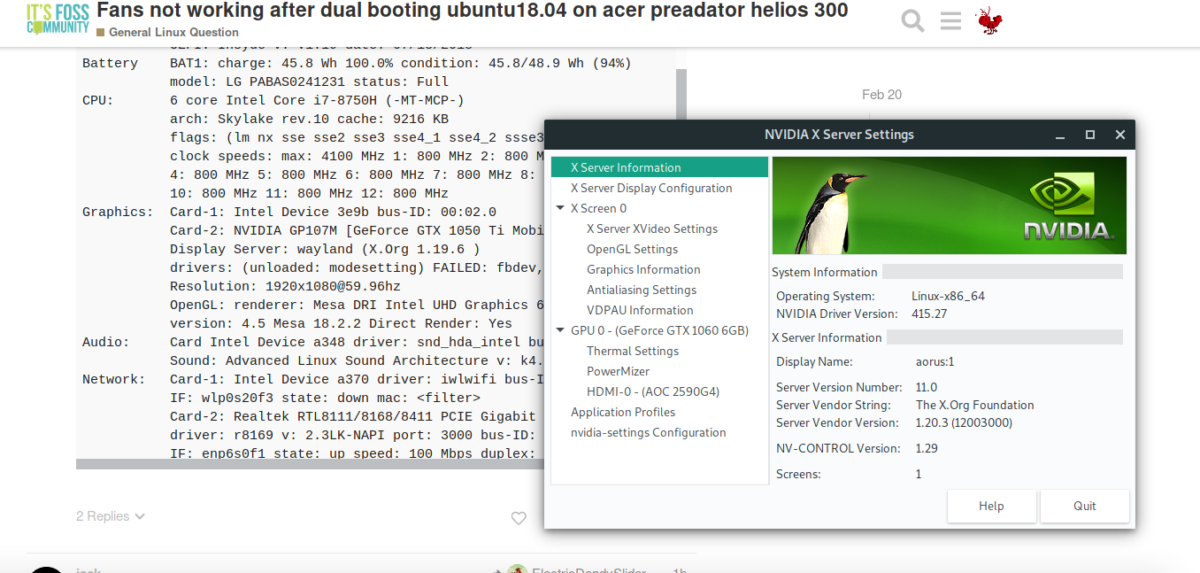
This my print out for my gaming rig graphic card. I use Manjaro (and did not need to do the nomodeset trick) it allowed me to install, then enable the the Nvidia driver, currently the 415 nvidia driver whereas Ubuntu comes with their default 390 driver, unless you are knowledgeable to unstall the latest from Nvidia site.
I found this answer, selected as the best answer to a forum post.
A three wire fan reports its speed. Add a fourth wire, and the fan’s speed can be varied by the motherboard.
The simplest PC fan requires two wires. The red wire provides power (+12 VDC), the black wire is ground (0 V). Applying power to will start the fan running full speed. If a modern fan’s blades are stopped, the fan’s drive circuitry interrupts power to the fan motor, then retries starting the fan periodically. This prevents the fan from overheating, resulting in a burned out fan (and a potential fire - and keeps the manufacturer from achieving CE/UL/CSA/TUV certification). You can try this by stopping a running fan, then letting it go. If, after you free the fan blades, the fan doesn’t start for a moment, you have this modern kind of fan.
A three wire fan adds a tachometer output to the two wire fan. The yellow wire pulses an output voltage twice per fan revolution. With the fan spinning at 6000 RPM, you would measure a 200 Hz pulse rate (6000 rev/min / 60 s * 2 pulses/rev = 200 pulses/sec). Some PC motherboards monitor this input. In the case of fan failure, the motherboard can send an alert (beeper, message to the OS, etc.), or take action directly, like slow the CPU or even shut down the system.
Add a fourth wire to control the fan’s speed. The fourth wire operates similarly to the third wire, but in reverse: this wire controls the fan speed. Intel created a wiring standard for this fan, including the connector type, pin positions, and wire color code. I haven’t cited the Intel standard here, but it is widely reported to be: Black - 0 V, Yellow 12 V, Green - Tachometer output, Blue - PWM speed control input.
The fan’s speed is controlled by pulsing the voltage on the fourth wire. This wire does not power the fan. The frequency of the pulsed signal changes the speed of the fan. This common method of controlling an analog device (fan, light, heater) with a digital control is called pulse width modulation, or PWM.
shareimprove this answer edited Jan 8 at 3:50 answered Nov 13 '18 at 22:10 ndemarco