Hi all, ![]()
I don´t know whether the following would be of any interest to any of you but I thought I´d post it here anyway. ![]()
Often enough there´s a situation in which I find myself obliged to scan physical documents (i.e. documents on paper) in order to produce a digital equivalent of them. In most cases I need to have them in digital format for being able to quickly and easily access them e.g. when dealing my income tax return.
Anyhow, due the setup of my computer peripherals it´s pretty inconvenient for me to take all those paper documents from one room into another (where my printer-scanner resides) and then manually scan all of those documents.
Now I found a way of accessing and dealing with them just where they are. Hassle-free process. ![]()
-
I take a photograph of all the pages of the document(s) I need with my Android smartphone
-
As those images take up too much space (data-wise) I cannot easily send them via e-mail to my 2nd e-mail address as attachments.
So I came up with a script which I run intermuxon the smartphone which processes them before I can send them. -
In the end I have very small PDF documents instead of heavy-weight pictures, which I often enough can send as one single file (packed and encrypted).
-
When accessing my Linux Lite PC (mostly the next day) the attachment can be downloaded and I have all documents readily available.
And here´s what the script does:
-
Step 1: Convert jpg to jpeg # That step might not be necessary but I noticed that jpeg in some context worked better for me in the past. Feel free to skip this step if you´d like
-
Step 2: Convert to monochrome # No need for having coloured output for documents
-
Step 3: Resize to 50% # Good enough for me and it´s economical on data consumption
-
Step 4: Convert to PDF # That´s what I need in the end
-
Step 5: Cleanup # Deleting temporary jpeg files on the smartphone
-
Step 6: Create the 7z archive of PDFs # with encryption so that it can safely be sent as attachment via e-mail
-
Step 7: Cleanup # Deleting the original PDFs on the smartphone
-
Step 8: Move the original JPG files back to the original folder # So they are not lost. Delete them manually if you need space back
As a result we have produced a compressed and packed 7zip file which holds the processed data (end result: PDFs) which can be safely sent as e-mail attachment. ![]()
Note:
When unpacking them on the PC I realized that in most cases the the PDFs were somehow rotated by 90°. But it wasn´t always the case.
So you might need to run the following command on Linux after unpacking:
for f in *.pdf; pdftk $f cat 1-endeast output (string replace '.pdf' '_90.pdf' $f); end # fish syntax
Now here´s the script:
#!/bin/bash

for file in *.jpg; do
    if [[ -f "$file" ]]; then
        base_name="${file%.*}"

        echo "Processing $file..."

        # Step 1: Convert jpg to jpeg
        echo "Step 1: Converting to JPEG..."
        magick "$file" "${base_name}_step1.jpeg" || { echo "Error in Step 1"; continue; }

        # Step 2: Convert to monochrome
        echo "Step 2: Converting to grayscale..."
        magick "${base_name}_step1.jpeg" -colorspace Gray "${base_name}_step2.jpeg" || { echo "Error in Step 2"; continue; }

        # Step 3: Resize to 50%
        echo "Step 3: Resizing..."
        magick "${base_name}_step2.jpeg" -resize 50% "${base_name}_step3.jpeg" || { echo "Error in Step 3"; continue; }

        # Step 4: Convert to PDF
        echo "Step 4: Converting to PDF..."
        magick "${base_name}_step3.jpeg" "${base_name}.pdf" || { echo "Error in Step 4"; continue; }

        # Cleanup
        echo "Cleaning up temporary files..."
        rm -f "${base_name}_step1.jpeg" "${base_name}_step2.jpeg" "${base_name}_step3.jpeg"

        echo "Finished processing $file."
    fi
done

# Create the 7z archive of PDFs
echo "Creating encrypted 7z archive..."
7z a -p'ABC' -mhe=on -t7z DocumentPhoto.7z *.pdf  # see Note below

# Check if the command was successful
if [[ $? -eq 0 ]]; then
    echo "7z archive created successfully."
    # Delete the original PDFs
    rm -f *.pdf
    echo "Original PDFs deleted to free up space."
else
    echo "Error creating 7z archive."
fi

# Move the original JPG files back to the original folder
echo "Moving original JPG files back to their original folder..."
mv *.jpg /data/data/com.termux/files/home/storage/dcim/Camera/

# Check if the move was successful
if [[ $? -eq 0 ]]; then
    echo "JPG files moved successfully."
else
    echo "Error moving JPG files."
fi
Note:
The line
7z a -p'ABC' -mhe=on -t7z DocumentPhoto.7z *.pdf
needs to be altered as to your preference. It holds your personal password. So just replace ABC (which is just an example) with your PW.
In my experience data consumption could be reduced significantly, although it varies a bit. In most cases the file size (original photo taken by the smartphone vs the produced PDF) could be brought down to a 4th or 5th.
Last time I used the script I had to process 20 photos which would have taken up around 80 MB (much too big for e-mail attachments) …
… and they could be reduced to less that 20 MB. I could easily send them using just one single e-mail (attachment). ![]()
Here´s an example of original photo vs PDF:
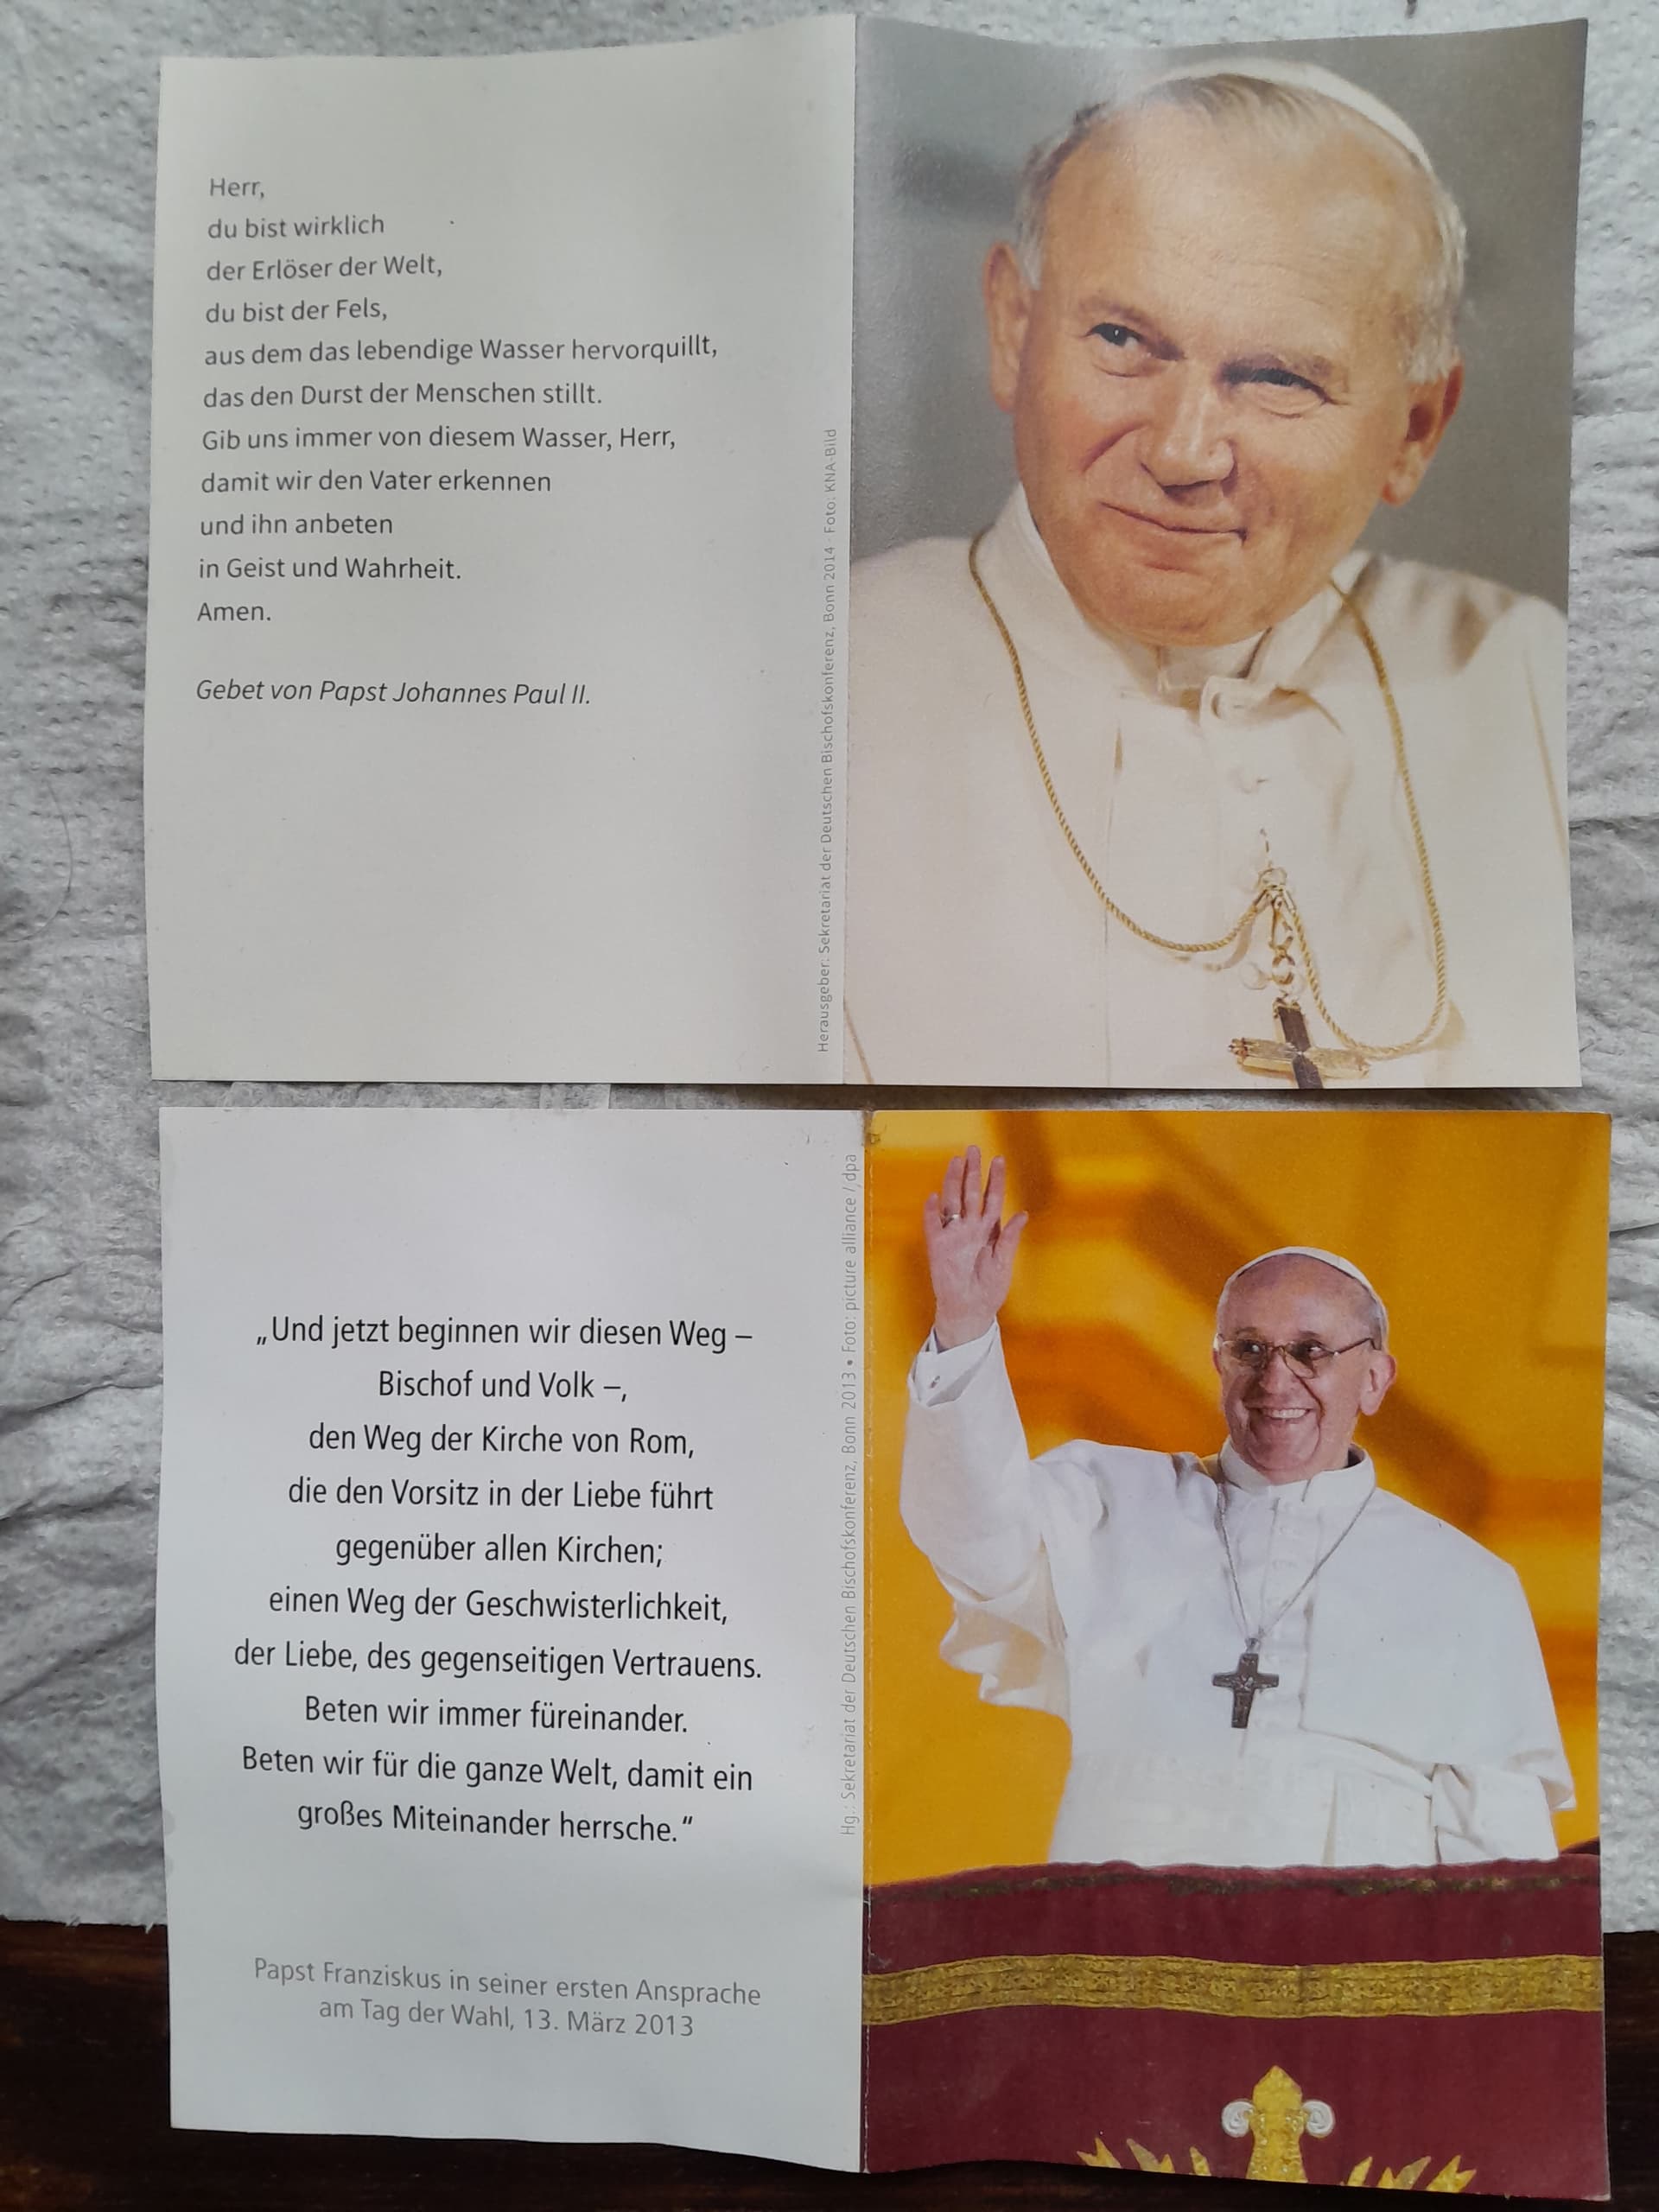
(original)
and:
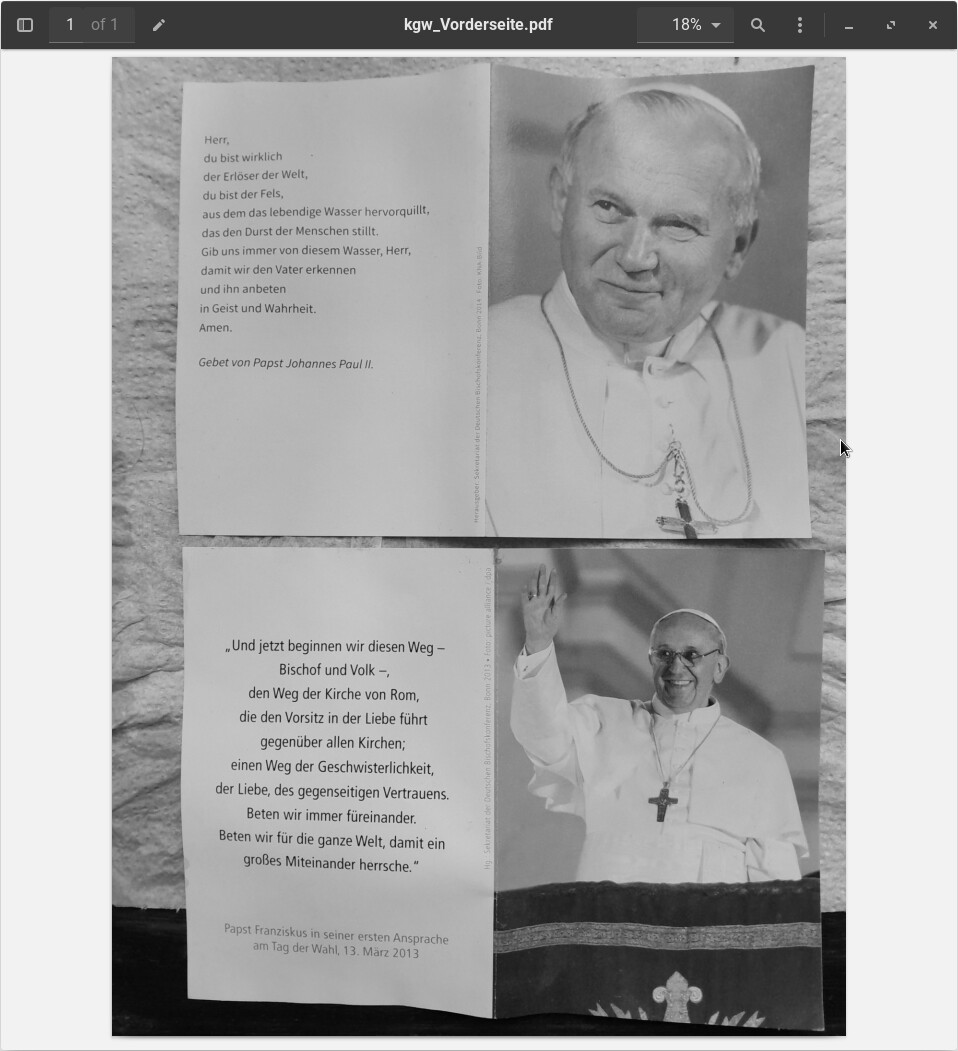
(PDF)
And here are even pictures involved. For text-based documents it´s more than good enough.![]()
O.K., that´s it.
Many greetings from Rosika ![]()
P.S.:
see also “Addendum” in post #7.