So, I finally got PeerGuardian working on my initial 20.04 install!
I repeated the same process on my other 20.04 machine, and got nowhere…So the need to clone the 1st machine’s 20.04 install to the other has arisen!!
What do I need to look out for, even though I have been reading on the Clonezilla site to prepare for this, I do not want to make it harder, but easier!!
Clonezilla simplifies an already simple process. All it does is make a bit-by-bit exact copy of e.g. a hard drive. The only thing you actually could fail horribly is if you overwrite the wrong hard drive with the source image or hard drive. Therefore, I would recommend unplugging ALL storage media from your computer, that are not supposed to be overwritten, when operating with Clonezilla. Then you only have to select the correct source drive (most important) and then select the correct destination drive (should be only one left, if you unplugged all unrelated ones already).
Well, that was quite a smooth process: kudos to the Clonezilla developers
It did require another 1 terabyte ssd, since that is the size of the ssd I cloned. Fortunately, they are among the things that have not increased in price, lately. I’ve been using the SK Hynix Gold S31 SSD’s.
You definitely need to pay close attention before pressing the keyboard. Such is the way of computers!
I have used Clonezilla dozens of times over the last 15 years. It is great and “it just works.” I love it.
I have run into problems a couple of times and have written to (one of the) author(s) of Clonezilla, Steven Shiau, about them. I do not like to waste his time with petty problems, but he has always replied to me. His replies have been brief but always prompt and always very helpful.
My thanks and compliments to him and the Taiwan Centre for High Performance Computing for Clonezilla.
I came across this while researching for the cloning. After cloning a drive, this fellow found that Ubuntu booted very slowly, likely due to the change in the UUID. On “Ask Ubuntu,” this solution was offered:
"Boot from Ubuntu installation media.
Select Try Ubuntu without installing.
Step 1 : Reinstall the Ubuntu GRUB boot loader.
Open a terminal and execute :
sudo mount /dev/sda2 /mnt
sudo mount /dev/sda1 /mnt/boot/efi
for i in /dev /dev/pts /proc /sys /run; do sudo mount -B $i /mnt$i; done
sudo chroot /mnt
grub-install /dev/sda
update-grub
exit
Step 2 : Correct the UUID entries in the fstab file.
Open another terminal and execute :
sudo blkid
Open another terminal and execute :
sudo gedit /mnt/etc/fstab
Replace the UUID entries of sda1 | sda2 | sda3 | sda4
with those of the output given from the blkid command.
Close all terminals and reboot into Ubuntu operating system."
I think the best recommendation is that @Akito said about disconnect/unmount any external drive or device before cloning if it is not strictly necessary to be connected; better safer than sorry!
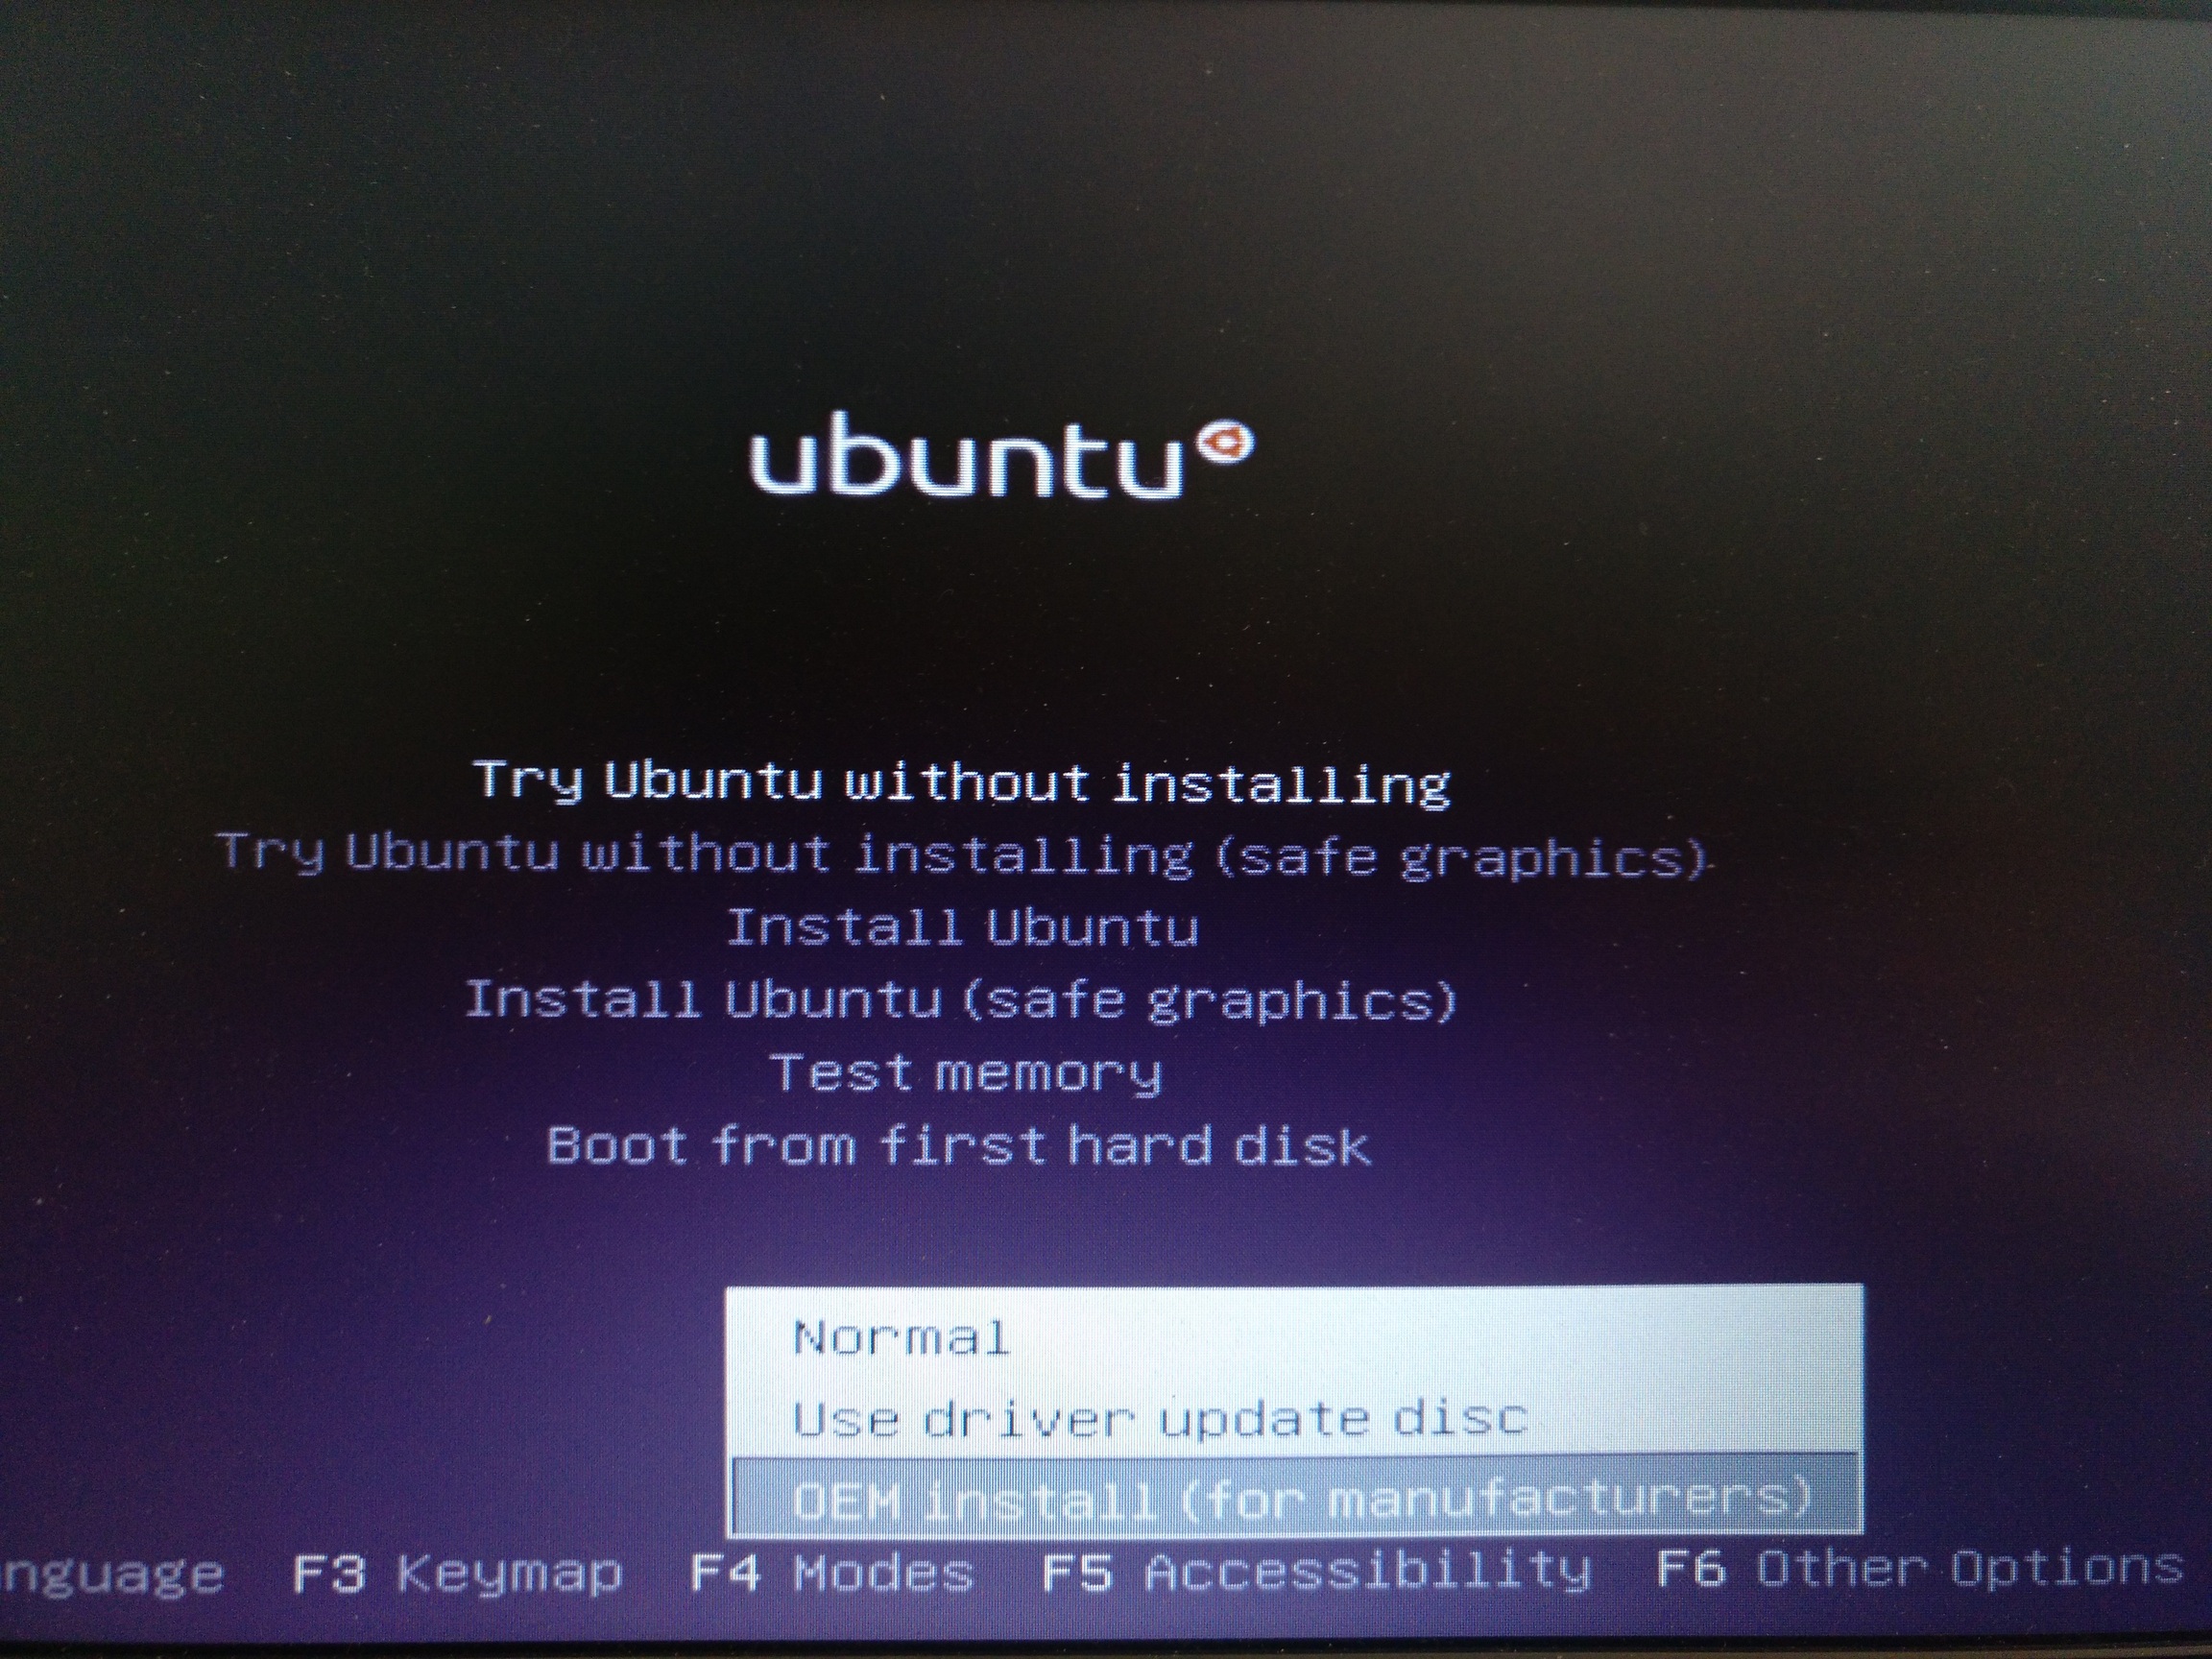
The UUID is a well-known trouble when you Backup your OS and later try to restore the image in another similar or different Hardware but not the original. The comment of @UnixGuy remembers me every time I’ve used SysPrep on Windows machines to avoid that problem. Fortunately, Ubuntu has a specific menu for creating an OEM installation à la SysPrep:
If you only want to backup your current Ubuntu installation for personal purposes, simply turn off your GNU/Linux machine, disconnect any external devices or media (except the media destination for your Backup), then Backup booting from Clonezilla DVD/USB and follow the screen instructions. You can restore later your image on another computer and fix the trouble using blkid as you said. That’s fine for me if is only a couple of computers.
In case your goal is to clone that installation for distributing in more than a couple of machines (no matter if exact or similar Hardware), then I recommend you to install Ubuntu using OEM mode since no personal data nor passwords or UUID are stored (and you can customize everything you need) and use later Clonezilla for Backup and clone the disk/partitions you previously made. This is how I normally do in some centers such as schools, hospitals, etc. Later you can use Clonezilla in Multicast mode using an 8/16/24/48… Switch port and quickly restore the original OEM installation in other machines. You can also automatize the whole process using a script. Not tested by me but, perhaps you could automatize the blkid in that script…
I think Clonezilla is a perfect solution for cloning machines; no matter if GNU/Linux or DualBoot/other OSes installed but, for someone who hate/fear the shell, I recommend RescueZilla (forked from RedoBackup and latest versions are fully compatible with Clonezilla Backups) with a GUI and other tools for Internet browsing and recovering data…
Yeaahhh!
dd is the method I prefer to create personal Backups, since I can automatize via cron without turning off my system. I explained the process I normally do at work, since the op asked for Clonezilla…