Installing LMDE 6 - tutorial 2: Replacing Windows (or any other OS)

For this item, I’m assuming the reader can create a bootable USB stick using the LMDE6 ISO image, Ventoy, or can follow the directions in the Linux Mint Installation Guide at (Linux Mint Installation Guide — Linux Mint Installation Guide documentation) and that you know how to boot from your USB stick.

I’m using Virtual Box to get screenshots for this tutorial. Here I’ll demonstrate automated Installation where the entire disk is erased and LMDE replaces whichever OS you had installed before. If your computer has Secure Boot, you can keep it enabled with this OS if you want to do so.

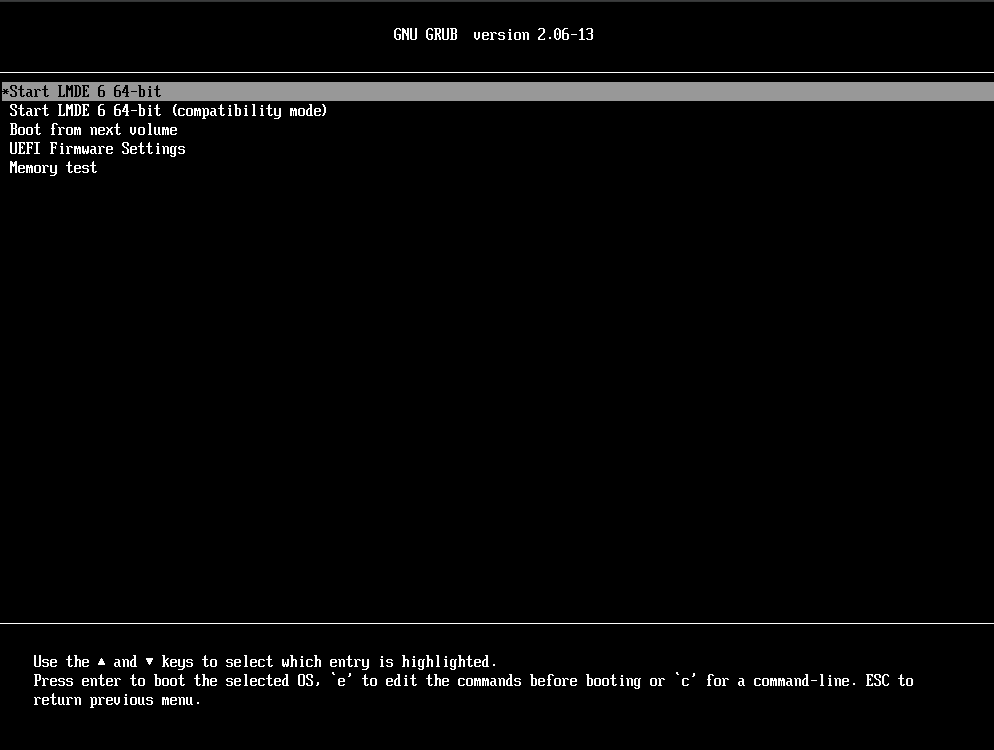
After booting LMDE 6, the first screen you’ll see offers you several options. In most cases you should choose the first option “Start LMDE 6 64-bit”. If the first option doesn’t work correctly for some reason, try the second option “Start LMDE 6 64-bit (compatibility mode)”:

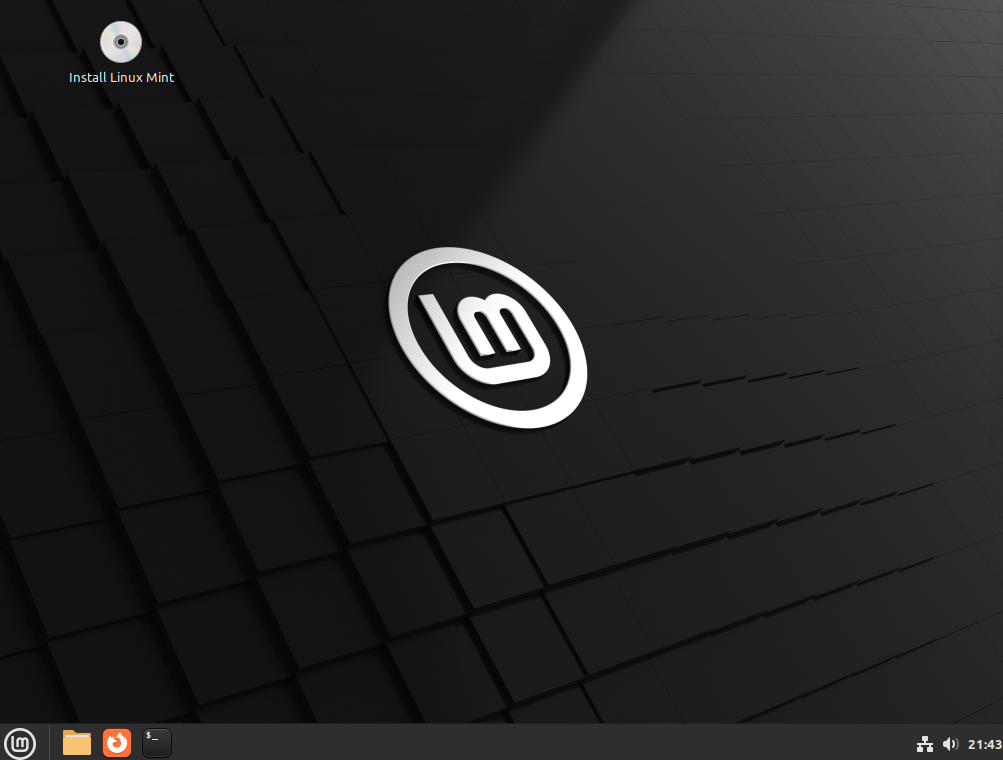
After the LMDE desktop loads, double-click the “Install Linux Mint” desktop icon (upper-left) to start the installer:

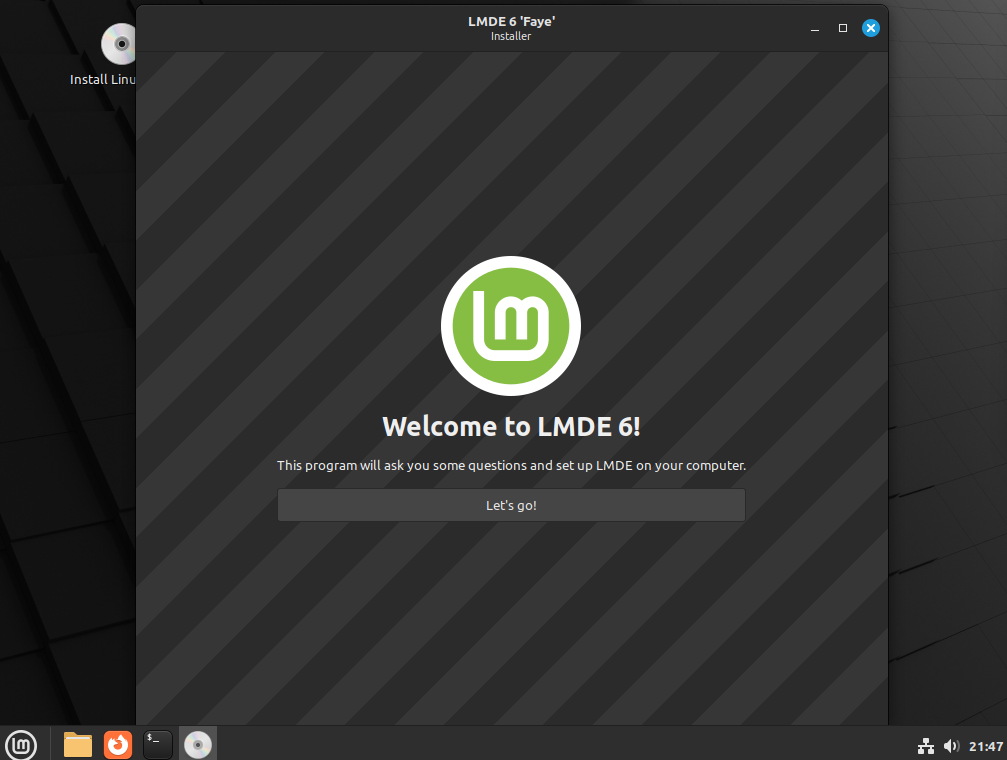
Click the “Let’s go!” button to get started installing LMDE6:

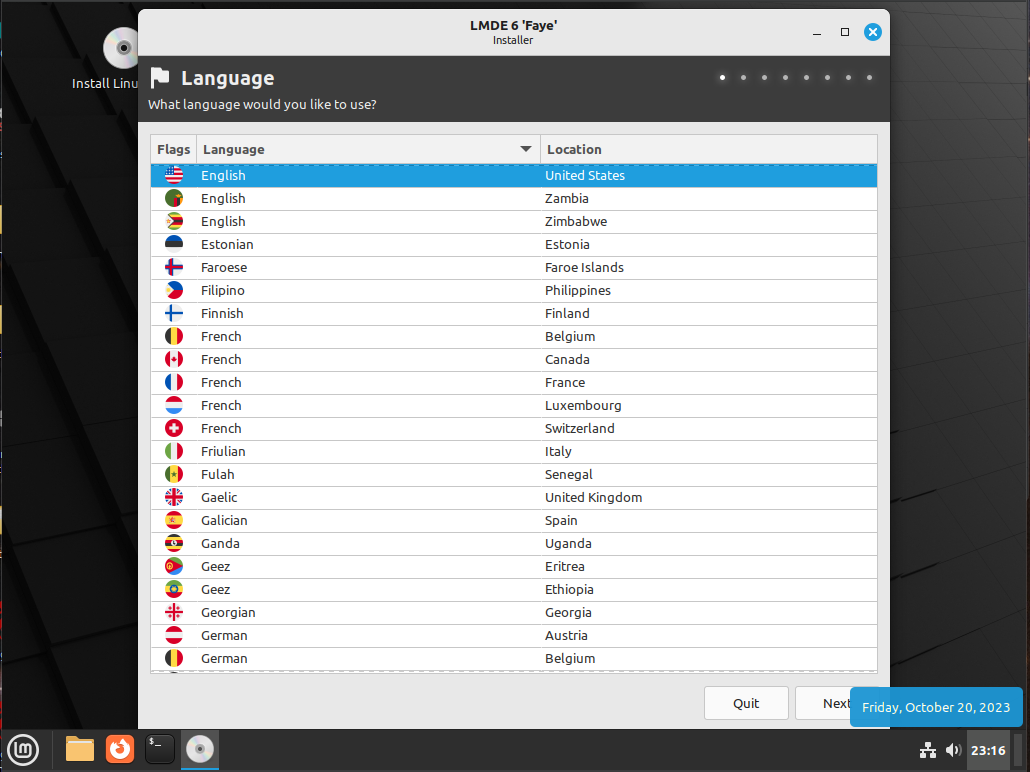
In the resulting screen, choose your language/Location (I live in the United States, so I selected the first option, English - United States) then click “Next” (bottom-right):

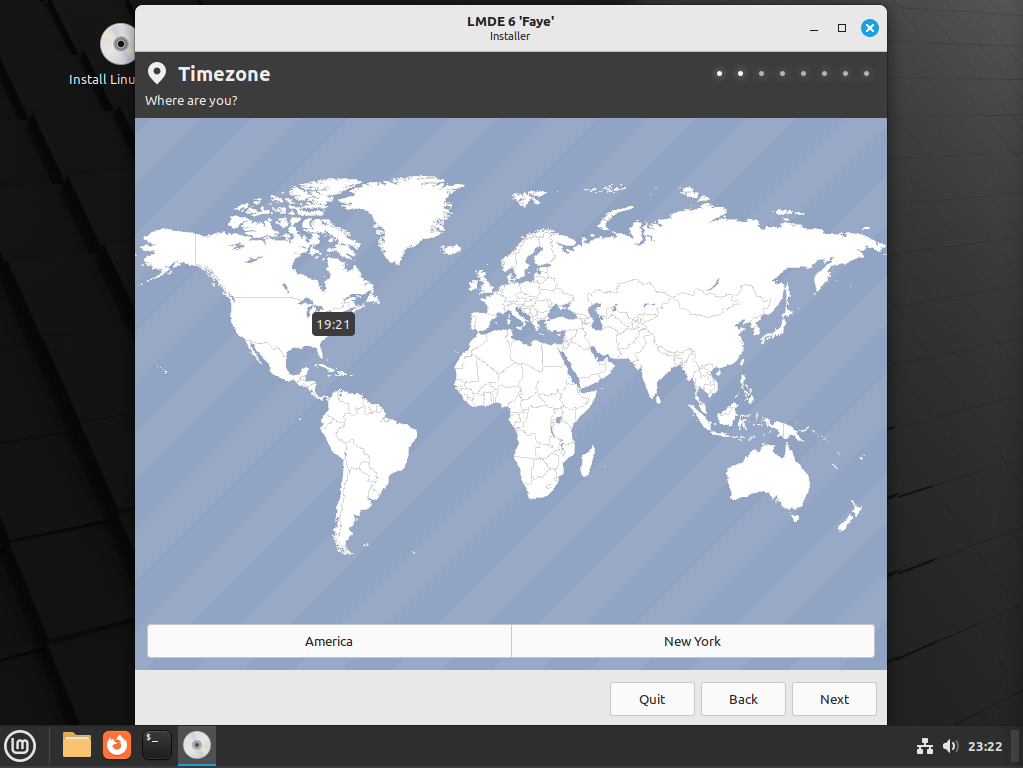
The next screen is for selecting your timezone. America - New York is preselected (correct for me), but there are two ways to change it.

  1. Click the map where you live, making adjustment clicks until you have it right.
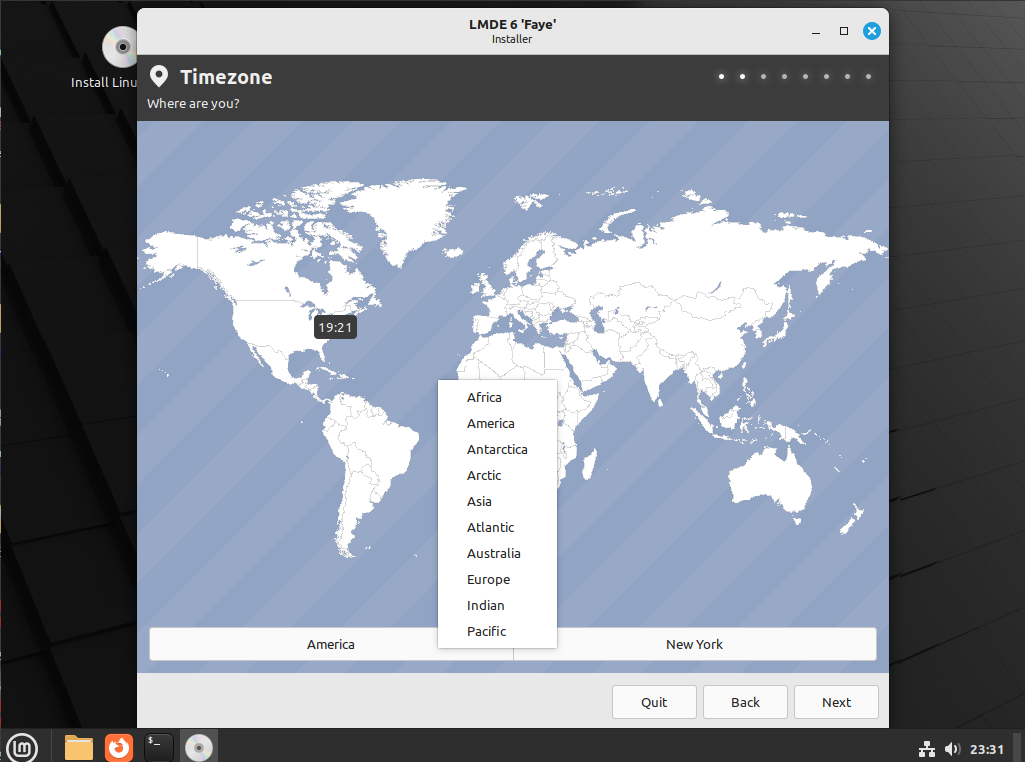
  2. Near the lower-left, there is a button labeled “America”. Clicking that will pop-up a list of 10 regions (Africa, America, Antarctica, Arctic, Asia, Atlantic, Australia, Europe, Indian, and Pacific). Choose your region, then click the right button (labeled “New York”) to choose your timezone. When you’re finished, click the “Next” button (bottom-right):

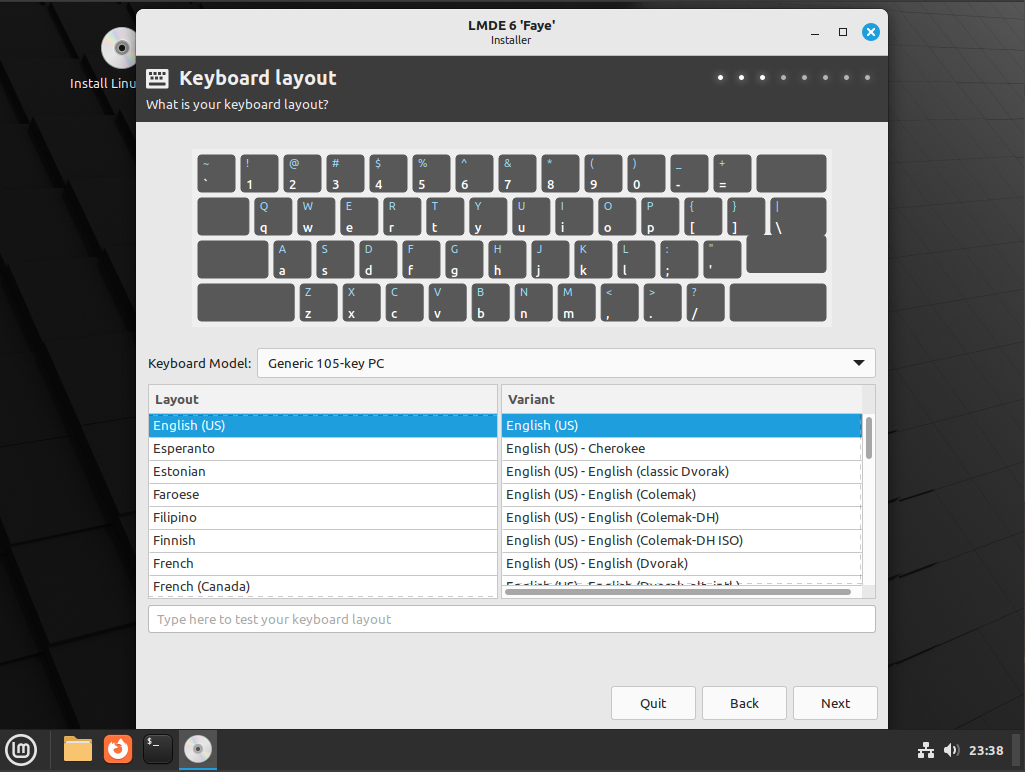
This screen is for choosing your keyboard layout. If your keyboard layout and variant are not both English (US), choose the correct layout in the left list, then the correct variant in the right one. When finished, click “Next”:

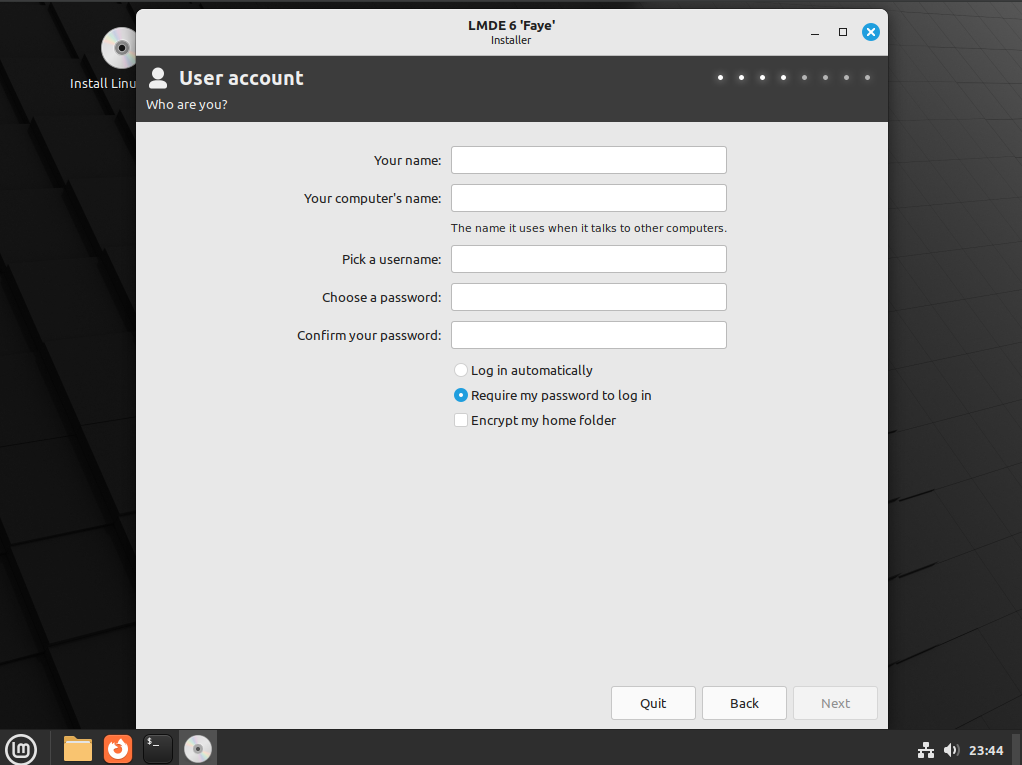
Next comes setting up your user account.
Enter your name in the “Your name” field
Enter the name you want to give your computer in the “Your computer’s name” field (this is the name other computers will “see” when communicating with your computer)
Enter the user name you want to use to login in the “Pick a username” field
Enter the password you want to use when you login in the “Choose a password” field
Finally, Enter your password again in the “Confirm your password” field to make sure there are no errors in entering the password. Below these data fields are three options, “Log in automatically”, “Require my password to log in”, and “Encrypt my home folder”. The “Require my password to log in” item is pre-selected. I recommend you keep it that way. If you want to encrypt your user data, you can select the “Encrypt my home folder” option. I don’t use that option, but my system would probably be a bit more secure if I did. When finished, click the “Next” button:

This may be the most confusing screen of all. LMDE offers two installation options:

  1. Automated Installation (Erase a disk and install LMDE on it) - the default.
  2. Manual Partitioning (Manually create, resize or choose partitions for LMDE).

Option 1 will erase and remove all partitions on the selected disk, then create new partitions and install LMDE. If you want LMDE as the only OS on your computer, this is the option for you. On the other hand, if you have Windows or some other OS already installed on your computer and you want to keep that OS too, you should go with option 2 (Manual Partitioning). As stated above, for this item, I’ll demonstrate option 1 (Erase a disk and install LMDE on it). Since Automate Installation is pre-selected, I’ll click the “Next” button (bottom-right). A warning message will pop-up to inform you “This will delete all the data on [drive name] (drive size) (drive designation e.g.: /dev/sda) Are you sure?”:

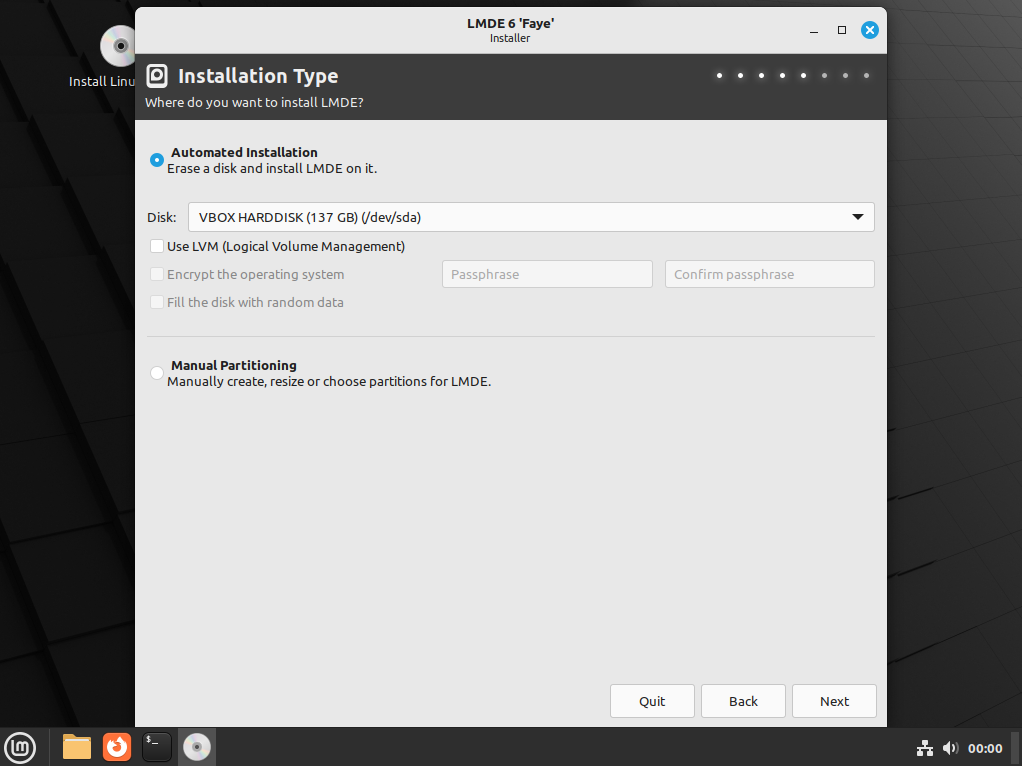
If you’re sure, select the “Yes” button:

This takes you to the Advanced Options screen where you configure the boot menu/loader. The default option is to install the GRUB boot loader on /dev/sda:

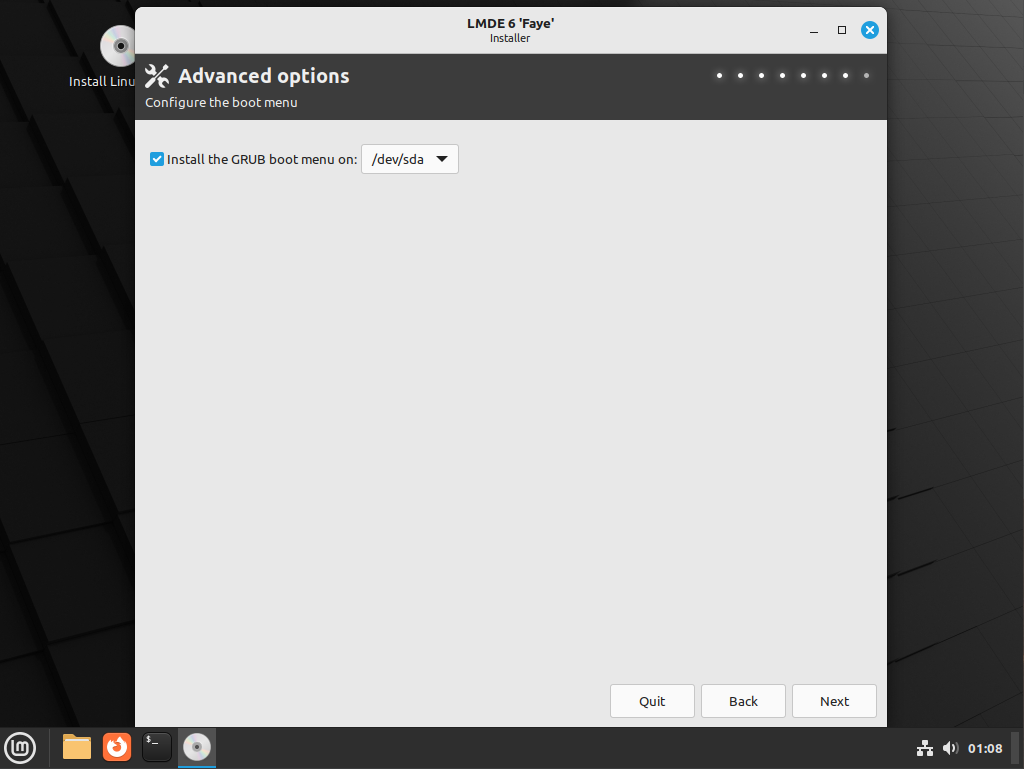
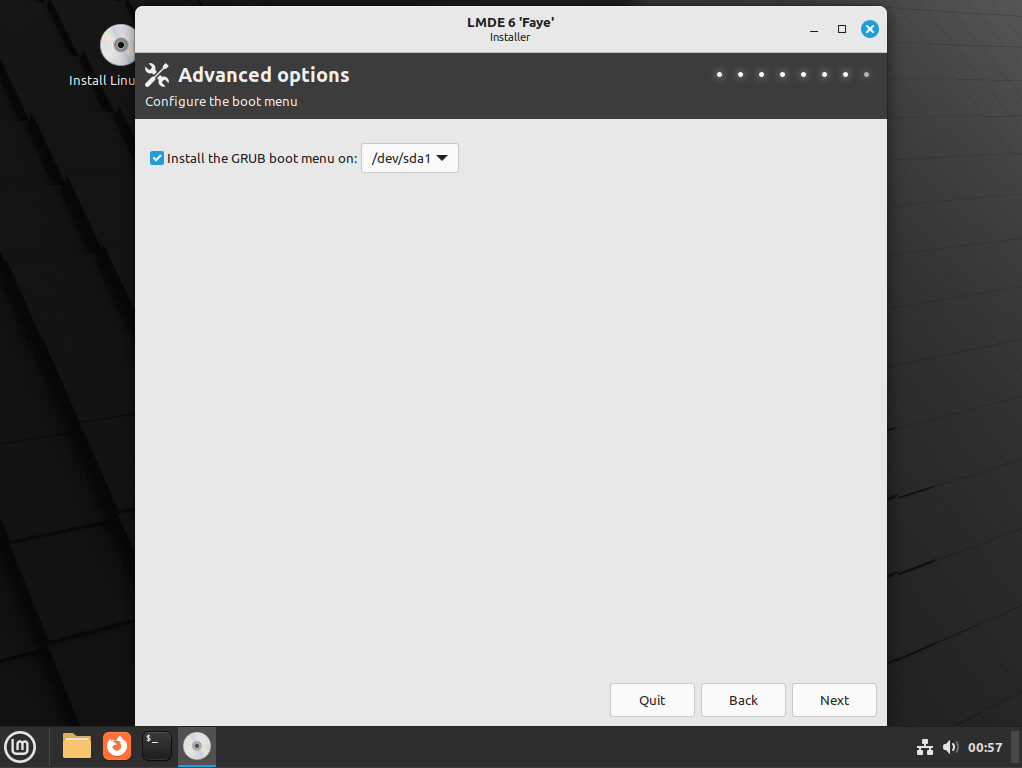
If your computer supports Secure Boot (whether it’s enabled or not) this is the wrong option for you. Click the drop-down on the right side of that field and choose “/dev/sda1”. On the other hand, if your computer can’t run Windows 11, AND doesn’t have a Trusted Platform Module version 2 (TPM2) and does not support Secure Boot, you can keep the setting on “/dev/sda”. Since I’m setting things up with Secure Boot enabled, I’ll choose “/dev/sda1” for this item, and click the “Next” button (bottom-right):

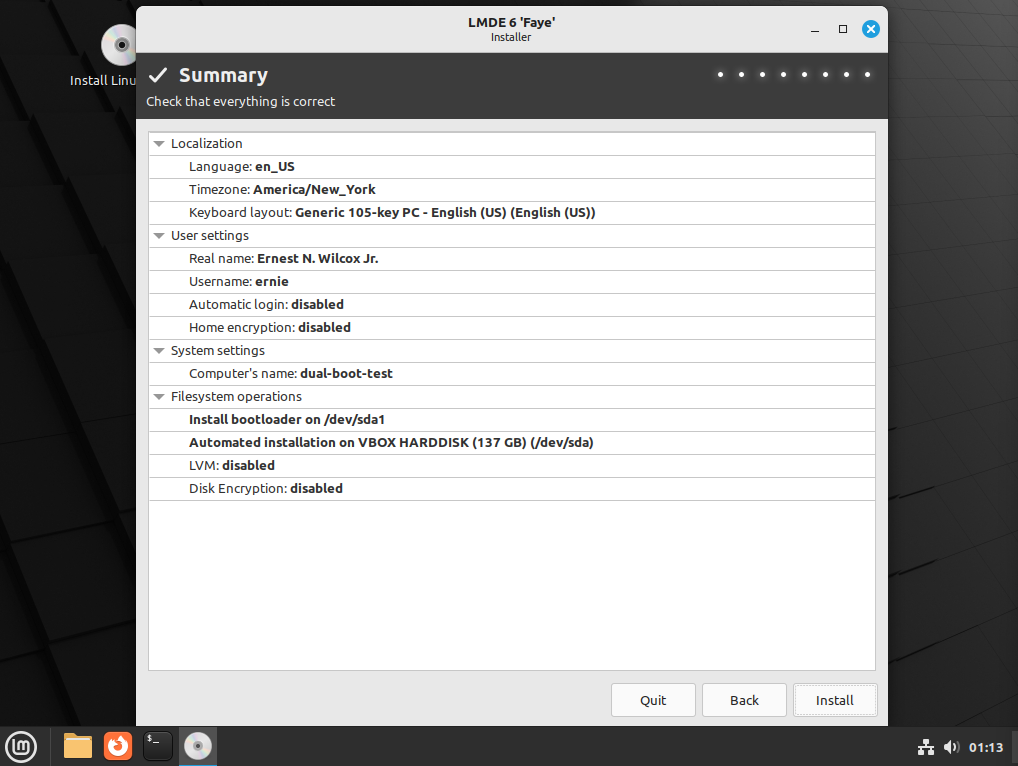
This takes you to the summary screen. Look it over very carefully. This is your last chance to go back to make any changes or fix any mistakes you may have made. When you’re satisfied with the settings you see here, press the “Install” button:

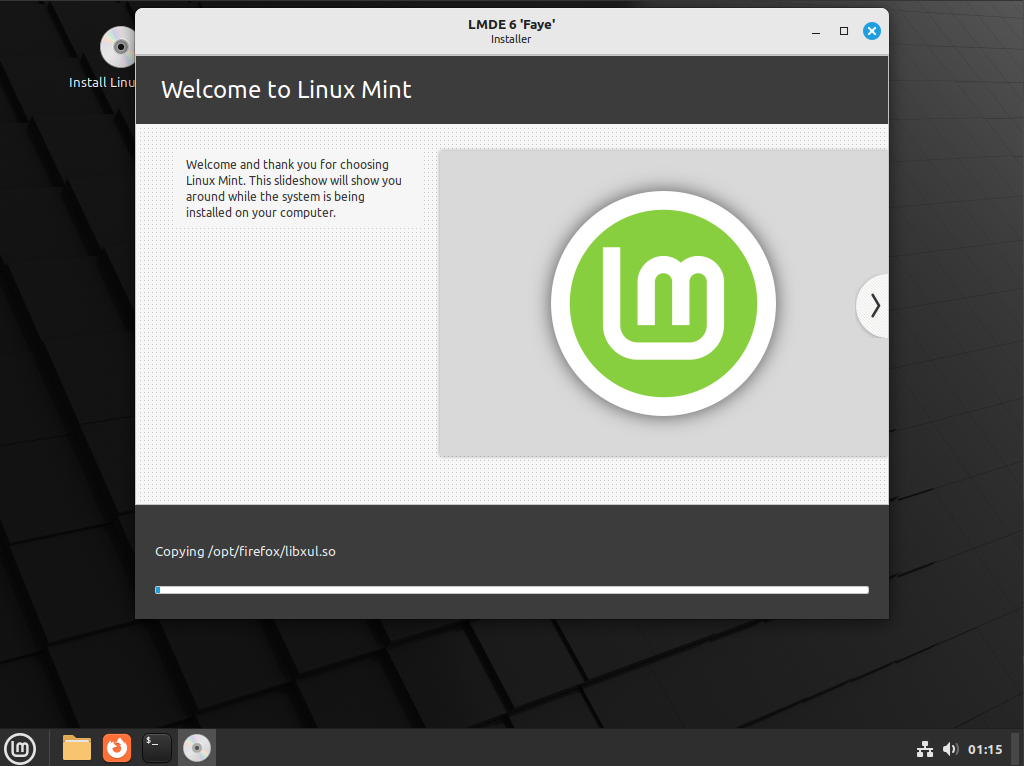
Here you see the Installer doing it’s job. It’ll show you a few things you can do with it. The installation may take some time, so be patient:

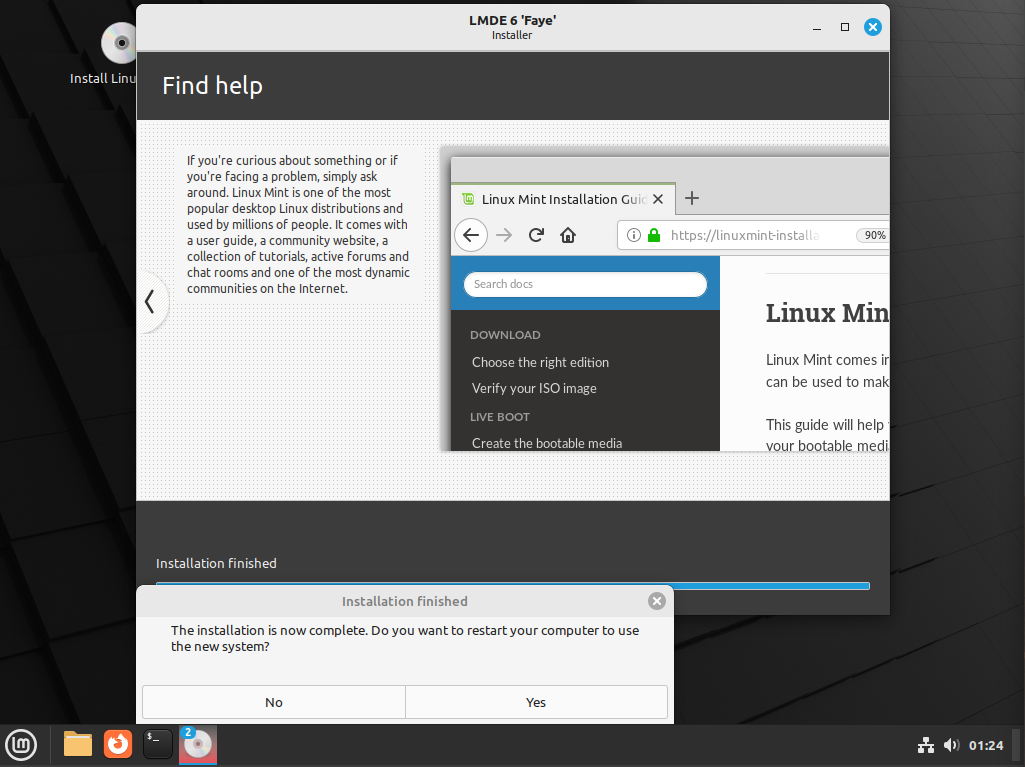
When the installation is finished, an Installation Finished dialog will pop up, offering you the option (Yes) to restart so you can use your new system, or (No)continue with the live system you’re in now. I always choose the “Yes” button:

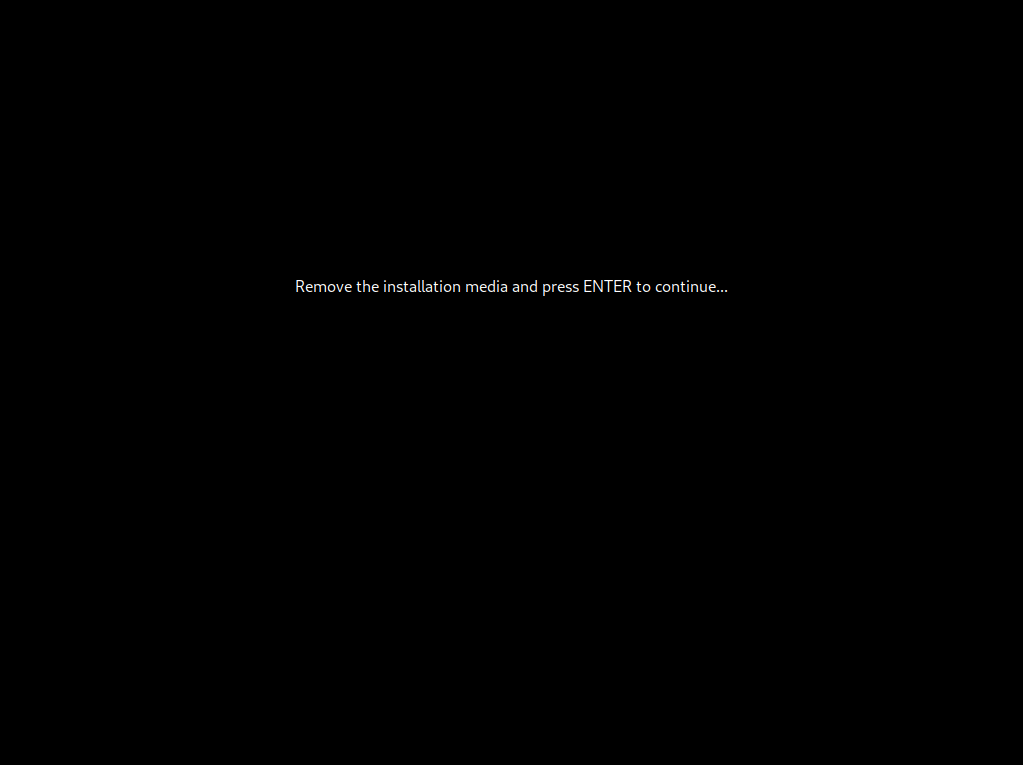
The last installer screen you’ll see before you restart is the “Remove the installation media and press Enter to restart” one. After you press the ENTER key, your system will reboot into LMDE 6:

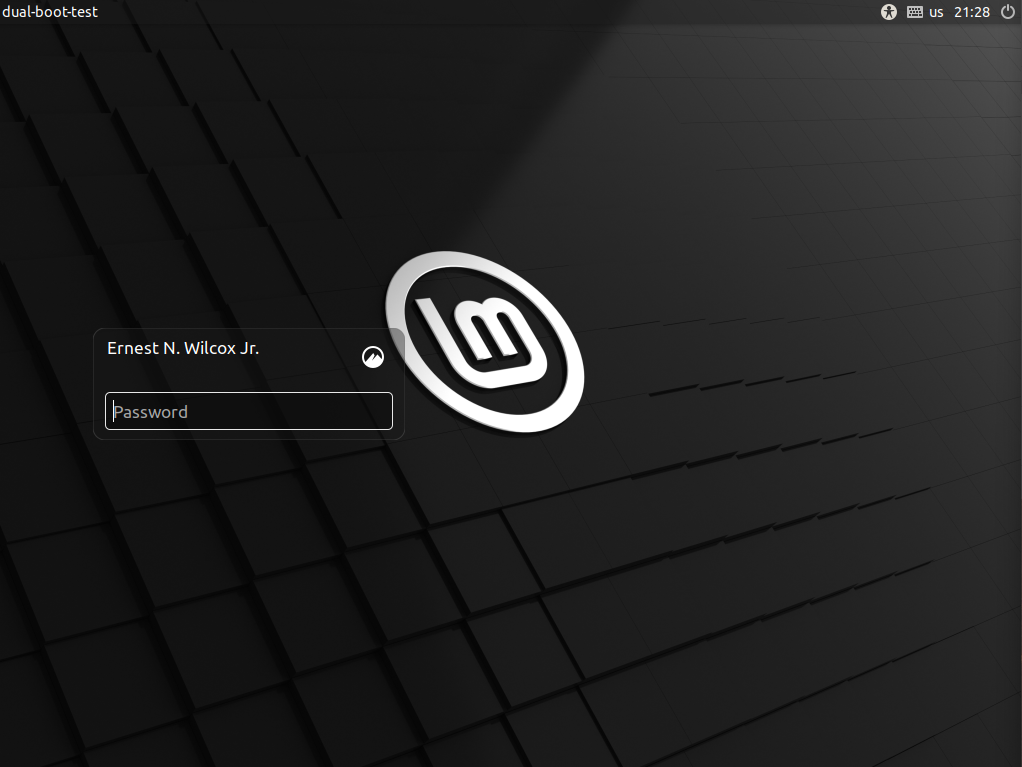
At the login screen, enter your password and press the ENTER key to sign in:

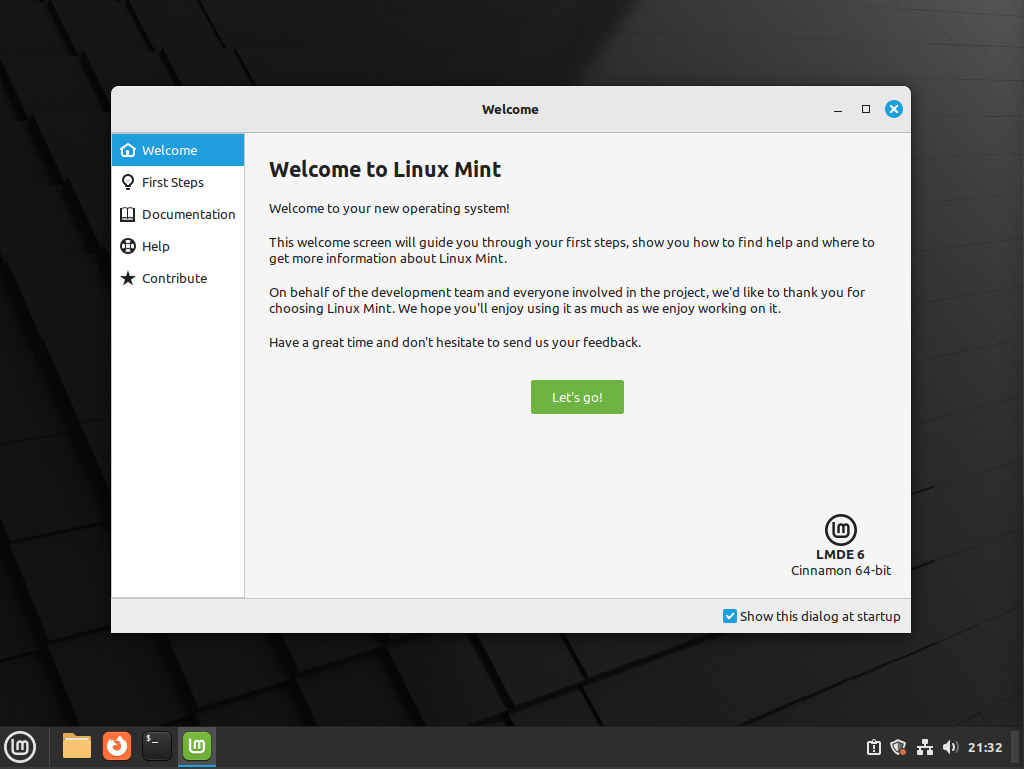
You’ll see the Welcome app/page on the desktop: It’ll guide you through some configuration settings to customize your new system, but first, you have some updates to install. If you look at the notification area near the system clock at the lower-right of the screen, you’ll see a two-colored shield icon with a red dot on it. That’s to tell you there are updates to be installed. I strongly suggest you click that shield icon to update your system before you do anything else:

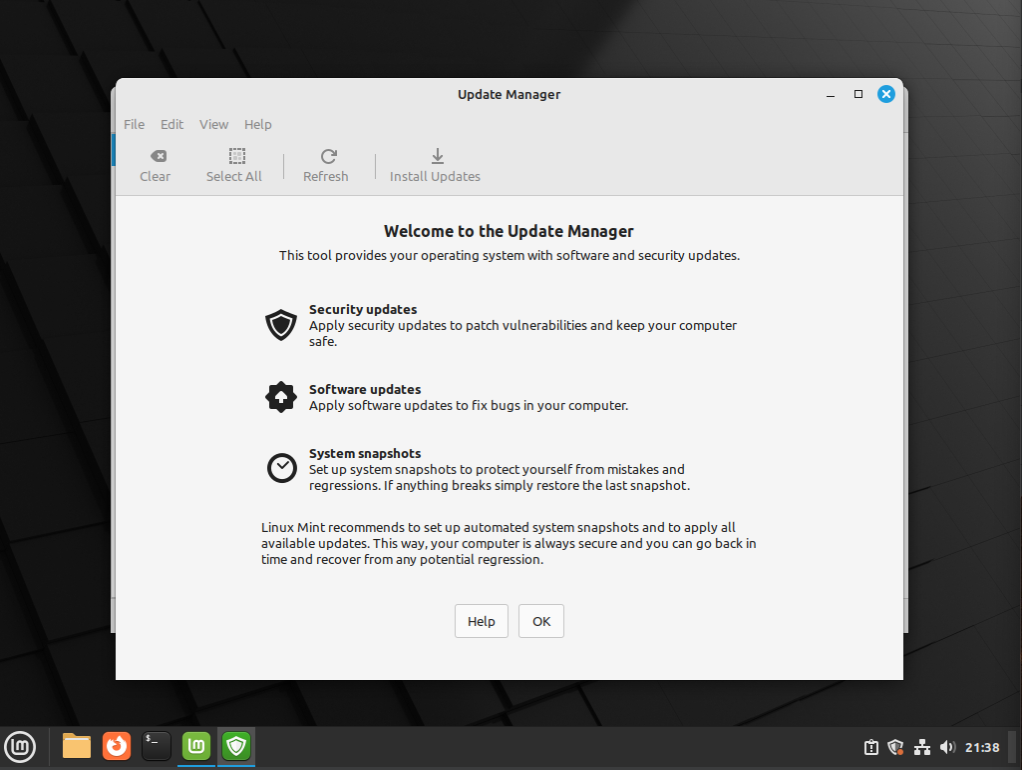
Since this is the first time you have used the Update Manager, it gives you some information about what it does for you. Read the information so you understand what all it does, then press the “OK” button to get started with installing the updates:

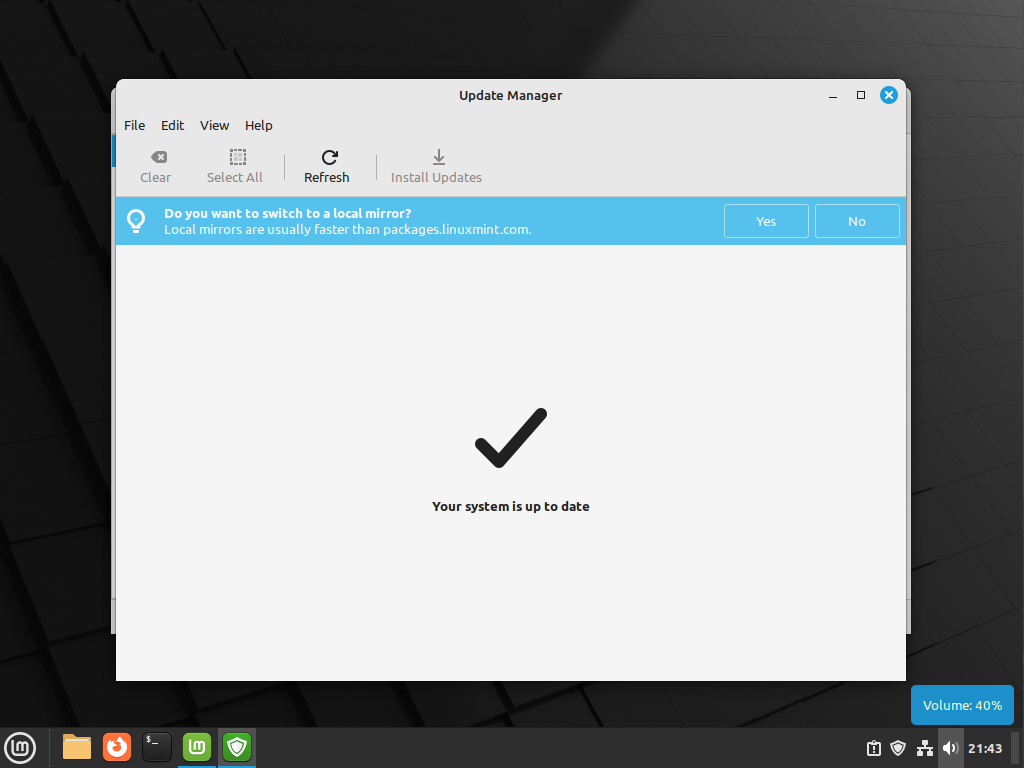
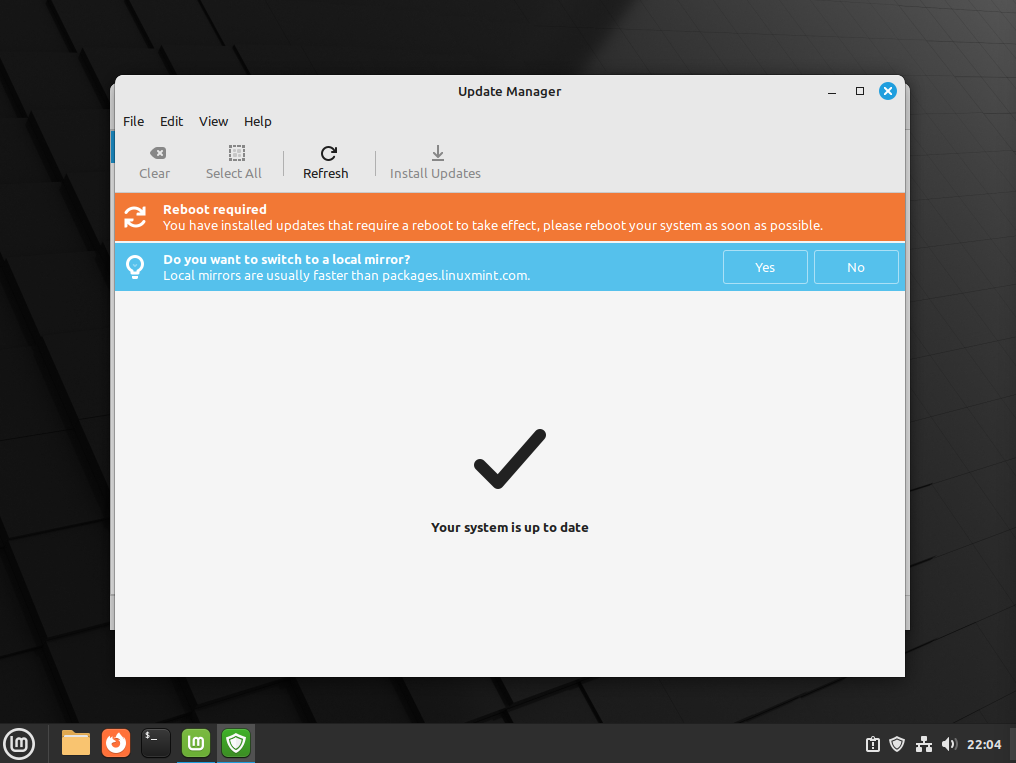
The Update manager will tell you your system is up to date, but that’s not the true story. Based on the information it has now, your system is up to date, but if you click the “Refresh” button in the tool bar near the top of the window, that’ll change:

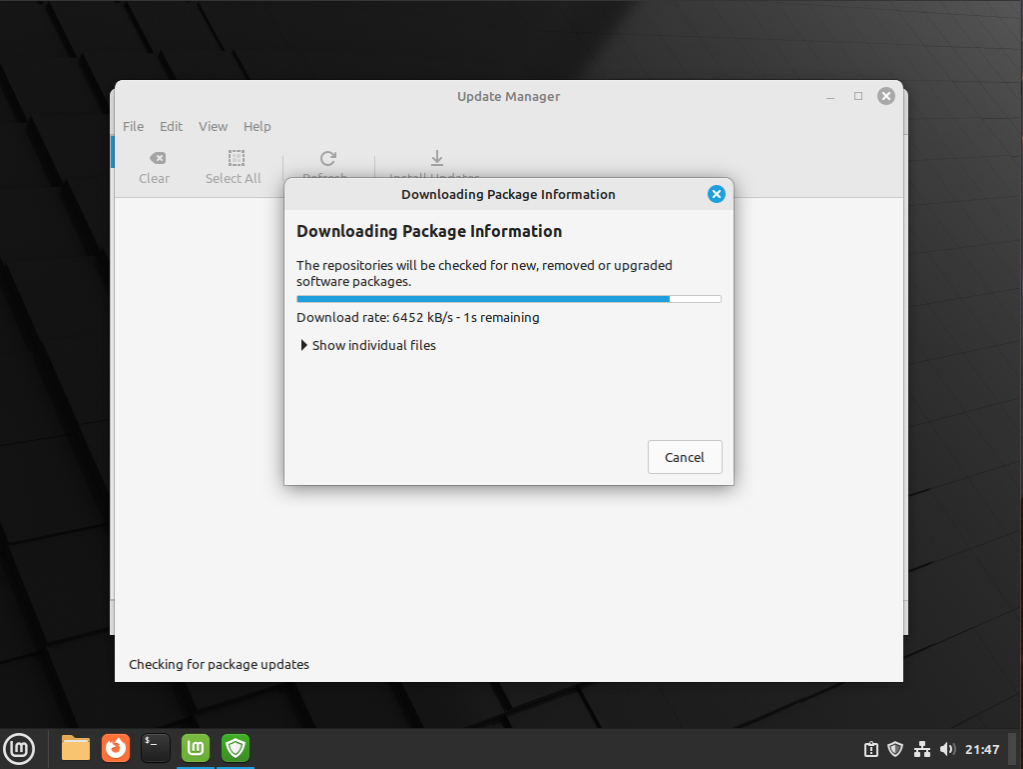
The Update Manager updates it’s database:

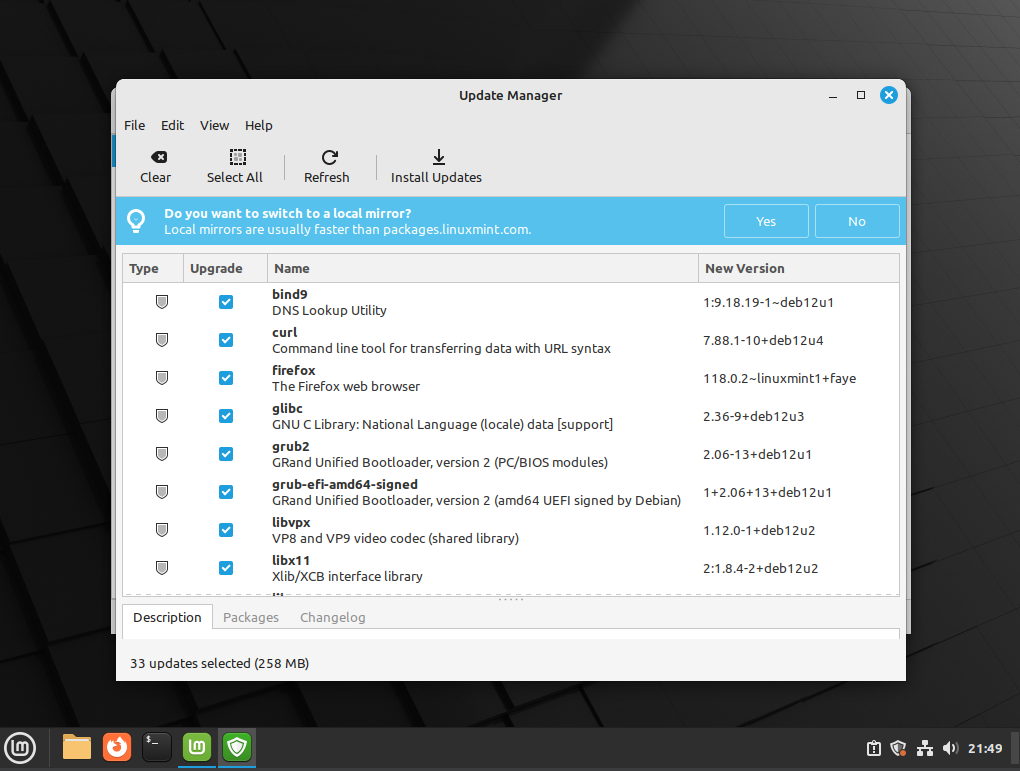
then shows you the list of updates. You can look them over if you want, but you should press the “Install Updates” button in the top tool bar when you’re ready:

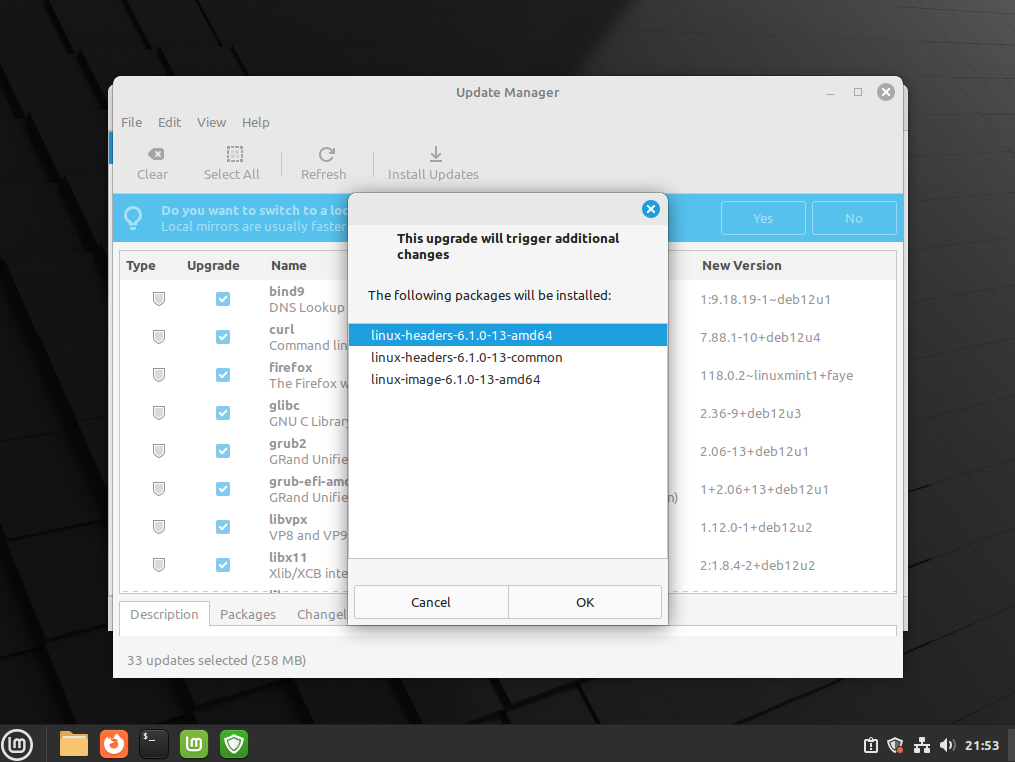
A pop-up dialog informs you about additional dependencies (additional changes) that are needed by the software that must be updated. In this case, it’s a new Linux kernel and a few associated packages. Press the “OK” button to continue:

Next, enter your password, then click the “Authenticate” button to authorize installation of the updates:

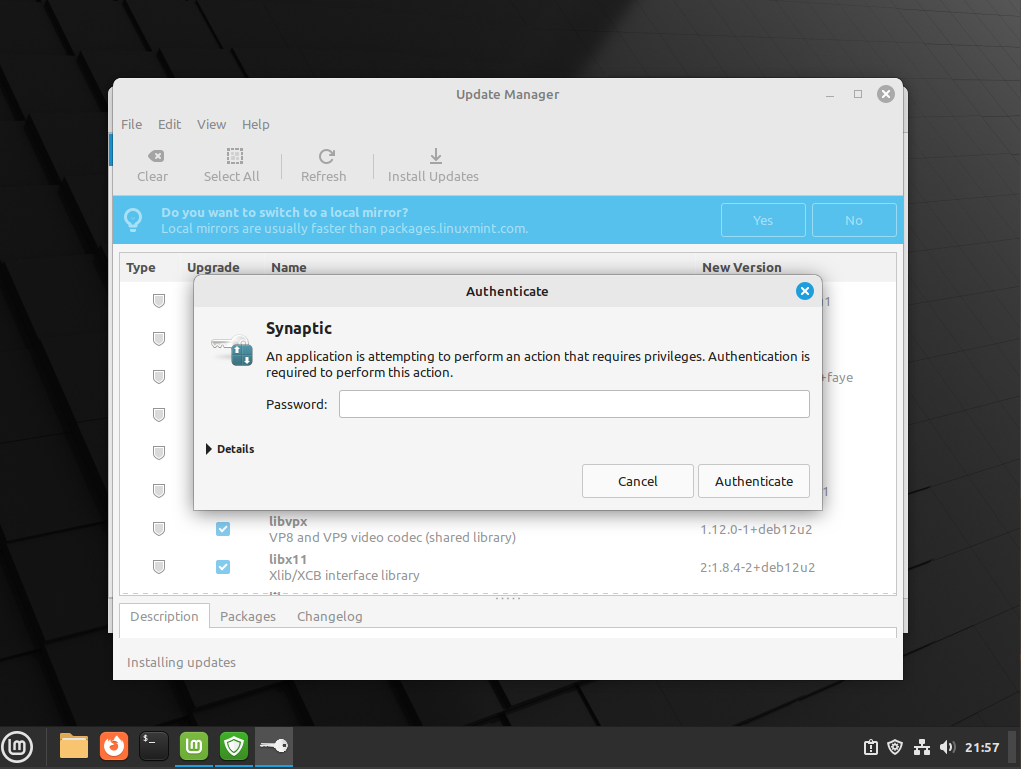
You can click the Details drop down if you want to see everything that’s happening in detail, but I’m not going to do that now:

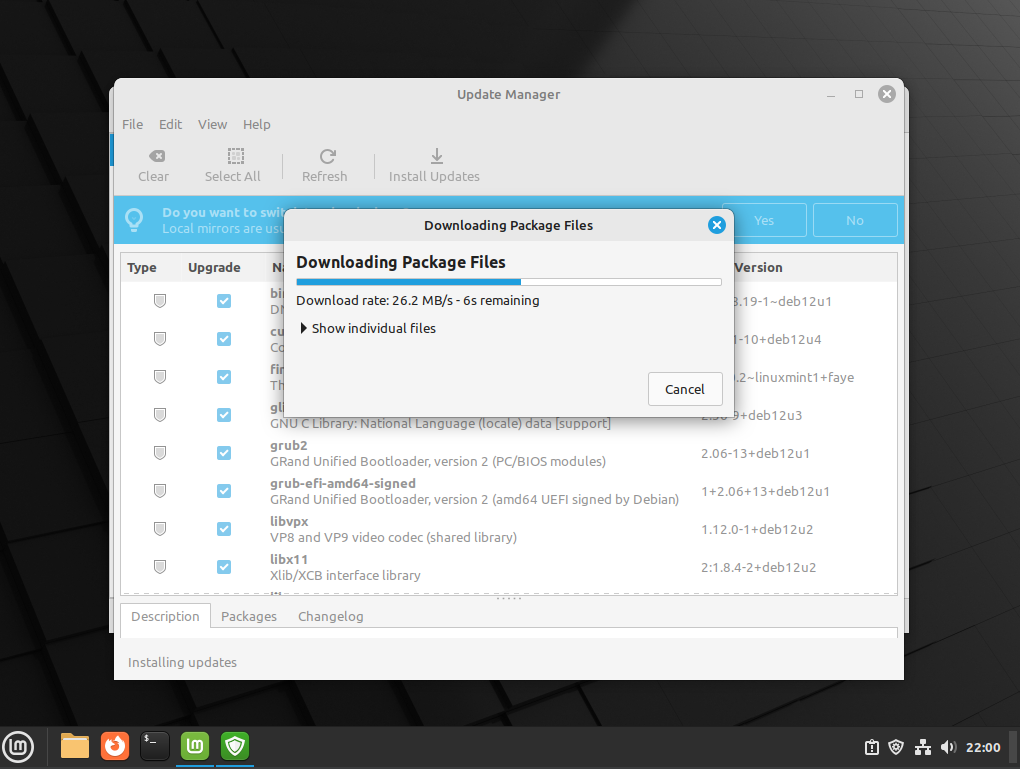
When the Update Manager finishes, You can close the window. Now, to the Welcome tool. Press the “Let’s go!” button to get started:

The First Steps page is where all the configuration action is happening:

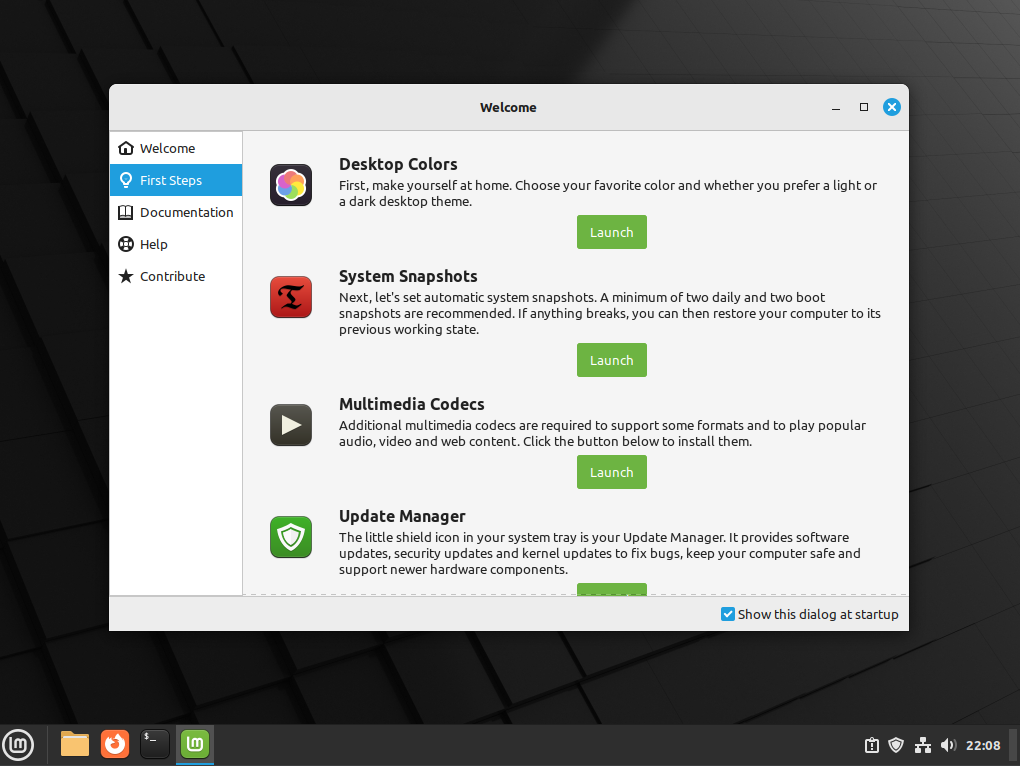
Go over each item here to make your choices. Take your time, there’s no rush. These settings aren’t engraved in stone. If you make a note of what you’re changing, the original setting, and the change you make (what you change it to), you can easily come back and revert the change if you don’t like it. Besides, it’s always a good idea to keep a record of what you do to your system. You never know when you’ll need that information. The items here are fairly self documenting, so I’ll end this here with one last suggestion. While the Welcome app is open on the desktop, ALT+Click it’s icon in the panel and select “Pin to panel”, then de-select the check box next to “Show this dialog at startup” (bottom-right of the window). This will make it easily available whenever you need to access those settings (or the documentation). You can use the same procedure (ALT+Click an app’s icon anywhere in the menu system and choose “Pin to panel”) for any other app you find yourself using a lot.

I hope this is helpful for others,

Ernie

4 Likes

That is absolutely essential for any system work.
Keep a notebook.
Noone could remember all the steps taken in an install or a configure. Write it down.

3 Likes

It’s about 5am in Glasgow Scotland I’m fast asleep,suddenly I wake up and think ‘I wonder if Ernie has found the time or the inclination to update that last post on Installing LDME6 ?’
I switch on my laptop lying on the bed and there’s your update posted just about 10 mins earlier :thinking::grinning:
Very helpful indeed ,thank you so much .It’s pitch black outside,raining and the laptop I want to clear Windows 10 from and replace with LDME6 is downstairs so I’m just going to reread your guidance ,close my eyes and hopefully about 8.30 am make a start.
Normally house is busy on Saturdays but for variety of reasons today I’m not expecting any visitors so looking forward to spending much of the day fully investigating and learning my way round LDME6.

Very grateful indeed for your help here ,the FOSS Community is very interesting ,friendly and informative . I feel as a new starter on Linux guilty I am taking not giving yet but hopefully in time I can in some way reciprocate .Hope the weather in NY area is better than it is here at the moment but does seem a good day to be inside on the laptop :saluting_face:

2 Likes

Got notebooks everywhere .Been keeping notebooks for many years on my experience learning to get better at golf and it is interesting,informative and fun to look back and see when I’m not playing so well what worked for me on the days when in contrast the game seemed so easy .

1 Like

I’m very happy I can help, and I hope my work helps others as well. The weather has been a bit drizzly here in North-West Ohio where I live, and since it’s fall, getting cooler, in the low 40s now, but that’s rather warm here for late October, so I’m not complaining :slight_smile:, Again, I’m very happy to be of help,

Ernie

1 Like

That’s what I do, and I keep a record of all the tips and tricks I learn along the way too in a second notebook. Since I dual-boot, I keep notebooks for both Windows and Solus (my current favorite distribution of GNU/Linux - a total of four notebooks). I think I’ll peruse my local office supply store near me to see if there isn’t a way to get all that information organized into one or two notebooks sometime soon. That may be easier to deal with :slight_smile:)

Ernie

I keep that bit in the computer. I just hava a directory with a whole lot of text files with helpful names.

1 Like

I’m most definitely a notebook person in fact my children say when I eventually fall of my perch they are going to save massively on funeral expenses and kill two birds with one stone ie get rid of all my notebooks by using them as a funeral pyre cremation as they typically do in India etc .

Not sure how my home insurance assessors would look at things if my house ever went on fire :thinking::face_with_peeking_eye:

Back to computers. Looking through some CD’s and DVD s this morning for some music and came across a n old 2019 but unused DVD which was issued with a a Linux magazine “ Getting started with open SUSE Leap 15.1 64 bit

As I have one or two older laptops with Windows on them and am now interested in substituting different Linux distros to try them can I use such a disk now to get openSUSE loaded on one and then run an update to bring it up to the latest version ?

If this makes any sense any useful tips to avoid me as a Linux Green beginner getting into a knot ?

1 Like

That sounds a bit like a targeted, single-topic diary and I’m sure it works very well for your purposes regarding your golf history, but I do things a bit differently for my computers here.

I have a desktop and a primary laptop PC, both of which run Windows 11 and Solus GNU/Linux. I also have an older laptop PC that will never run Windows 11 because it’s CPU is too old. It runs Windows 10 and Solus GNU/Linux currently.

For each of these PCs, I keep loose-leaf notebooks for hardware and configuration changes. I also keep notebooks for each OS I’m using (currently Windows 10, Windows 11, and GNU/Linux) with tips and tricks I’ve learned over the years.

All of these notebooks are organized by topic, in chronological order. Each topic has it’s own page(s) with dated entries, so they’re recorded in chronological order and I can know when they were recorded. When an entry needs updating due to some change, I create a new dated entry with a reference to the earlier one rather than editing the original. This keeps my information complete, and I can even see how things change over time if I need/want to.

I started to learn to use, assemble, and work on computers in the 1990s when the IBM-compatible PC I had at the time suffered a head crash. It had an 8088 CPU, 640MB RAM, and a 40MB MFM Hard Drive. I won’t go into the details here, but that event started my adventure into the wonderful world of computer hardware and learning to assemble them.

This sums up a bit of my history with computer technology and how I keep my records. I hope others find my ramblings useful,

Ernie

1 Like

I started with notebooks back in the good ole’ MS-DOS days, but I’ve been thinking about digitizing some/all of that information to make it easier to manage/access. When/if I get all that done (it’ll be a very big project), I’ll still have a physical hardware notebook for each computer with it’s configuration notes digitized and stored on that machine. I’ll probably put my tips and tricks notebook entries in the cloud (on OneDrive) so I can access them from any of my computers, even when I’m in GNU/Linux (there’s a onedrive GNU/Linux client available on GitHub). That project will probably have to be a spare time endeavor because it’ll take a long while :slight_smile:

Ernie

2 Likes

There are currently two openSUSE distributions, Tumbleweed and Leap.

Tumbleweed is a rolling distribution. Rolling releases do incremental updates, but never any periodical version releases. A rolling release usually has the latest stable versions of software available at any given time, and updates tend to come in spurts, depending on upstream activity.

Leap is a versioned distribution. Security/software patches are released based on upstream activity, but they tend to stay with the current Long Term Support (LTS) kernel and other software’s primary versioning. You usually only get newer primary version software/kernel updates when the distribution releases a new version (e.g.: when the current release changes from Leap 15.4 to 15.5, or 16.0, etc.).

You’ll have to decide which paradigm is best for you, but since you’re new to GNU/Linux, I suggest you start out with a versioned release paradigm, SUSE leap here. LMDE is a great example of a versioned distribution.

I hope all this helps you decide what you want to do going forward,

Ernie

2 Likes

I would suggest you just download the newest version and sample it in a VM or Boxes. Upgrading over four years of versions is likely a non-starter.
I hasten to add that I am a ‘flush and reinstall’ hobbyist, not an ‘upgrade’ hobbyist.
And for Pete’s sake, don’t forget to pipe all your data to an external HD or DropBox or MEGA.NZ before you do anything else!
Best of luck!

2 Likes

Am I interpreting your answer correctly ie given my lack of experience and the fact that I have the DVD your view seems to be that it is probably best for me to get some experience of trying openSUSSE by using the DVD I have . I presume if I do that and like what I find but have difficulty updating later I could erase this earlier edition and load up and use the most up to date version ie use what I have for the moment as a suck it and see trial first . ?

Not quite. As said by

I’d also suggest you download the current version of SUSE Leap, and try it out in a virtual machine. The easiest way to do this if you have Windows on a fairly powerful computer is to install Oracle Virtual Box there, then create the VM by following the prompts in V-Box. There is also a GNU/linux version, but depending on which distribution you attempt the installation on, there may be additional packages/configuration required to get it working correctly.

My personal preference is QEMU+KVM because I find that the VMs I run in it seem to run better and more efficiently, but setting it up can be a bit daunting for those new to GNU/Linux.

If you don’t want to mess around with setting up Virtual Box, etc, and you have an older computer you want to put it on, go ahead and do that. Download the ISO image file, put it on your Ventoy stick, and boot up and install it, but I ansolutely don’t recommend installing such an old release as what you mentioned above.

If there’s nothing on that computer that you don’t want or can’t afford to lose, you don’t even have to erase the drive first. Most distributions have the option to wipe the disk and replace the old OS.

I hope all this helps,

Ernie

3 Likes

Nope. Download the newest ISO and try it as a LIVE OS in a VM or on a USB. Don’t install anything!

3 Likes