For this item, I’m assuming the reader can create a bootable USB stick using the LMDE6 ISO image, Ventoy, or can follow the directions in the Linux Mint Installation Guide at (Linux Mint Installation Guide — Linux Mint Installation Guide documentation) and that you know how to boot from your USB stick.
I’m using Virtual Box to get screenshots for this tutorial. Here I’ll demonstrate automated Installation where the entire disk is erased and LMDE replaces whichever OS you had installed before. If your computer has Secure Boot, you can keep it enabled with this OS if you want to do so.
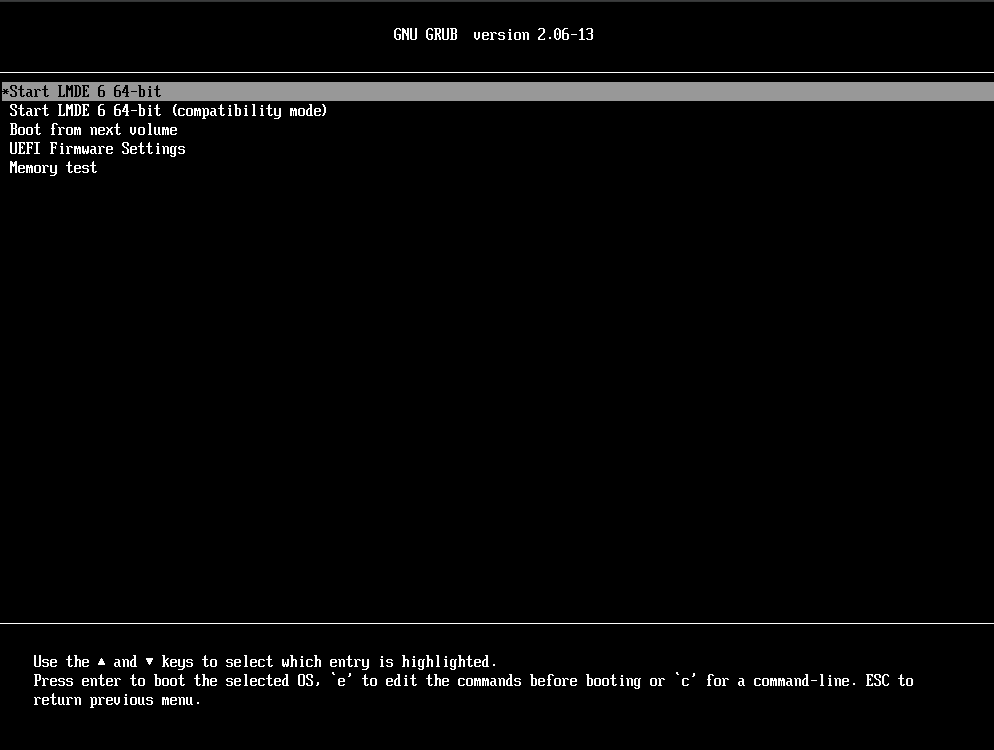
After booting LMDE 6, the first screen you’ll see offers you several options. In most cases you should choose the first option “Start LMDE 6 64-bit”. If the first option doesn’t work correctly for some reason, try the second option “Start LMDE 6 64-bit (compatibility mode)”:
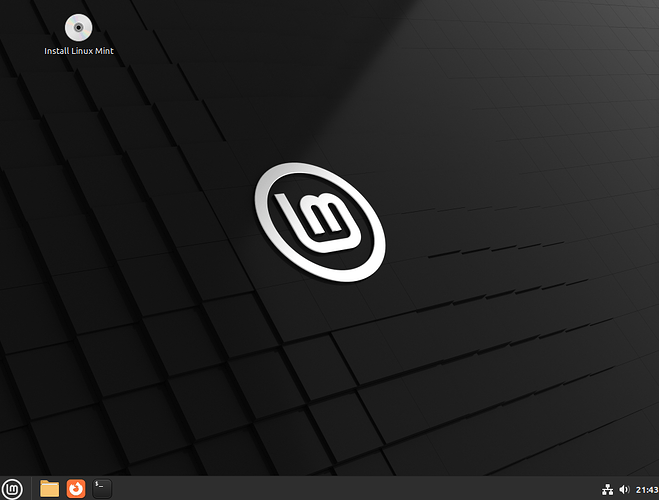
After the LMDE desktop loads, double-click the “Install Linux Mint” desktop icon (upper-left) to start the installer:
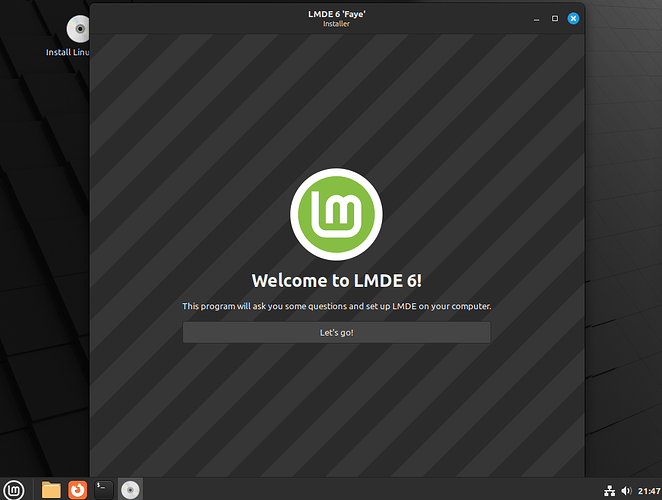
Click the “Let’s go!” button to get started installing LMDE6:
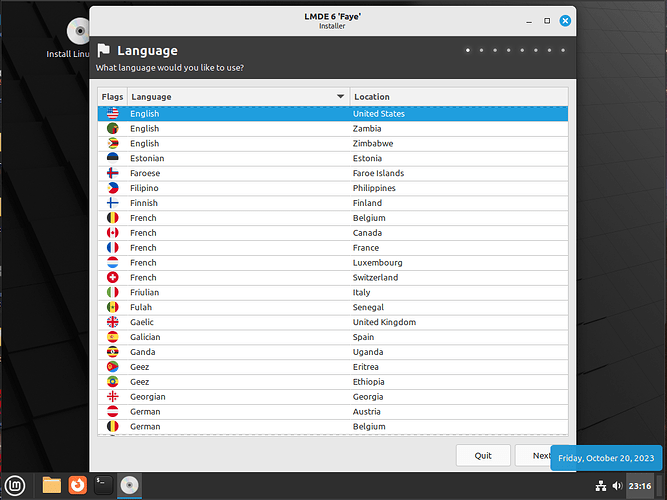
In the resulting screen, choose your language/Location (I live in the United States, so I selected the first option, English - United States) then click “Next” (bottom-right):
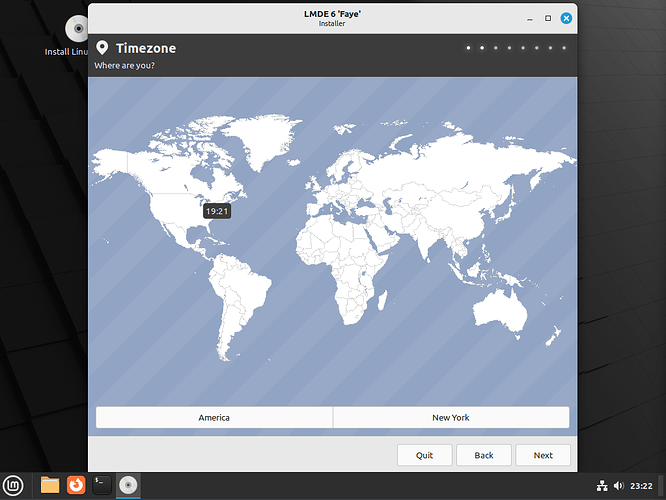
The next screen is for selecting your timezone. America - New York is preselected (correct for me), but there are two ways to change it.
- Click the map where you live, making adjustment clicks until you have it right.
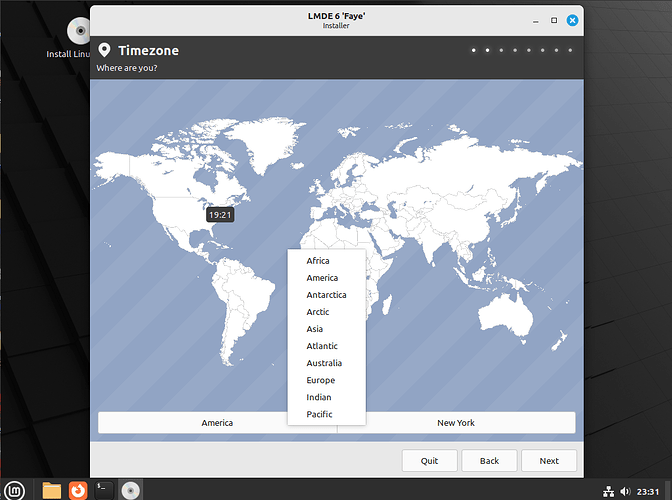
- Near the lower-left, there is a button labeled “America”. Clicking that will pop-up a list of 10 regions (Africa, America, Antarctica, Arctic, Asia, Atlantic, Australia, Europe, Indian, and Pacific). Choose your region, then click the right button (labeled “New York”) to choose your timezone. When you’re finished, click the “Next” button (bottom-right):
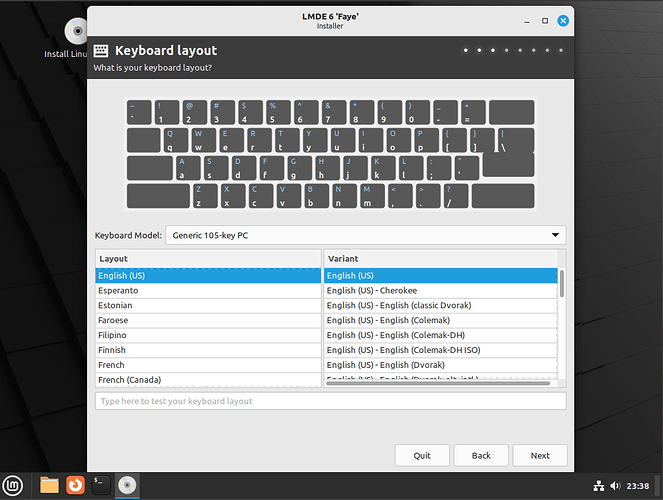
This screen is for choosing your keyboard layout. If your keyboard layout and variant are not both English (US), choose the correct layout in the left list, then the correct variant in the right one. When finished, click “Next”:
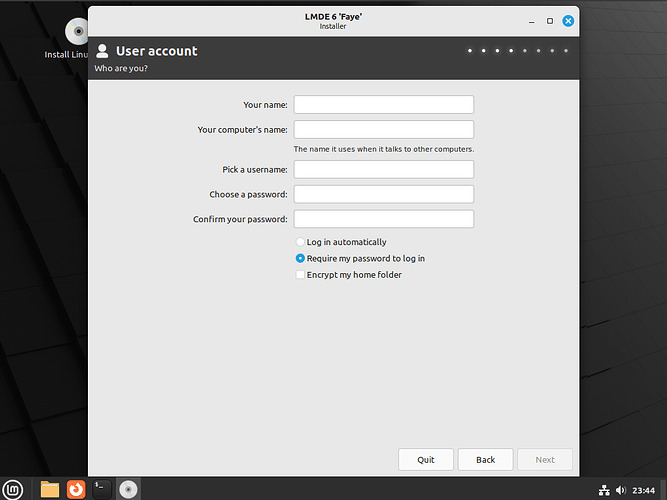
Next comes setting up your user account.
Enter your name in the “Your name” field
Enter the name you want to give your computer in the “Your computer’s name” field (this is the name other computers will “see” when communicating with your computer)
Enter the user name you want to use to login in the “Pick a username” field
Enter the password you want to use when you login in the “Choose a password” field
Finally, Enter your password again in the “Confirm your password” field to make sure there are no errors in entering the password. Below these data fields are three options, “Log in automatically”, “Require my password to log in”, and “Encrypt my home folder”. The “Require my password to log in” item is pre-selected. I recommend you keep it that way. If you want to encrypt your user data, you can select the “Encrypt my home folder” option. I don’t use that option, but my system would probably be a bit more secure if I did. When finished, click the “Next” button:
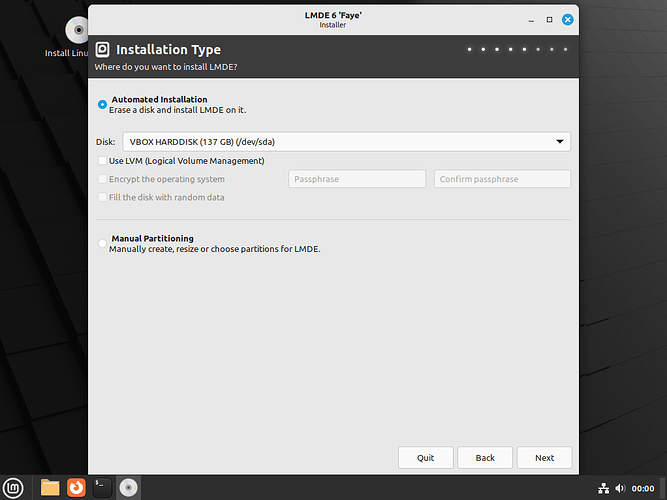
This may be the most confusing screen of all. LMDE offers two installation options:
- Automated Installation (Erase a disk and install LMDE on it) - the default.
- Manual Partitioning (Manually create, resize or choose partitions for LMDE).
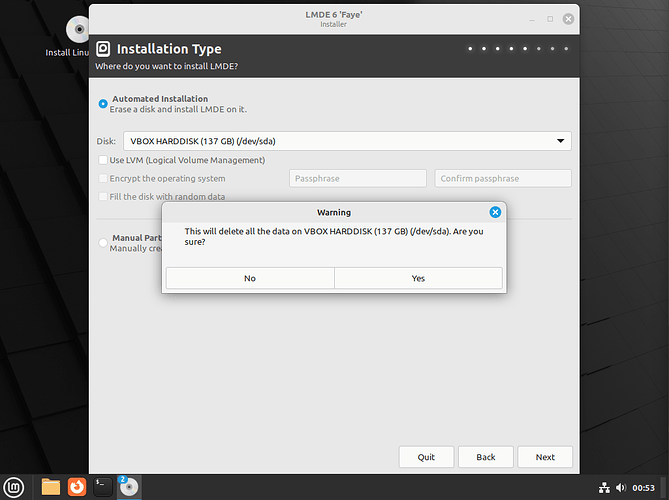
Option 1 will erase and remove all partitions on the selected disk, then create new partitions and install LMDE. If you want LMDE as the only OS on your computer, this is the option for you. On the other hand, if you have Windows or some other OS already installed on your computer and you want to keep that OS too, you should go with option 2 (Manual Partitioning). As stated above, for this item, I’ll demonstrate option 1 (Erase a disk and install LMDE on it). Since Automate Installation is pre-selected, I’ll click the “Next” button (bottom-right). A warning message will pop-up to inform you “This will delete all the data on [drive name] (drive size) (drive designation e.g.: /dev/sda) Are you sure?”:
If you’re sure, select the “Yes” button:
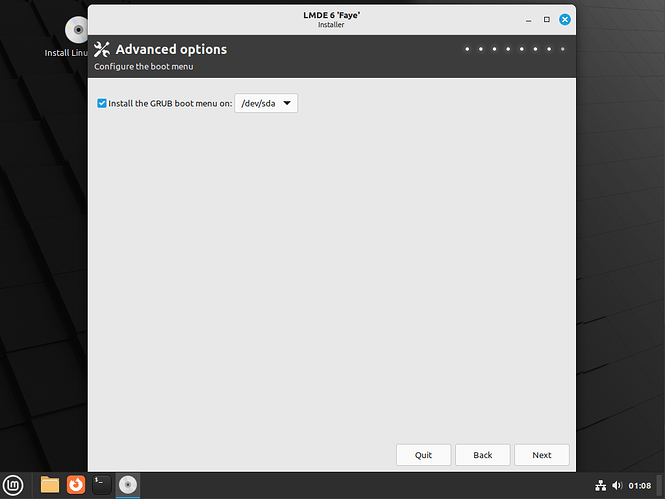
This takes you to the Advanced Options screen where you configure the boot menu/loader. The default option is to install the GRUB boot loader on /dev/sda:
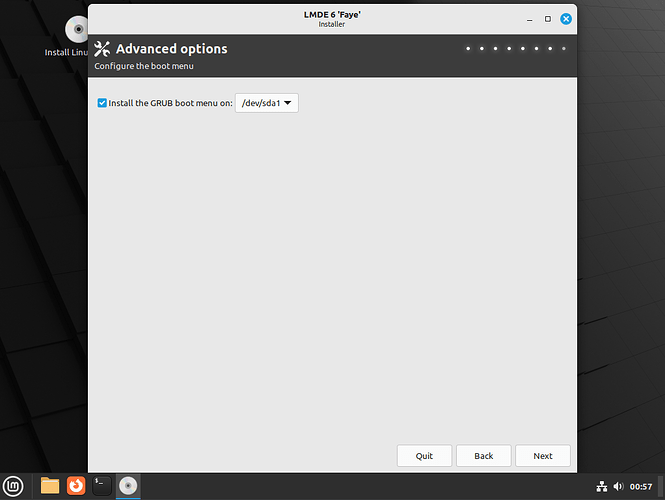
If your computer supports Secure Boot (whether it’s enabled or not) this is the wrong option for you. Click the drop-down on the right side of that field and choose “/dev/sda1”. On the other hand, if your computer can’t run Windows 11, AND doesn’t have a Trusted Platform Module version 2 (TPM2) and does not support Secure Boot, you can keep the setting on “/dev/sda”. Since I’m setting things up with Secure Boot enabled, I’ll choose “/dev/sda1” for this item, and click the “Next” button (bottom-right):
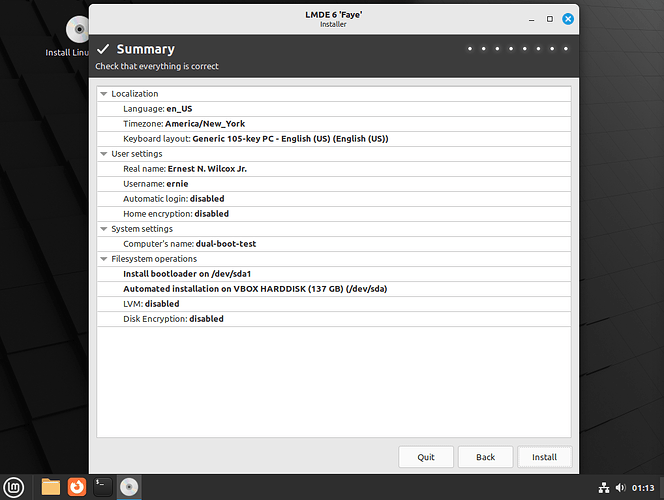
This takes you to the summary screen. Look it over very carefully. This is your last chance to go back to make any changes or fix any mistakes you may have made. When you’re satisfied with the settings you see here, press the “Install” button:
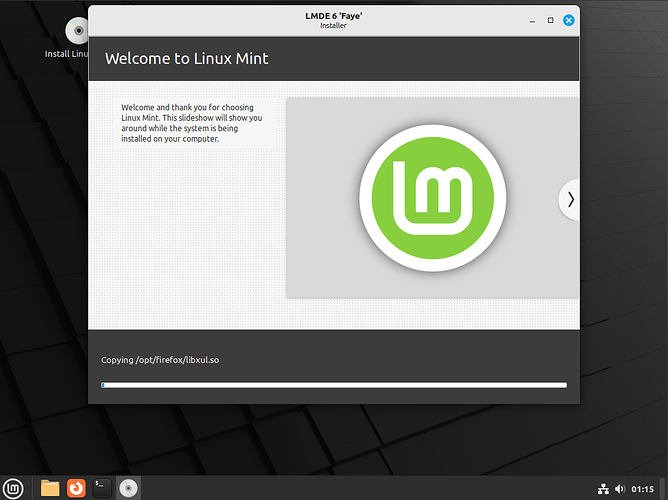
Here you see the Installer doing it’s job. It’ll show you a few things you can do with it. The installation may take some time, so be patient:
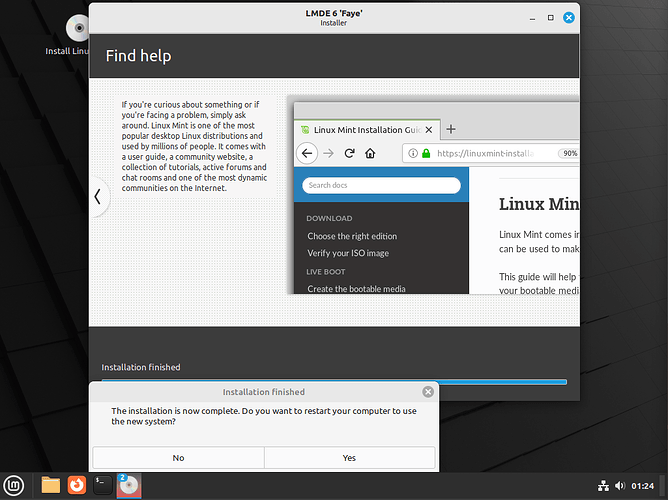
When the installation is finished, an Installation Finished dialog will pop up, offering you the option (Yes) to restart so you can use your new system, or (No)continue with the live system you’re in now. I always choose the “Yes” button:
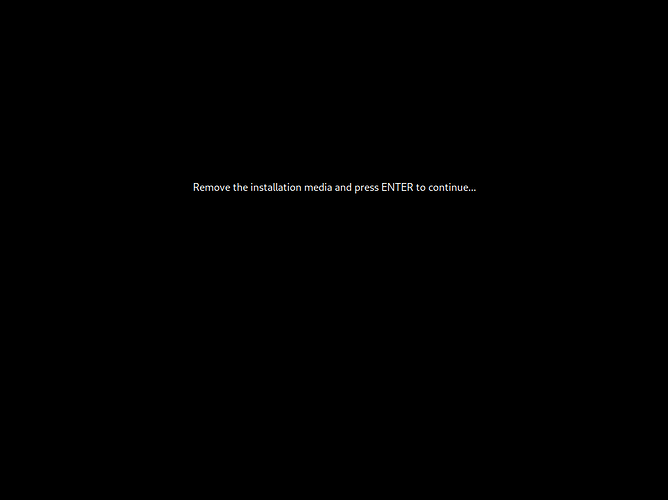
The last installer screen you’ll see before you restart is the “Remove the installation media and press Enter to restart” one. After you press the ENTER key, your system will reboot into LMDE 6:
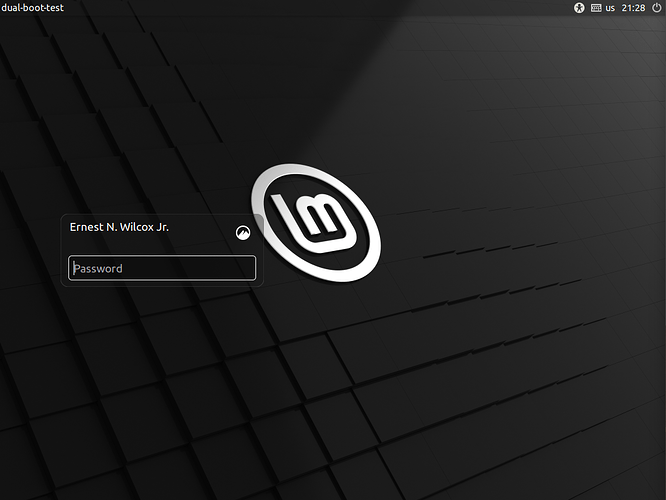
At the login screen, enter your password and press the ENTER key to sign in:
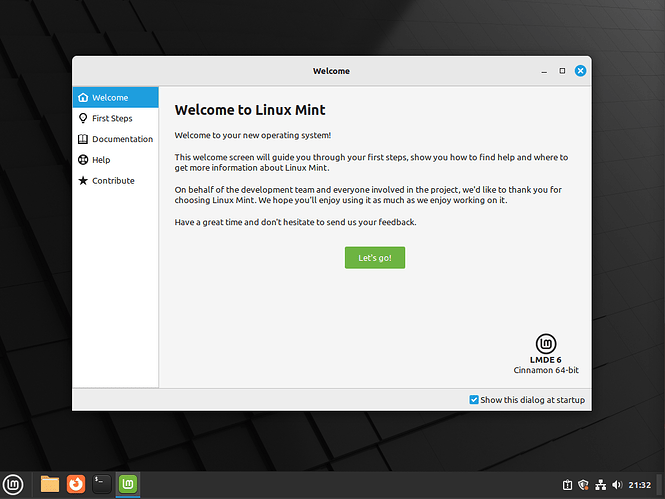
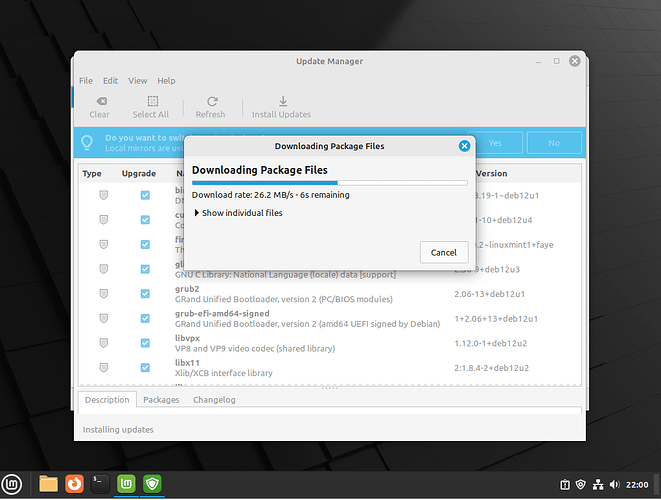
You’ll see the Welcome app/page on the desktop: It’ll guide you through some configuration settings to customize your new system, but first, you have some updates to install. If you look at the notification area near the system clock at the lower-right of the screen, you’ll see a two-colored shield icon with a red dot on it. That’s to tell you there are updates to be installed. I strongly suggest you click that shield icon to update your system before you do anything else:
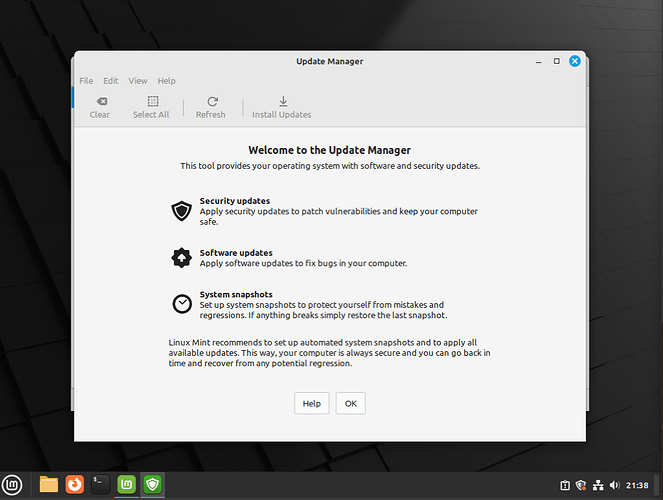
Since this is the first time you have used the Update Manager, it gives you some information about what it does for you. Read the information so you understand what all it does, then press the “OK” button to get started with installing the updates:
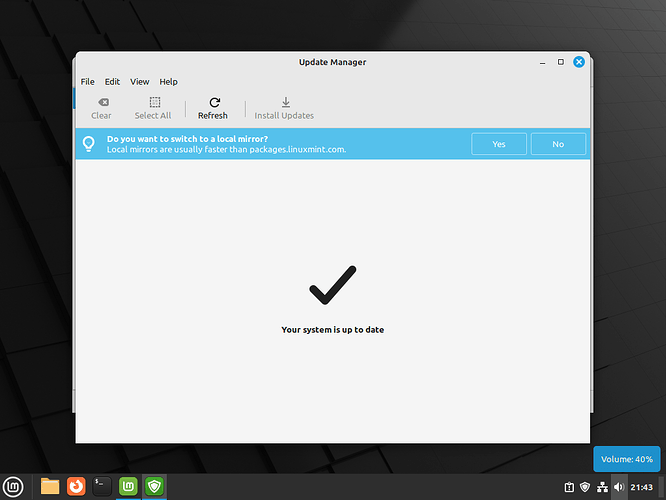
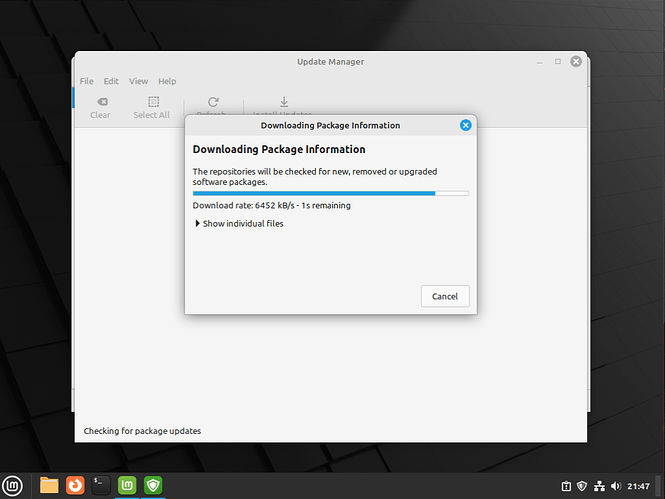
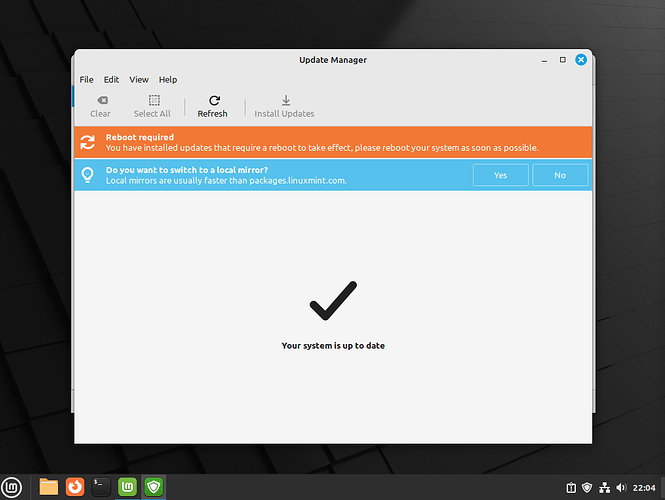
The Update manager will tell you your system is up to date, but that’s not the true story. Based on the information it has now, your system is up to date, but if you click the “Refresh” button in the tool bar near the top of the window, that’ll change:
The Update Manager updates it’s database:
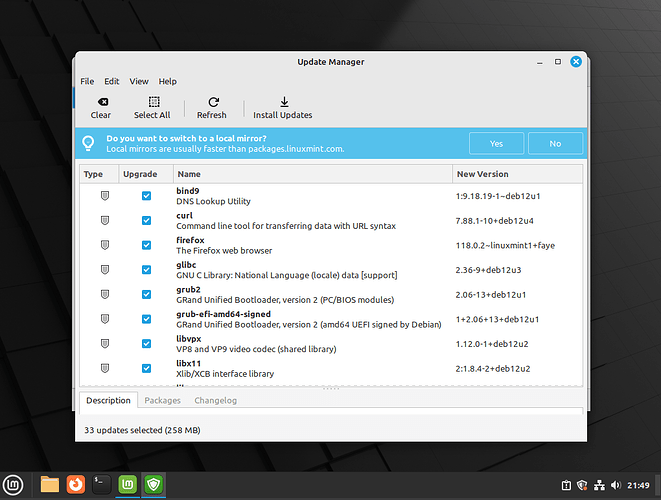
then shows you the list of updates. You can look them over if you want, but you should press the “Install Updates” button in the top tool bar when you’re ready:
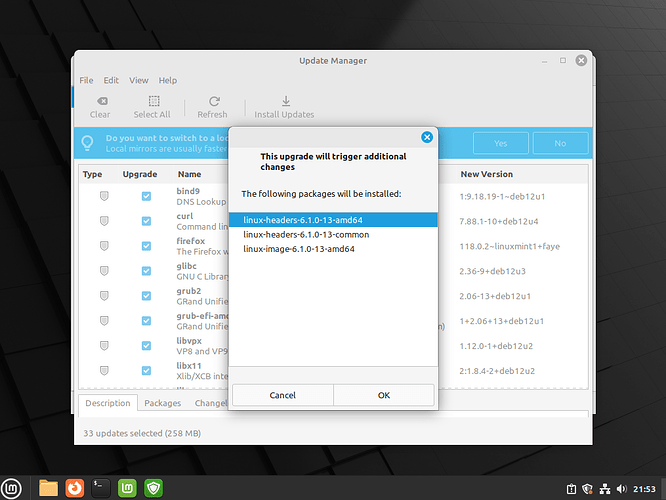
A pop-up dialog informs you about additional dependencies (additional changes) that are needed by the software that must be updated. In this case, it’s a new Linux kernel and a few associated packages. Press the “OK” button to continue:
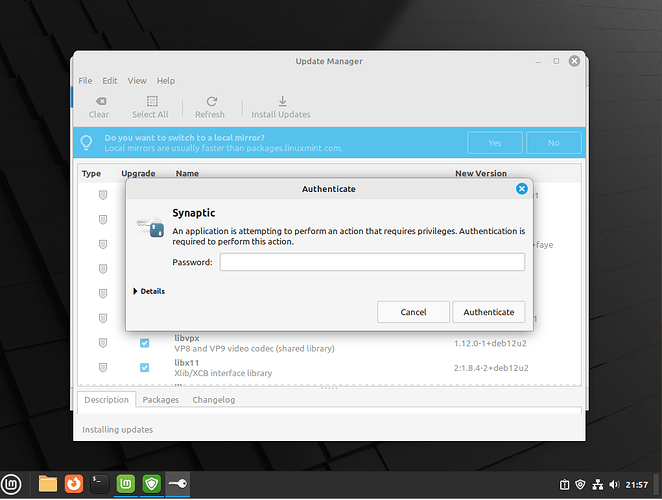
Next, enter your password, then click the “Authenticate” button to authorize installation of the updates:
You can click the Details drop down if you want to see everything that’s happening in detail, but I’m not going to do that now:
When the Update Manager finishes, You can close the window. Now, to the Welcome tool. Press the “Let’s go!” button to get started:
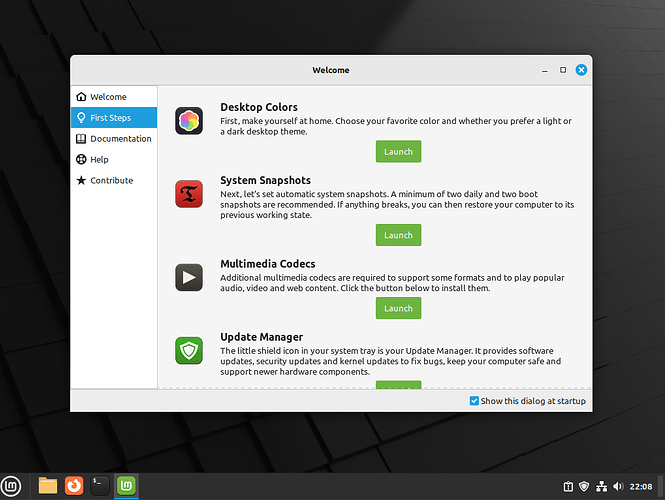
The First Steps page is where all the configuration action is happening:
Go over each item here to make your choices. Take your time, there’s no rush. These settings aren’t engraved in stone. If you make a note of what you’re changing, the original setting, and the change you make (what you change it to), you can easily come back and revert the change if you don’t like it. Besides, it’s always a good idea to keep a record of what you do to your system. You never know when you’ll need that information. The items here are fairly self documenting, so I’ll end this here with one last suggestion. While the Welcome app is open on the desktop, ALT+Click it’s icon in the panel and select “Pin to panel”, then de-select the check box next to “Show this dialog at startup” (bottom-right of the window). This will make it easily available whenever you need to access those settings (or the documentation). You can use the same procedure (ALT+Click an app’s icon anywhere in the menu system and choose “Pin to panel”) for any other app you find yourself using a lot.
I hope this is helpful for others,
Ernie
