I am posting this here which is an an original article from me originally posted on my blog. It was written in response to the many websites that claimed to be guides and were quite honestly not that at all. This is meant for anyone trying Mint for the first time. In order to ensure accuracy I have referenced Mint Home pages, installation guides and blogs or as stated below by me shown the sequences as they are presented during the install.
Please note the sequences shown here are exactly the ones that happen during the install procedure in the order that they have come up during a live install done by me and taken from screen shots as they came up.
I have taken it for granted that you have got a Mint image either on a CD/DVD or USB. That is all you need now nothing else at all. Oh okay, before someone says about it. You will have done a back up on the system you are using onto an external drive, if not do so before going any further. It might be as wise to also do a restore point on that system, IN THE HIGHLY UNLIKELY EVENT SOMETHING GOES WRONG DURING THE MINT INSTALL.
I really don’t need to tell you to put the CD/DVD or USB in their drives do I? Good So now let’s carry on. After re-starting your system you need to press usually F12 key to change what it boots (loads) into. If you are unsure of what key to press then, this is a good place to look : List of PC brands with their corresponding hot-keys if it is not there then look on the website for your PC/Laptop maker and it will tell you there (or should do so). Then select what you want to boot from, from the list.
There is another way of doing this and that is to set your hardware up so it loads right away to the where you have your image stored. The way to do is is by pressing, again usually, F2 key and going into the BIOS set up and moving along to the where it says BOOT, which you do by using the arrows on your keyboard. When you are there you will see that there is something called Boot priority order. This will have your hard disk, that is what you are using now as the first item, because that is where your current operating system is. Now you want to change this order. You need to place whatever you are booting to first and you do this by clicking on and using the F6 key move it to the top. That way when you restart the system will go to that first. Remember to press F10 to accept the changes, before leaving and restarting or things won’t change. Mint 19 &19.1 boot in UEFI so you don’t have to change that. Don’t forget to press the F12 and boot into where you have your Mint installed, I say this because I’ve known it when the hardware just goes straight to the OS installed area not where you want to go.
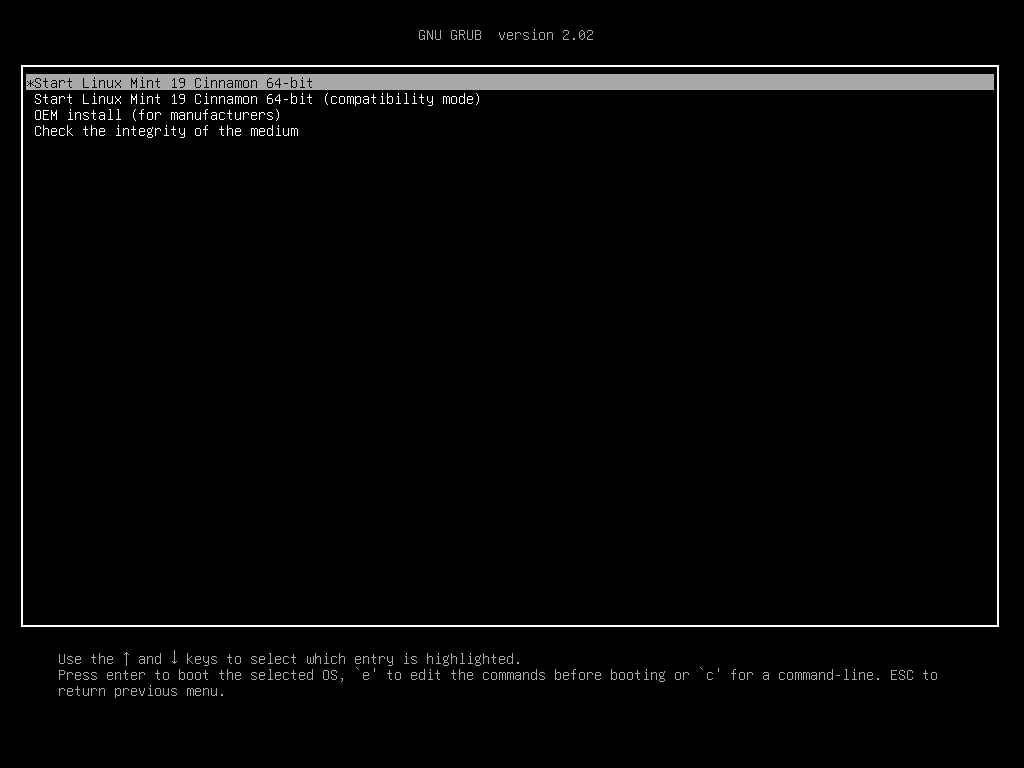
Once we have done the above we are taken to this screen: Highlighted here is the Mint 19. which we are now going to go to.
Once Mint has loaded we are taken to our desktop, which at the moment is not a permanent one and no changes will be made to our system. This is important to remember.

If you are familiar with Windows at all you will see that is very similar to that, with the panel at the bottom of the screen, but where the Windows logo is we see the Mint logo. Other differences here is the addition of Bluetooth and files and desklets which is a short cut to the desktop. You will also notice the black box, this is called the Terminal, but we do not have to worry about that now. Another difference to later versions of Windows is as you see there are two icons on the left hand side which are called Home and Computer. Again we need not worry about this at this stage. On this desktop you can see the install medium, which is just called mint and below that the Install Linux Mint icon in the form of a disk. We are now going to start this off by clicking on this. Please note at this stage we could have connected to the internet and set our date and time before going onto start the install. It is a personal choice if you want to do this now or during the install process.
At this stage I like to set my date and time as it makes things slightly easier during the install.

With this done we can now move onto the actual installing by pressing the disk on the desktop which says Linux Mint install.
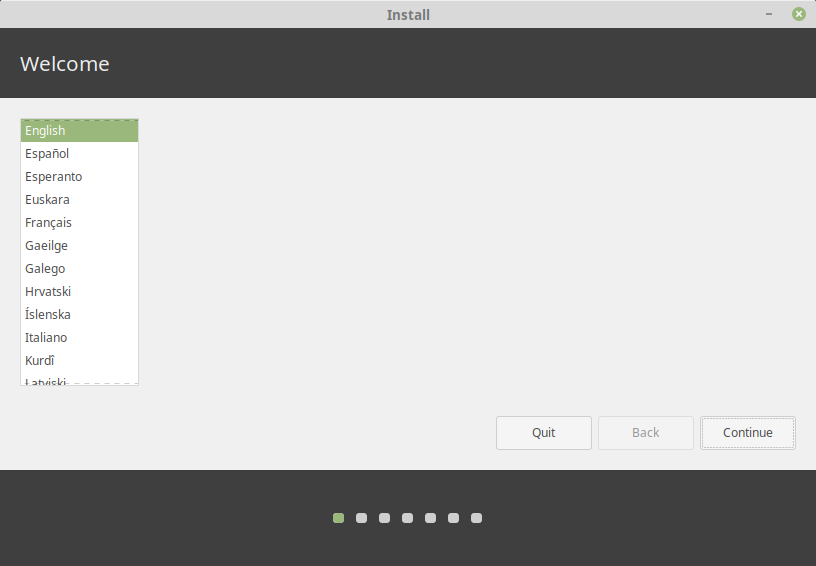
Here we see already that the language is set as English the next screen asks us what type of English we use, because the spellings and keyboards can be different, as is true of the English UK and the English US layouts.

As you may be able to see here we have now selected out native English and Keyboard lay out and from now on during the install we can use it without worrying about getting things wrong.
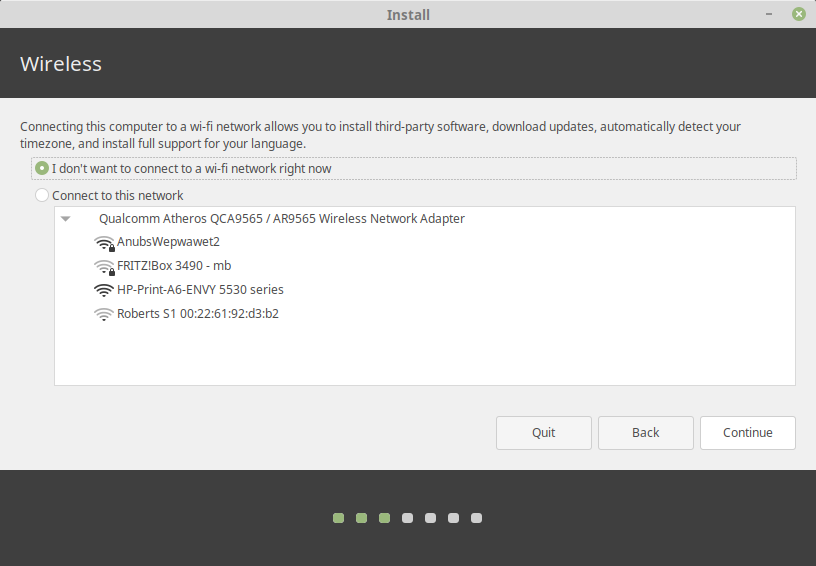
If you have not connected to the internet this screen will ask if you want to do so. This is where I say yes to this.

Here we enter the password. I like to show my password so I know have typed it in correctly. Once we have done this all we do is press connect.

At the above screen says it is now preparing to install Mint. First it wants to know if we want to install 3rd party software for graphics, and wifi hardware, flash and other media. It is a good thing to do this now as it saves having to do it later. The line under tells us that to do this we are required to turn off secure boot. I have un-ticked this box at this stage and have never had any problems with 3rd party items mentioned here. It is your choice if you do so, if you then remember it requires a password to complete this.

This first screen shown is one of a few screens depending upon the type of installation we are doing. In honesty I have to say that doing a clean install, without another Operating system is the easiest to do. This is what this is showing here and I have chosen to encrypt it because that makes it more secure. If you are doing this way then this next screen will come up.
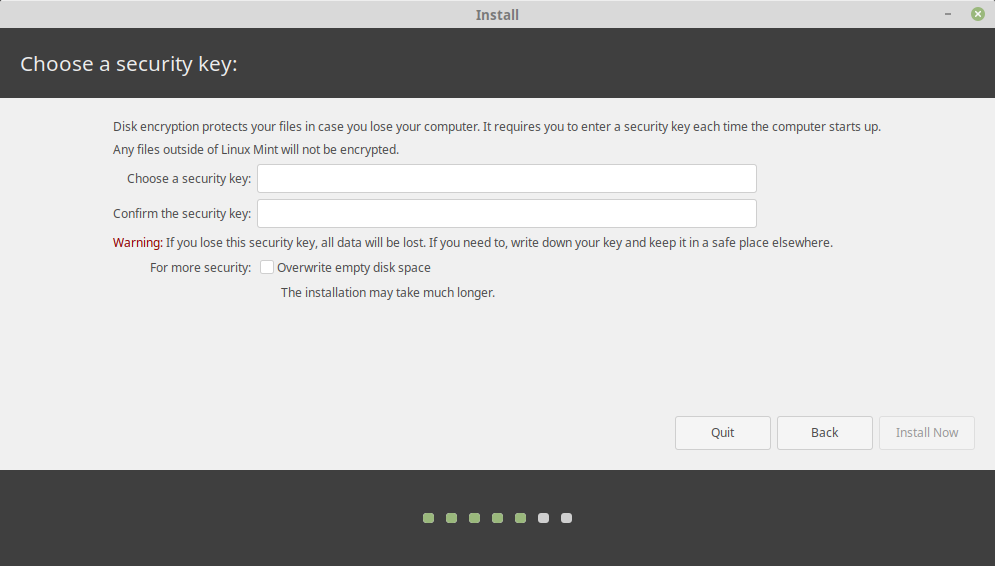
The above asks us to put in a password and if we want to encrypt the whole drive. It is worthwhile doing this for extra security.

Above Mint tells us that it will erase the disk and install Mint on and shows us that it is doing so.
Okay I said this was the easy way, there is another way and that is to install along side another OS as I mentioned above. Now if you go on line you’ll be told of so many ways of doing this that you’ll give up as I almost did until I found out that, Mint during the install will do everything for you.
This is a quote from the Official Mint Installation Guide : If another operating system is present on the computer, the installer shows you an option to install Linux Mint alongside it. If you choose this option, the installer automatically resizes your existing operating system, makes room and installs Linux Mint beside it. A boot menu is set up to choose between the two operating systems each time you start your computer.

As you can see here on the screen above Mint has detected that there is multiple operating systems and we have chosen to install along side them. This brings up the next window shown below :

At this stage it is easy to panic and think you need to be an expert and need all kinds of tool, you do not need to do anything other than let Mint do it for you and press install now.

This is the next screen (above) that comes up again don’t panic just press continue and wait until the next screen comes up. This is the final screen here (below) and Mint has created the partitions for us and now is ready to install on the partition it created for itself. See that was easy wasn’t it

Still keeping calm this might take some time to do as it says. Once this is completed we are back to where we would be if we had just chosen the first install and not to install along side another OS.
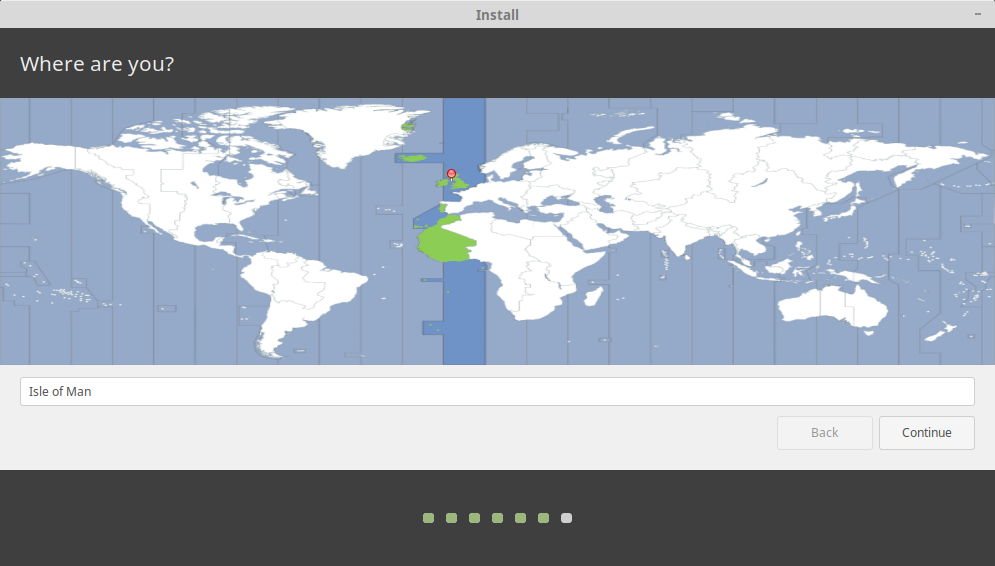
Above Mint is asking where we are, just to make sure that we haven’t made any mistakes and we are where we said we are to it. It has used our Internet connection to do this. It is also setting our time zone.
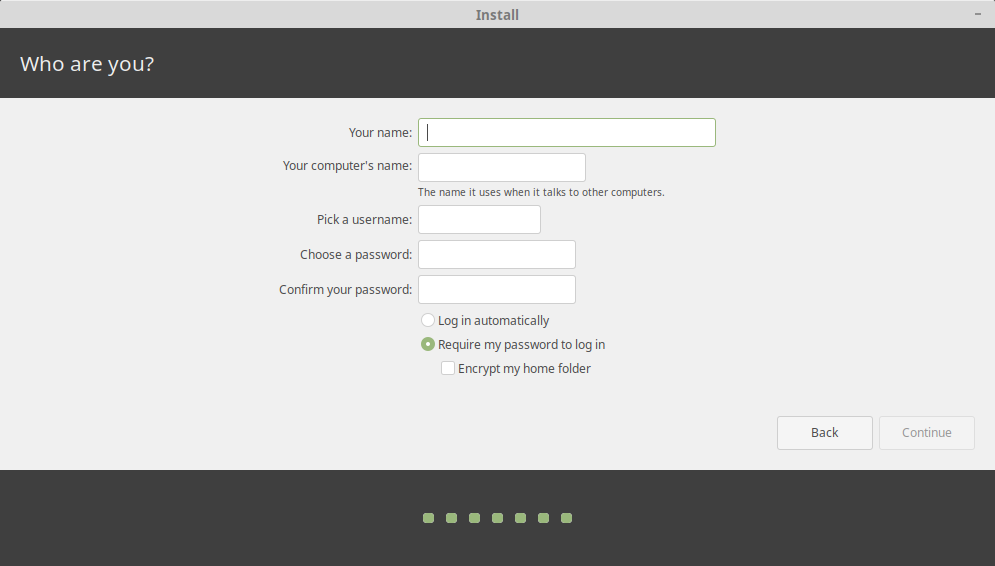
Above is the final setting up screen is the last one where we have to do anything.
Now we add our Name. It saves time when if you use the name you use for your emails, that is your formal name. You can call your computer anything you want really. Then add your user name, I tend to use the same name as in the first box. Now choose a password. Make it personal to you and although peeps tell you not to do it write it down as you use it a lot in Mint. Don’t forget to add numbers and symbols. If you choose to login automatically, it could mean that if you use Google Chrome, Opera, or Vivaldi browsers (there may be others but these are the ones I know) that you will be asked to sign in on them. Now there is one final thing and that is to encrypt your home folder or not. Now since you have already encrypted the install if you did a clean install, there is really little point in doing this (although others might disagree) as the person would need to know that password before getting to the log in screen which this protects and knowing this. If you haven’t then it is a good idea to encrypt at this stage.
Okay so that is all the work you have to do as now Mint just installs for you.
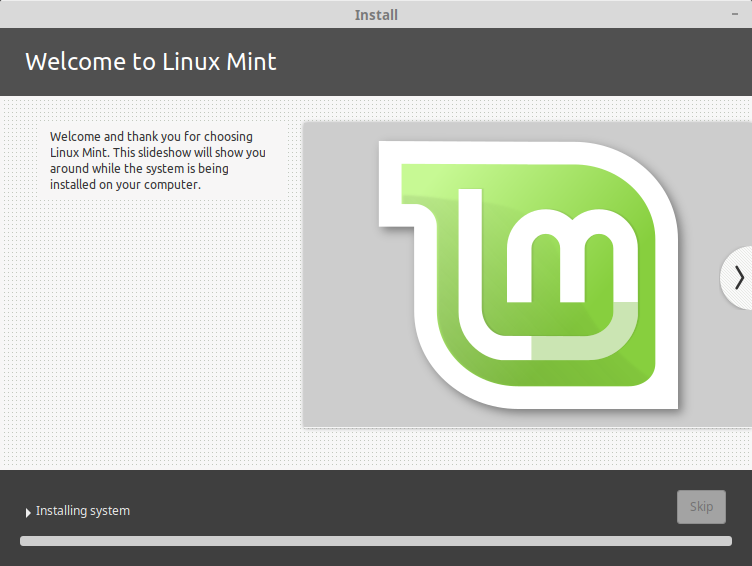
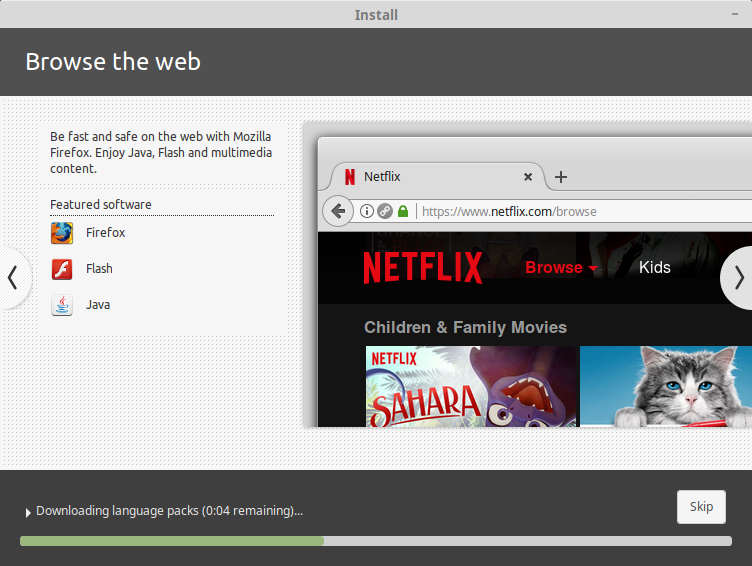
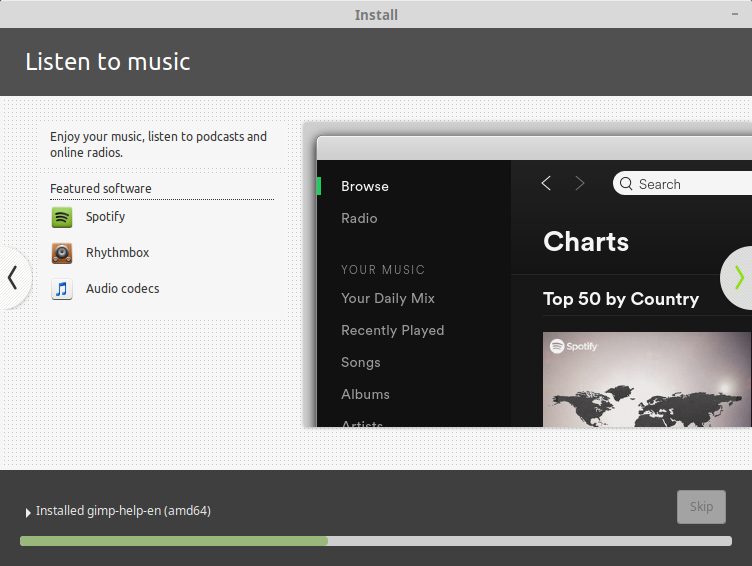

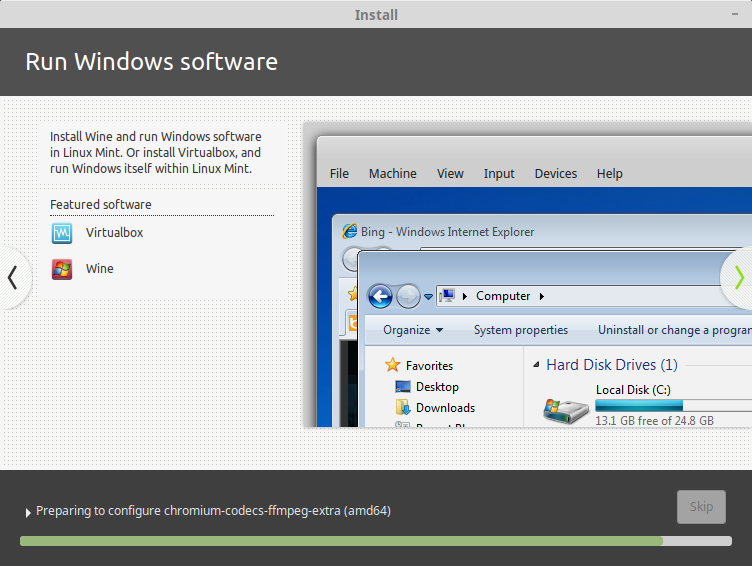
These are a few of the screens that come up during the installation.
Once Mint has completed it will tell you with another box coming up asking if you want to continue to test or complete the install by restarting. I don’t really need to show this as it is very clear what it is. If you choose to restart then during the restart Mint will tell you remove the installation media and restart.
Once you restart you will after logging on be presented with the same screen as with live addition but without the Install Mint present.
Note if you have encrypted the drive you will get blank screen that you will have to put the password in before it goes to the login page. If you just encrypted the Home folder then you will have to enter your password on the login screen. Strangely it takes longer to log in with just the home encrypted than it does with the whole drive, or did last time I did it.
So now you have your brand new OS up and ready to use and this is the subject that I will be doing next, getting started.
Please note the images may be subject to copyright . Unless otherwise stated above this is an original piece of work by me (c)copyright merimaat 2019
