I’ve learned how to successfully boot most Arch-based distributions with Secure Boot enabled by using the rEFInd boot loader (rEFIND generates the keys for me so I can sign it using MOK registration) and sign the installed kernel(s) image(s) with the same keys. The location of the packages required for this operation may differ depending on which distribution you use but they are available in AUR if not in one of the distribution’s repositories. I suggest you check them first. It may also be possible to sign the default boot loader for your distribution, but I’ve not learned how to do that yet (perhaps my next project?).
For this tutorial, I’ll use EndeavourOS in a virtual machine (with EFI and TPM2 enabled, at which point I ‘reset keys to default’ and kept Secure Boot temporarily disabled) so I can capture images. Going forward, I’ll assume you have one of the Arch-based distributions installed with Secure Boot disabled. Note that some distributions load the EFI partition at the /boot directory while others (including EndesvourOS) do so at the efi directory so you may havee to make adjustments to the locations I describe here for operations in the EFI partition.
Step 1. Set up shim:
Install the required packages in the terminal with:
‘yay -S shim-signed’ (Packages to cleanBuild = ‘N’; Diffs to show=‘N’; Proceed with installation?= ‘Y’)
'sudo pacman -S sbsigntools efitools refind’ (Proceed with installation?=‘Y’).
Step 2. Install refind to the EFI:
‘sudo refind-install --shim /usr/share/shim-signed/shimx64.efi --localkeys’ (Do you want to proceed with the installation?=‘Y’; Do you want to proceed with the installation?=‘Y’)
Step 3. Sign the kernel image(s):
Based on my testing, all three of the following commands are required with EndeavourOS
The syntax for sbsign is:
sbsign --key etc/refind.d/keys/refind_local.key --cert /etc/refind.d/keys/refind_local.crt [path to the boot image -often /boot/vmlinux - YMMV].
The commands I used follow:
sudo sbsign --key /etc/refind.d/keys/refind_local.key --cert /etc/refind.d/keys/refind_local.crt --output /efi/EFI/systemd/systemd-bootx64.efi /efi/EFI/systemd/systemd-bootx64.efi
sudo sbsign --key /etc/refind.d/keys/refind_local.key --cert /etc/refind.d/keys/refind_local.crt --output /efi/EFI/BOOT/BOOTX64.EFI /efi/EFI/BOOT/BOOTX64.EFI
sudo sbsign --key /etc/refind.d/keys/refind_local.key --cert /etc/refind.d/keys/refind_local.crt --output /efi/538b8c10e7a84c0caf2ed953dbafcfaa/6.6.2-arch1-1/linux /efi/538b8c10e7a84c0caf2ed953dbafcfaa/6.6.2-arch1-1/linux
Step 4. Reboot into the UEFI interface to enable Secure Boot and remember to remove the installation media. The UEFI interface differs based on computer make and model so I won’t explain how to enable Secure Boot in detail here. You will probably find the Secure Boot setting in either the Boot or Security sections of the interface.
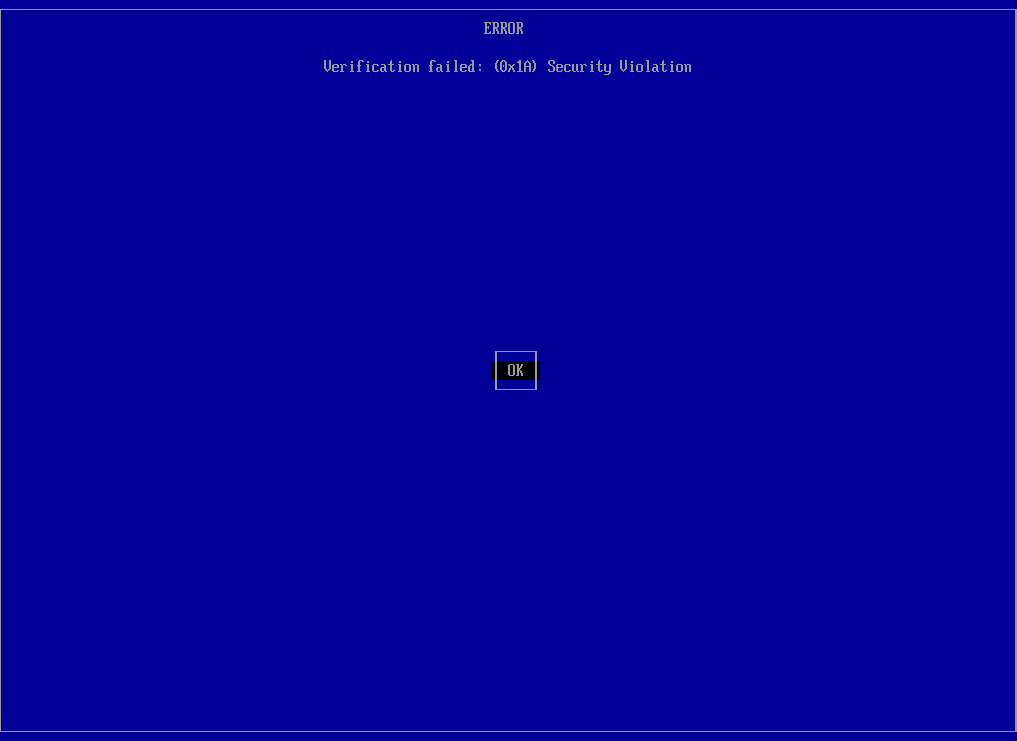
Step 4. After enabling Secure Boot, save your changes and restart the computer. When the computer tries to start rEFInd, the boot will fail with an error message (see here).
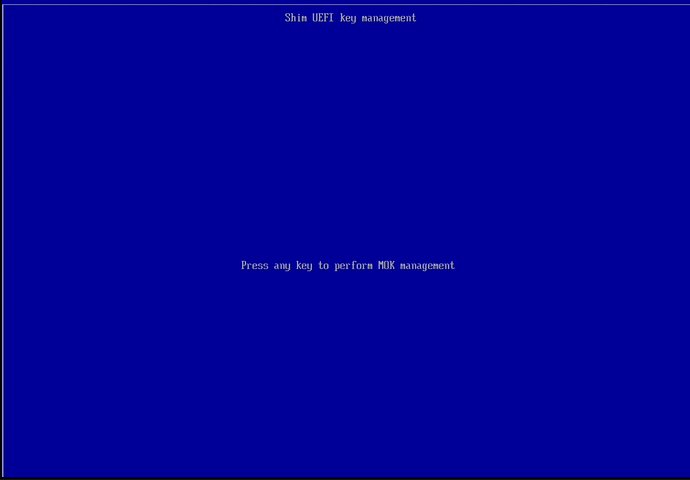
Press the ENTER key to go to the next screen which will offer the option to ‘Press any key to perform MOK management’ (I use the space key for this).
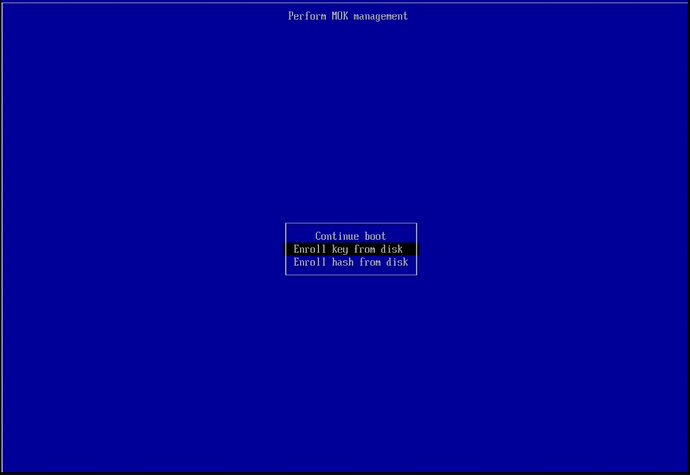
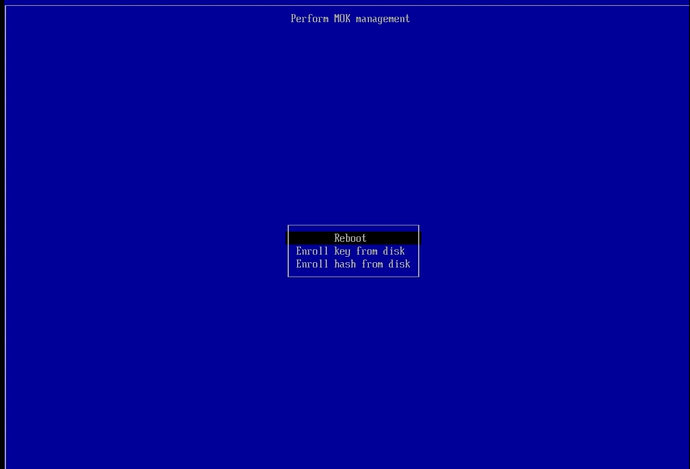
Navigate down to the ‘Enroll key from disk’ option and press the ENTER key.
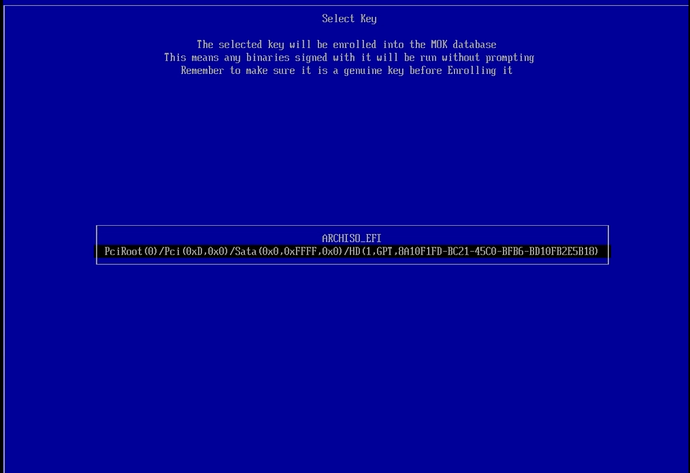
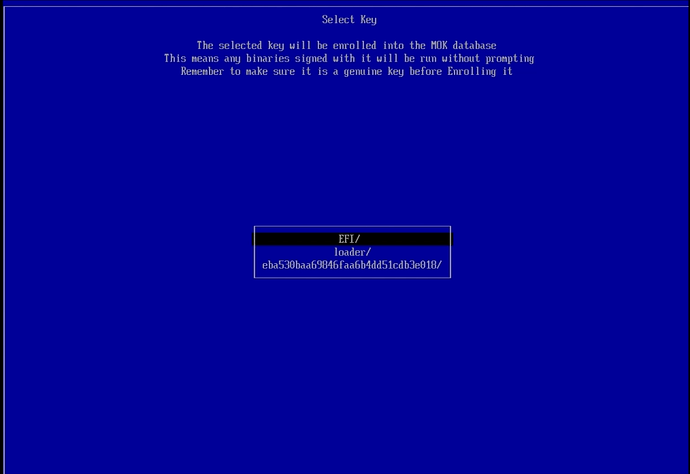
Since I didn’t remove the installation media following the installation, I have two options (one is a very long string, navigate to it ignoring anything else and press the ENTER key to select it.
At the next screen, EFI should be the top (selected) choice. If not, navigate to it and press the ENTER key to select it and move to the next screen.
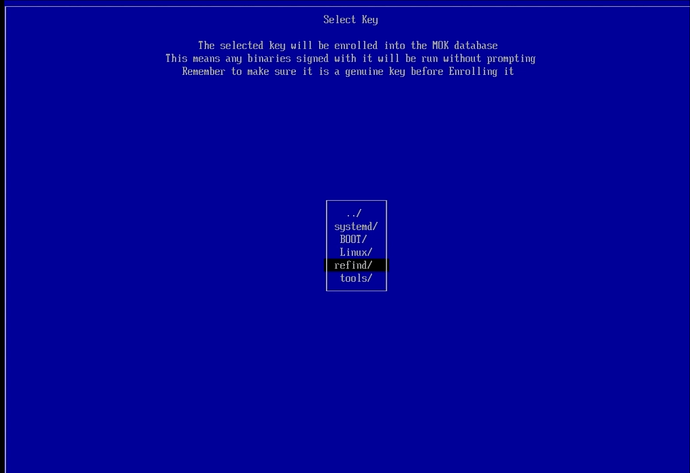
Navigate down to the ‘refind/’ option, then press the ENTER key to select it and move to the next screen.
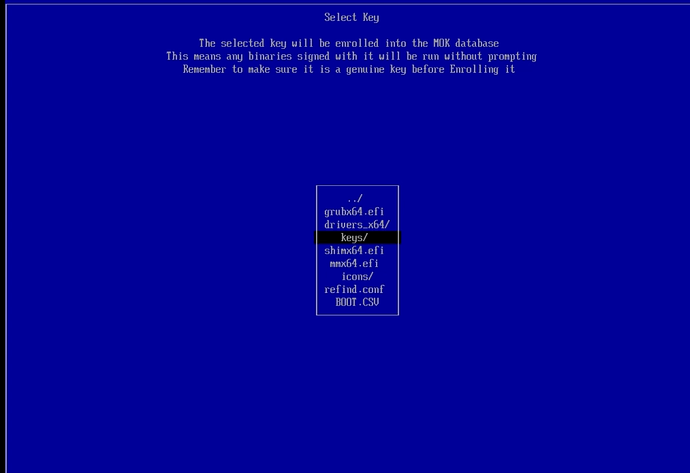
Navigate down to the ‘keys/’ option, then press the ENTER key to select it and move to the next screen.
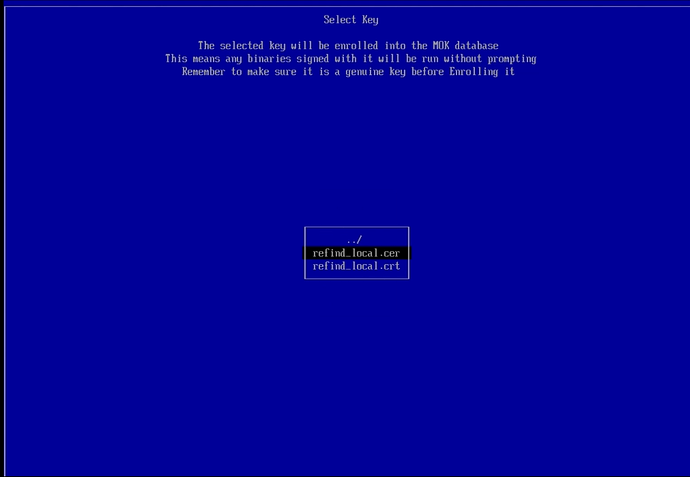
Navigate to the ‘refind_local.cer’ option (the key we want to enroll), then press the ENTER key to move to the next screen.
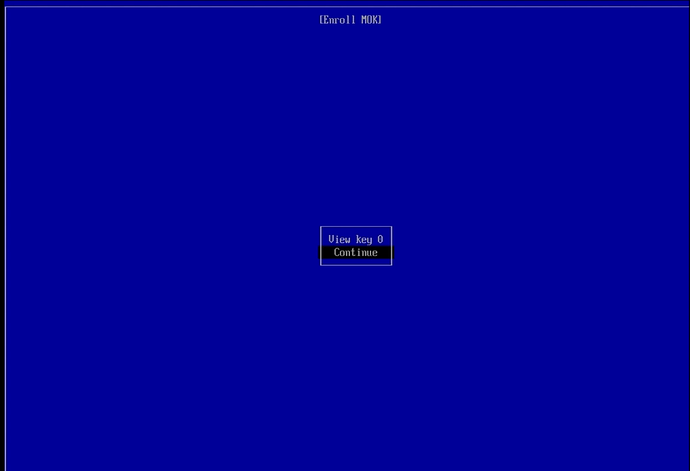
Navigate to the ‘continue’ option and press the ENTER key to go to the next screen.
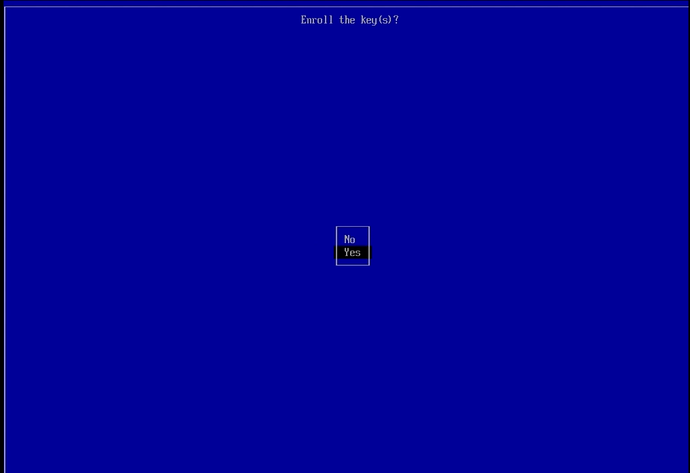
Navigate down to the ‘Yes’ option and press the ENTER key to confirm enrolling the key(s) and move on to the next (and final) MOK Enrollment screen.
The ‘Reboot’ option should be the first (selected) item in the list. If not navigate to it then press the ENTER key to reboot the computer. rEFInd should load, and if all went well, your Arch-based distribution should successfully boot up.
I found the three commands I needed for EndeavourOS with trial and error. First, I tried signing the image ‘/efi/EFI/systemd/systemd-bootx64.efi’, then I signed ‘/efi/EFI/BOOT/BOOTX64.EFI’, and finally my installation successfully booted up after I signed ‘/efi/538b8c10e7a84c0caf2ed953dbafcfaa/6.6.2-arch1-1/linux’ so don’t give up at your first failure. Your distribution may have more than one image that needs signing. If you use EndeavourOS, the ‘538b8c10e7a84c0caf2ed953dbafcfaa’ dierctory in’/efi/538b8c10e7a84c0caf2ed953dbafcfaa/6.6.2-arch1-1/linux’ will be a different numerical directory name for your system. To find out what the directory name is, I switched to a super-user terminal by executing ‘sudo -s’, then entered my password. Once in the superuser terminal session, I executed ‘thunar’ to get a superuser thunar session. I used it to navigate around my EFI partition’s directories to find all three images (one at a time) I ended up signing. If you use a different Arch-based distribution, you may only have one or two images to sign.
That’s about it. I hope this helps others,
Ernie
