There is nothing wrong with that. You are editing the .bashrc file, which is for Bash. In the screenshot you can see that you are using the Fish shell.
Thanks @Akito for your suggestion (new user) which seems a practical soultion.
As I have all that stuff running in my VM (for experimental purposes) I think an alternative way of getting thinks to work (without too much hassle) might be this:
in fish (my default shell): xfce4-terminal --command=bash # gives me a new bash terminal
in the new terminal: hit “ARROW UP” just once: my last command there was: export PATH=/home/rosika2/.nimble/bin:$PATH
That´s it.
As I don´t use bash regularly - especially not in my VM - the export command is my last one per default and just one click away.
And in fish I just have to rember one “code word” like “bash” or whatever and then “ARROW UP”.
That´s the beauty of fish: even the most complex commands require just a (fraction of a) code word.
So that´s that then.
Now I hopefully can deal with the nim topic and what you suggested in the first place.
in order to get the programm you had written to work (see post #13) I tried to get acquainted to nim) at least rudimentally.
I found a (hopefully) good reference for beginners on Nim basics .
The “testing the installation” part went well; I could (after compilation) run the “hello world” programm.
As a next step I saved the source of your b64gui.nim programm you kindly provided a link to.
I saved it as “b64gui.nim”.
But than I ran into problems:
The compilation process wasn´t successful :
nim c b64gui.nim
Hint: used config file '/home/rosika2/.choosenim/toolchains/nim-1.4.8/config/nim.cfg' [Conf]
Hint: used config file '/home/rosika2/.choosenim/toolchains/nim-1.4.8/config/config.nims' [Conf]
.....
/home/rosika2/Dokumente/Ergänzungen_zu_Programmen/zu_nim/b64gui.nim(3, 3) Error: cannot open file: nigui
Surely there´s something missing in my installation.
It seems I´m stuck at that point.
I think I got at least the gist of what I was doing.
nimble install -d provided the missing dependency (or dependencies) the error message was referring to.
nim c triggered off the compilation process, I guess and the --app:gui parameter generates a GUI app (according to Nim Compiler User Guide ).
So invoking the command ./b64gui from within the respective directory indeed got me that wonderful programme of yours working.
It´s even working brilliantly within the firejail sandbox.
Taking a look at Base64 - Wikipedia (to know what your programme is doing) I found out:
Base64 is a group of binary-to-text encoding schemes that represent binary data (more specifically, a sequence of 8-bit bytes) in an ASCII string format by translating the data into a radix-64 representation.
To test it I produced a txt file with the following content:
Dies ist ein Beispieltext.
(i.e.: "This is an example text.)
The option “Select Files and Print as Text” yielded
RGllcyBpc3QgZWluIEJlaXNwaWVsdGV4dC4K
as a result. Wonderful. So everything works as expected.
Kudos to you, Akito. You´re a brilliant programmer.
So I understand now what your programme does.
In post #13 you wrote:
Hmm, I fear it might not be so easy for me. So sorry.
It seems I´m still at a loss now as how to proceed next.
My countdown timer script is written as a bash script (see post #1). How to implement that one so that the countdown (= remaining time) is displayed in the separate window is surely beyond my capabilities.
It’s very easy and just has to be discovered. At one point in your life Bash was new too and you didn’t know what to do. Now you are familiar with it and work with it. Same will happen with another language.
The bash script can be translated pretty easily into Nim. The fundamentals are the same:
Variables.
Reading user input into variables.
Loops.
Printing to console or to the GUI window.
Explanation of Nim variables:
Now you can, just as in your Bash script, replace the variables, like e.g. Value2=$(date +%R) # present time in hrs and mins with its counter-part in Nim.
For example, you want the present time in in hours and minutes. Bash
Value2=$(date +%R)
We will simply convert it to Nim.
First, we check out how to deal with time.
We see, there is a times library. We check out its documentation.
Now, we want to make sure, that we can get minutes and hours of the current time.
As we see here, the DateTime type is giving us more than enough information.
So, how do we get the minutes and hours from this?
As shown in the example above, just using the procedure now() will give us that DateTime object, that gives us more than we need.
So, we open a file called test_times.nim just to test things out and dip our toe into the waters.
import times # This is a library. So, we need to tell the program to use this library. (Same can happen in Bash, but it's uncommon.)

# We want the current DateTime for this very moment.

var currentDateTime = now()

# The variable `currentDateTime` has the current information for this very moment in the form of a `DateTime` type.
# This is almost exactly the same as doing it in Bash. Except Bash does not have a `DateTime` type.

# So, we only want the hours and minutes, right?
# What would we get in Bash?
# Running `date +%R` in Bash produces the following output:
# 16:26
# Okay, so we want the hour, plus a colon, plus the minutes of the current moment.

var currentHoursToMinutes = $currentDateTime.hour & ":" & $currentDateTime.minute

# We are getting the hour and the minute and put a colon in-between.
# We want to print it to the console (for now), so we need it as the `string` type, which is why we stringify the types with the dollar signs `$`.

# Let's test what it prints in the console:

echo currentHoursToMinutes # Looks like our familiar Bash...

# It prints:
# 16:26
After you went through the steps of the above example, you can copy the whole code block into a file called test_times.nim and then compile & run it like this:
nim c -r test_times.nim
So, we have this Value2=$(date +%R) # present time in hrs and mins part figured out!
Now, to again break the illusion that this is so hard but Bash is so easy:
D1=$(date -d "$Value1" '+%s'); D2=$(date -d "$Value2" '+%s') # conversion of the times in secs since 1970−01−01 00:00:00 UTC
seconds=$(($D1-$D2)) # difference in secs
TZ=UTC printf "%d days %(%H hours %M minutes %S seconds)T\n" $((seconds/86400)) $seconds # result of calculation
Does this look easy to you? To me, this looks very hard. Nim could do this in a better and easier way and especially easier to read way. Bash is a mess most of the time.
For now, I will skip this part, because I want to show how easy Nim is with loops, as well.
Bash looping in your script:
        while [ $hour -ge 0 ]; do
                 while [ $min -ge 0 ]; do
                         while [ $sec -ge 0 ]; do
                                 echo -ne "$hour:$min:$sec\033[0K\r"  # that´s the (changing) part which should be displayed externally
                                 let "sec=sec-1"
                                 sleep 1
                         done
                         sec=59
                         let "min=min-1"
                 done
                 min=59
                 let "hour=hour-1"
         done
Now that can be pretty much directly converted to Nim, without changing anything.
Here is are explanations of all loop types in Nim:
You used while loops in the Bash script. So, here are the Nim while loops:
With that knowledge, this is how the loops in that Bash script can be converted, the easiest and simplest way:
import
  strformat,
  os

var hour = 0
var min = 1
var sec = 10

while hour >= 0:
    while min >= 0:
      while sec >= 0:
        stdout.write &"{hour}:{min}:{sec}\n"
        sec -= 1
        sleep 1000 # Milliseconds!
      sec = 59
      min -= 1
    min = 59
    hour -= 1
Well, looks easier to me, to write this in Nim, than writing it in Bash.
I set hour to 0, min to 1, sec to 10, which simulates these variables from the bash script:
I’ll skip reading the user input for now, as this will be the next step, after you have applied all the knowledge gathered from above and below.
Putting everything together from this lesson, we have this program:
import
  times, # This is a library. So, we need to tell the program to use this library. (Same can happen in Bash, but it's uncommon.)
  strformat,
  os

# We want the current DateTime for this very moment.

var currentDateTime = now()

# The variable `currentDateTime` has the current information for this very moment in the form of a `DateTime` type.
# This is almost exactly the same as doing it in Bash. Except Bash does not have a `DateTime` type.

# So, we only want the hours and minutes, right?
# What would we get in Bash?
# Running `date +%R` in Bash produces the following output:
# 16:26
# Okay, so we want the hour, plus a colon, plus the minutes of the current moment.

var currentHoursToMinutes = $currentDateTime.hour & ":" & $currentDateTime.minute

# We are getting the hour and the minute and put a colon in-between.
# We want to print it to the console (for now), so we need it as the `string` type, which is why we stringify the types with the dollar signs `$`.

echo currentHoursToMinutes

var hour = 0
var min = 1
var sec = 10

while hour >= 0:
    while min >= 0:
      while sec >= 0:
        stdout.write &"{hour}:{min}:{sec}\n"
        sec -= 1
        sleep 1000 # Milliseconds!
      sec = 59
      min -= 1
    min = 59
    hour -= 1
So, now you need to fill the gaps, i.e. the parts I did not convert. You can do the converting for those parts, with the same methodology described above.
In the end, once you have all that, you just need to change one thing.
Do not print to the console anymore, but find the part in my program, where I print the Base64 encoded text to the window’s text box. Now, instead of printing Base64 encoded text, you just have to print your timer. That’s it.
You can also clear the window’s text box before each second something is printed, to make it always appear on the same line, instead of showing all the seconds counted down in a column.
I just want to let you know I´ve seen your latest answer, or rather tutorial. That´s really great.
Be thanked a thousand times.
I almost feel bad that you put so much time and effort into helping me.
But your help surely is appreciated; a lot!
I´ve got to read your tutorial through more than one time, I´m sure.
I´ll follow your examples and will try to learn by them.
Hopefully in the end I´ll be able to understand NIM at least to some (beginner-level) degree and get the countdown timer working.
That stuff really is exiting.
As soon as I can come up with something I´ll let you know.
In the meantime:
thanks so much again and many greetings.
First of all: I´m sorry you had trouble getting to sleep.
I know that condition myself all too well as I suffer from sleeplessness on a regular basis.
But then: You really shouldn´t have put such an effort and time (lots of it!) into helping me solving my problem. I definitively feel bad about it.
That´s really something nobody could have expected.
That said I´m very grateful. Thanks very much.
I immediately tried it out and it works perfectly.
I particularly like the fact that the notify-send popup window changes its position every 30 secs and uses three different locations.
That (among other features of course) clearly shows a superb degree of professionalism in programming.
That´s great, Thanks, Mina.
And that´s exactly what I like to do: understand what a script or programme is doing.
Your annotations are a great help.
Yet I have to admit that I still have to read it through a few more times as I have no understanding of perl, I´m ashamed to say.
What I´ve come to understand though is the fact that I really should get myself to learn a coding language in order to get things done.
All I know (until now) is a bit of bash scripting…
Yet you´ve already pointed out that you wouldn´t put perl as number one.
I so hope there are (a lot of other) people who can make good use of your programme.
It´s great that you´ve published it on github - for the benefit of everyone.
Once more: thanks, Mina a thousand times. You´re really great!
Many greetings from Rosika
P.S.:
Make sure to make the program executable, e.g. by chmod a+x INSTALLATION PATH/countdown.pl
I almost forgot:
I´d like to add that your programme seems to run perfectly without making the perl script exectable as well.
I tried both versions:
The text editor I use is either nano or gedit (gedit being the default one for me).
But gedit doesn´t seem to support syntax highlighting for NIM if I´m not completely mistaken.
Regardless of what I personally prefer, it is common knowledge among Linux users, that Perl is dead. So, I can only agree with the notion, that nobody should bother to learn it. Not even for educational purposes.
Visual Studio Code
My favourite editor and IDE.
Libre version of VS Code
Nim support can be installed, just like any other extension.
The Nim extension’s repository
VS Code is slim by default, but very extensible, if needed. It’s very lightweight by default and can even be used as an every day editor, replacing GEdit, etc.
thank you very much for your help and recommendations.
Taking up your reference to visual studio code a looked around a bit further and even found and article about it on Visual Studio Code › Wiki › ubuntuusers.de (in German).
I myself would never have discovered it.
It looks fine although they mention:
In addition, telemetry data is transmitted by default, see section Troubleshooting.
checked the hash value sha256sum -c --ignore-missing codium_1.60.2-1632356529_amd64.deb.sha256
(was “OK”)
installed the codium deb-file
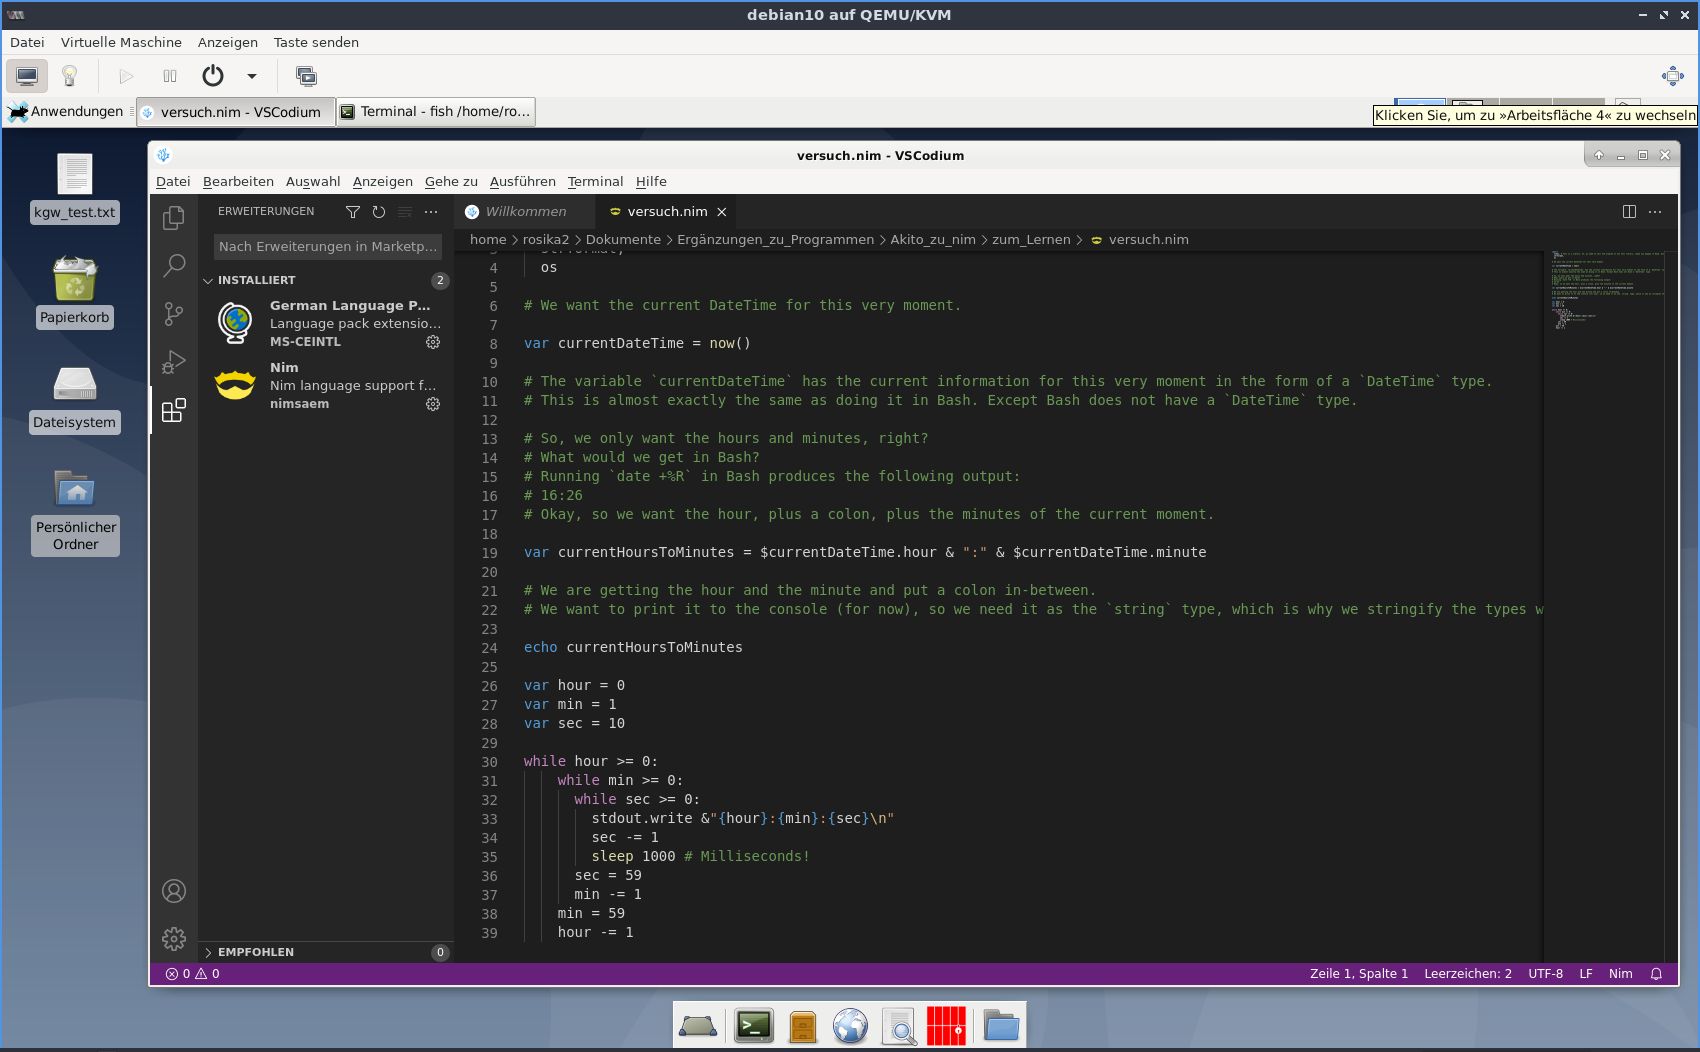
could install the nim extension package from within a running codium instance.
After the download a button said “install and restart”. Upon clicking on it the codium window closed but I had to start it manually again. Well, never mind.
Anyhow the nim extension packet got installed.
I immediately checked it out by running the nim script (for learning purposes) you provided in post #32. Now it looks like this: