If you are switching from Windows (or any other OS/distribution) to LMDE 6 and you have data/files you want to keep, copy them to an external drive/USB stick before installing a new OS. I recommend taking this step even if you are going to dual-boot Windows with LMDE 6 (or any other OS), just in case something goes wrong along the way.
I installed LMDE6 on my older laptop PC (a Dell Inspiron 5555 with Secure Boot enabled) and the installation came off without a hitch. I like the new release, and it runs very well on my aged laptop, but after using it for a day, I decided to return to running Solus 4.4 with the KDE Plasma desktop environment on it, even though its slower, because I simply like it better, but that’s just me :).
I already have Ventoy installed on a USB stick so getting the live image ready for use was a simple copy and paste operation. You can get Ventoy and learn how to install it on a USB stick from their website at Ventoy.
When I booted the computer from the Ventoy USB stick, selecting the LMDE6 image, I directed Ventoy to boot in normal mode, and the live image booted successfully with Secure Boot enabled.
Note: to get screen images I installed LMDE 6 in a Virtual Box VM. This will not be a true step-by-step guide. Instead, it will show you the screens I encountered while installing it to a VM, taking all the steps I could to show you as many possibilities as I can. The installer is very well organized, and thought out. Read every screen carefully while running the installer rather than trying to follow my steps here:
In Virtual Box, after starting the VM, you will be greeted with the live images GRUB boot menu:
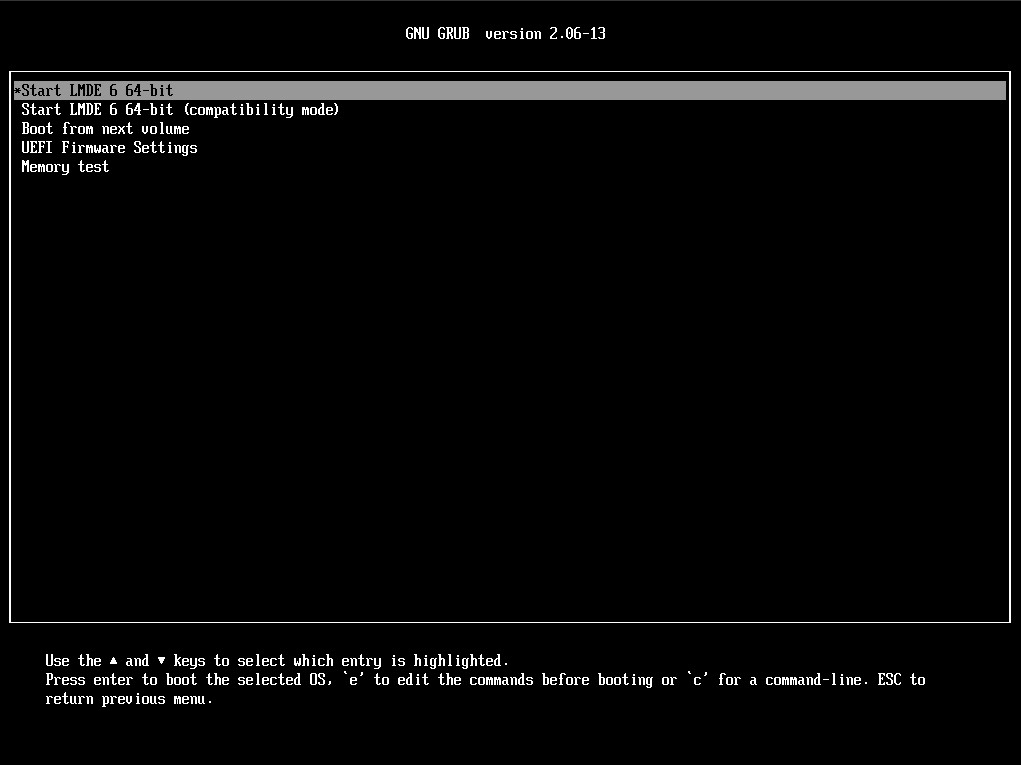
‘Start LMDE 6 64-bit’ will be selected by default. Unless you need Compatibility mode, press the ENTER key to continue booting the live image. When the image finishes booting up you will be greeted with the LMDE 6 desktop:
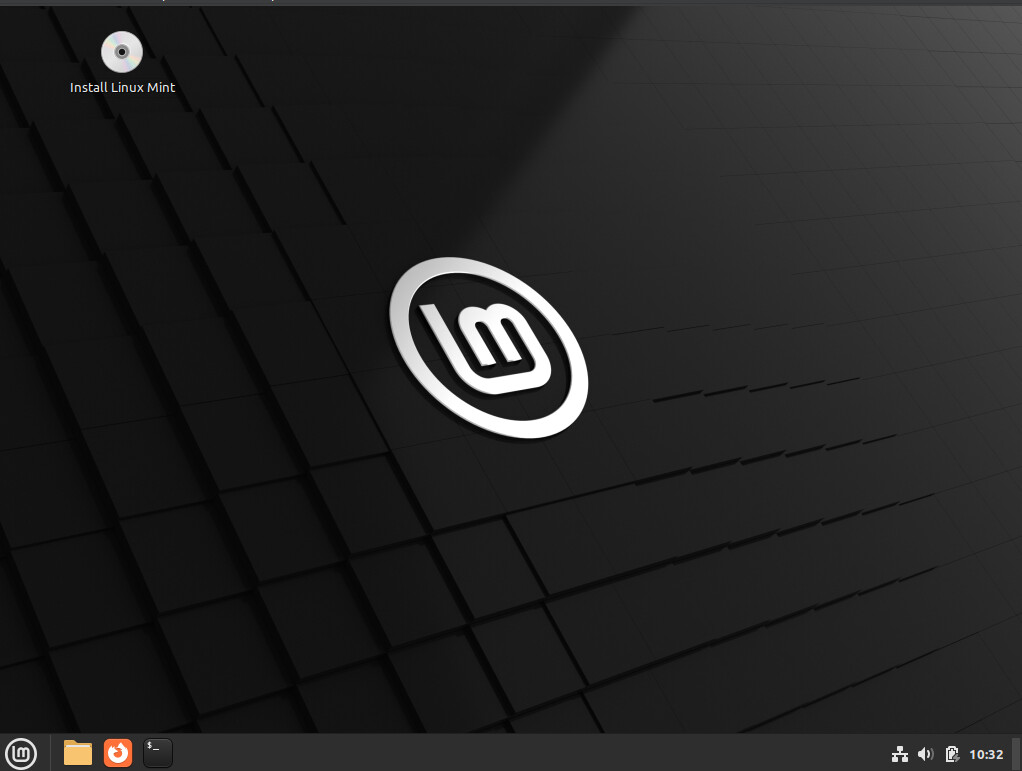
Next, I started the installer:
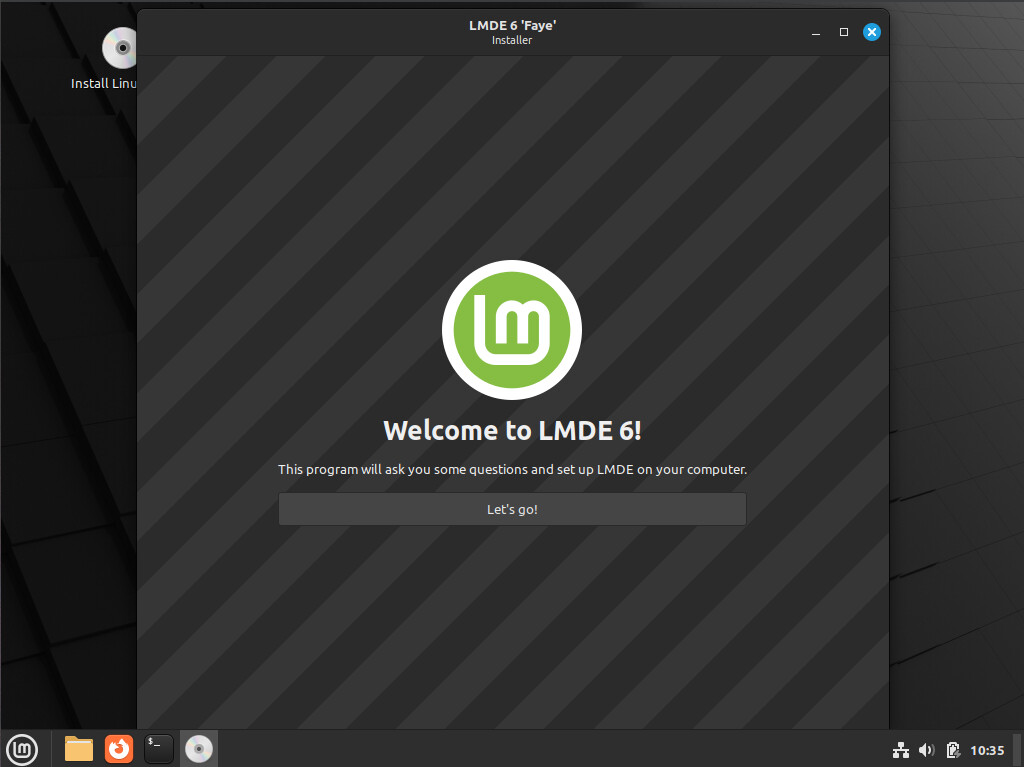
and clicked “Lets go”:
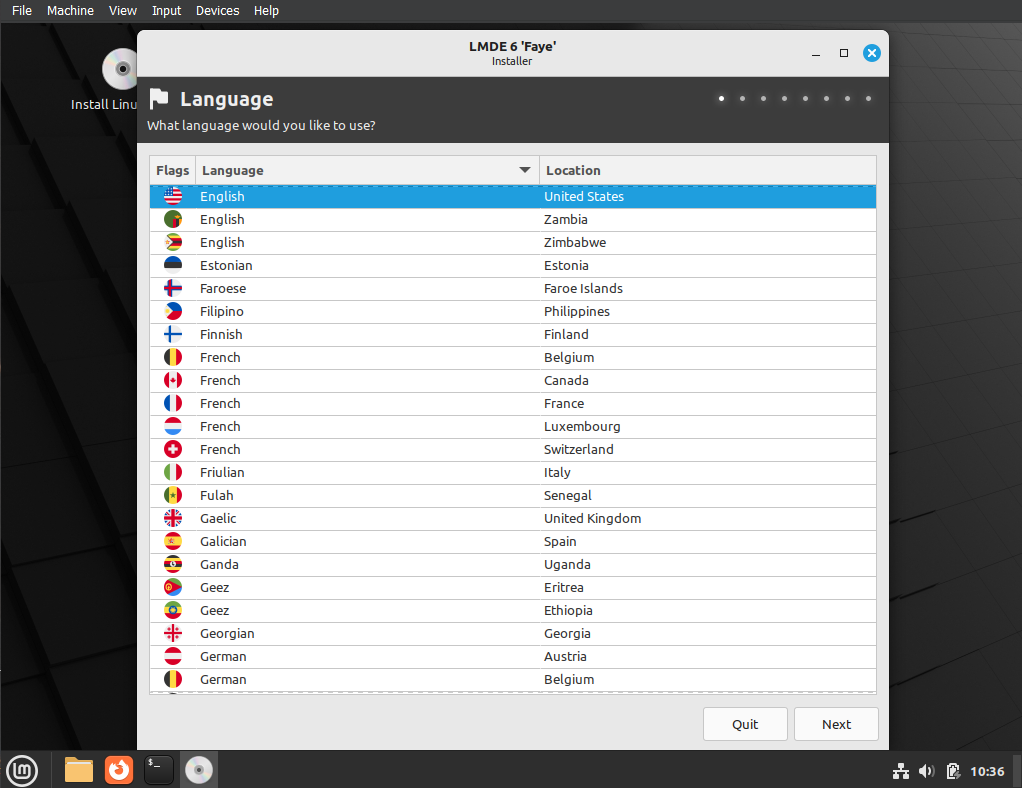
My language (English) was correctly detected so all I had to do was click the ‘Next’ button to continue:
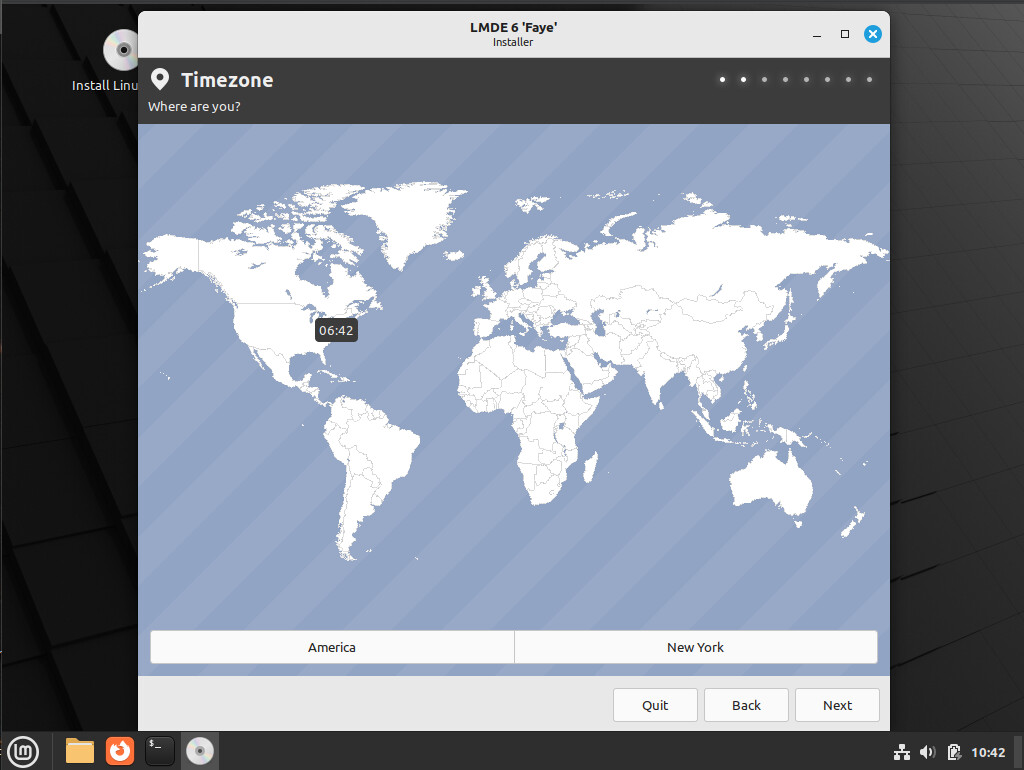
My time zone was also correctly detected so I clicked the ‘Next’ button to continue:

The keyboard layout was also correctly detected (is this getting boring yet ? ![]() ) so, you guessed it, I clicked ‘Next’:
) so, you guessed it, I clicked ‘Next’:
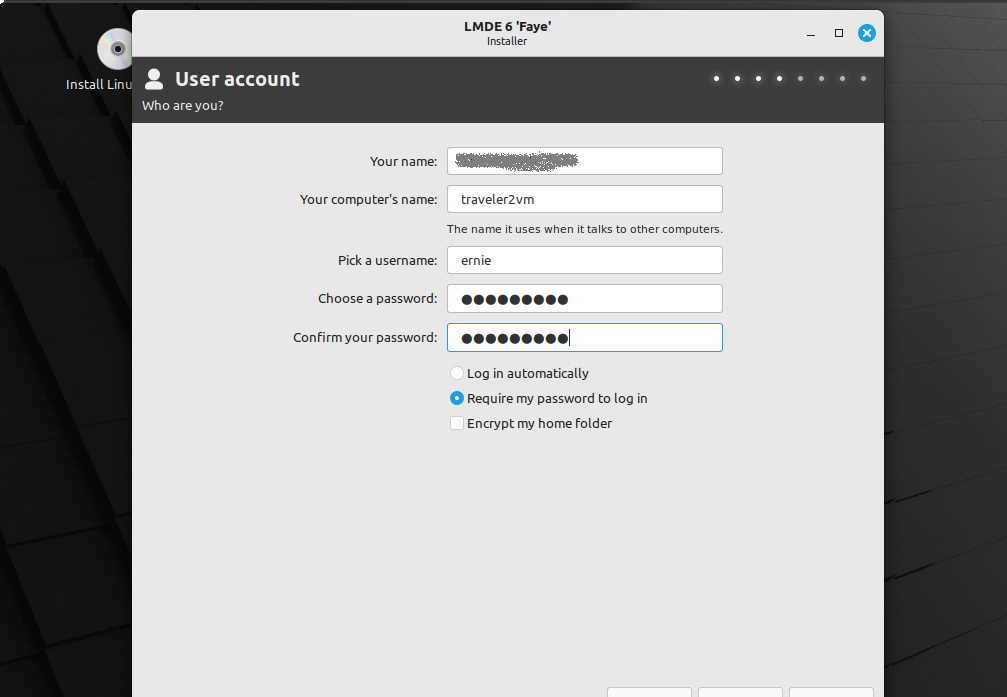
Finally! A little something to do. Enter your (full) name, your computer’s name (I used traveler2vm for this installation), the user name you want to sign in with and a password, twice (to make sure there are no typos). Double-check your entries here, then click ‘Next’ to continue:
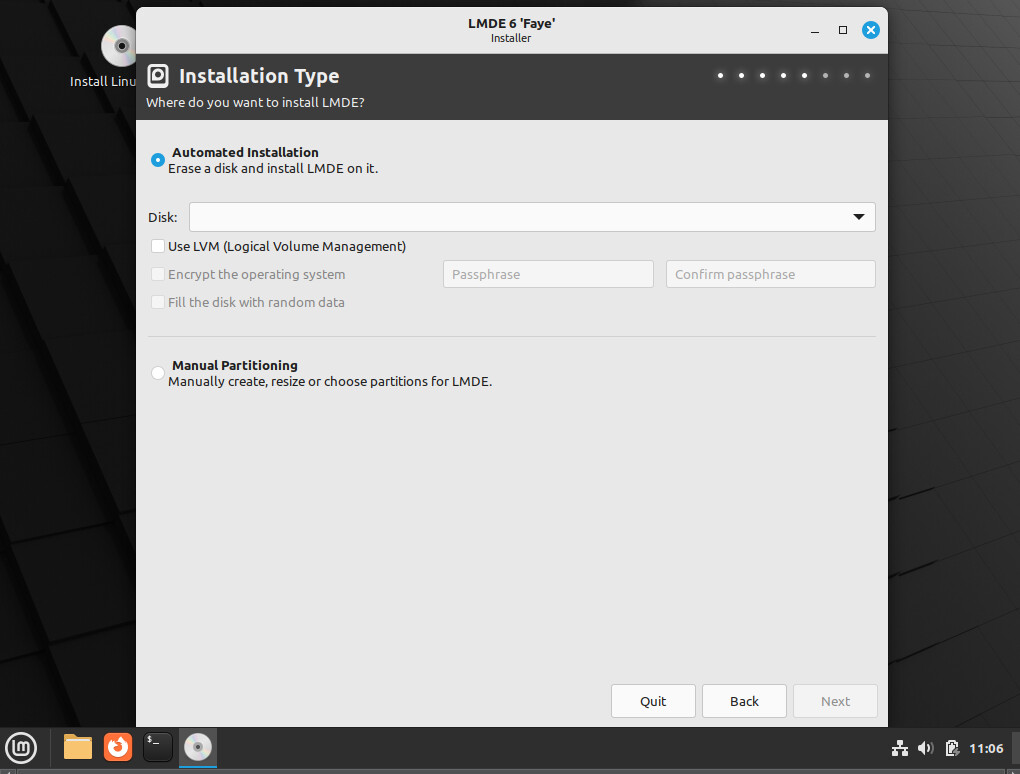
In this screen, choose an installation method. The default is ‘Automatic’ in which the entire drive is erased and LMDE 6 is installed as the only OS on the computer. If you want to replace Windows (or any other OS) with LMDE 6, and you have already backed up any/all data you want to keep (as I suggested above), this is the option you want. On the other hand, if you want to keep using Windows (at least for a while), select the ‘Manual Partitioning’ option.
If you want to replace Windows using the Automatic Installation option, click the ‘disk’ drop-down to select the drive you want to install LMDE 6 on, then you can click the ‘Next’ button to continue now. For the purposes of this post, I’ll choose ‘Manual Partitioning’, then click the ‘Next’ button:
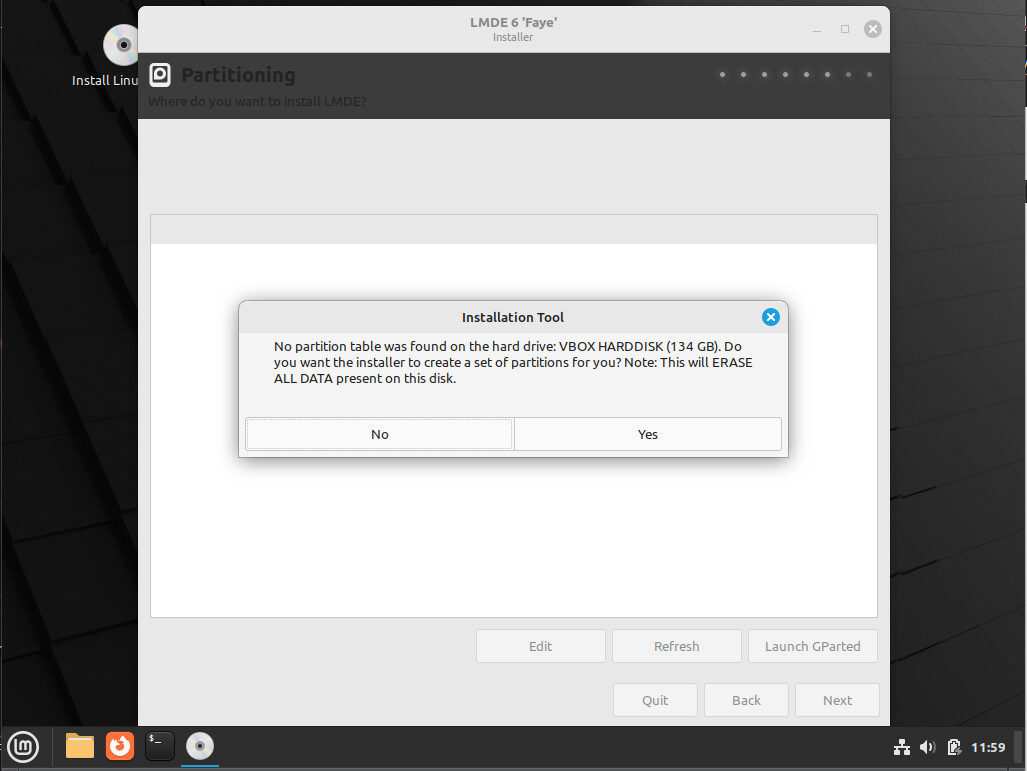
Because there are no partitions present on the VHD (Virtual Hard Disk), the installer wants to know if I want it to create them for me. I’ll answer ‘No’ because all data would be destroyed in a scenario where another OS is present:
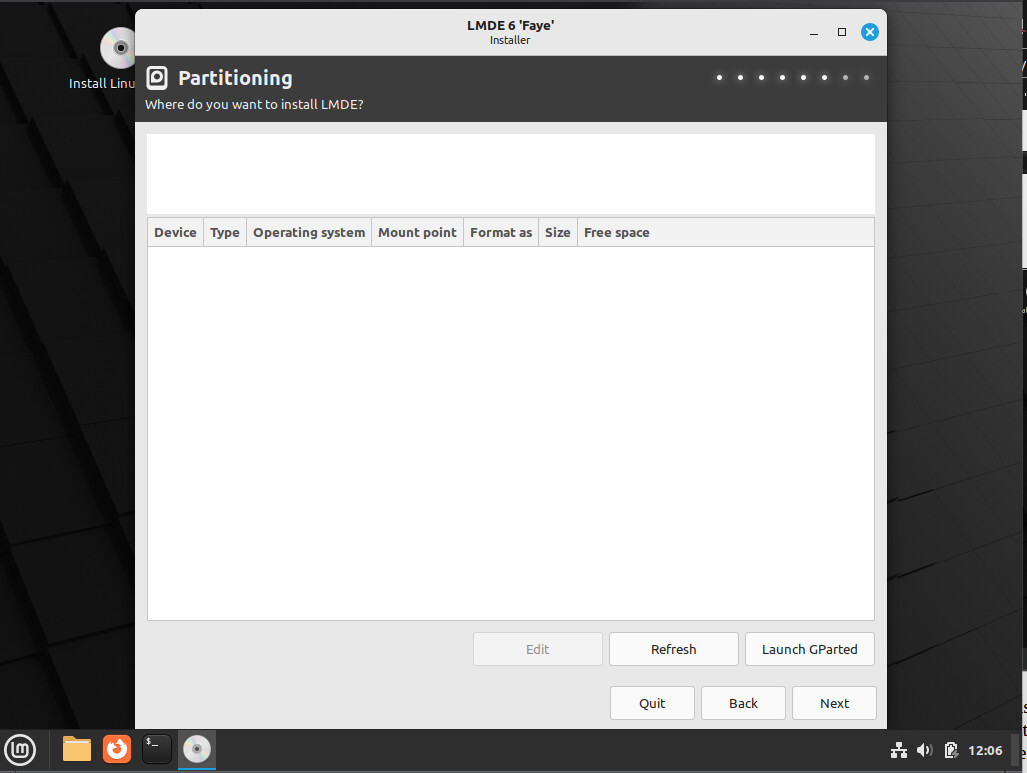
then I’ll launch GParted (a partition manager) to create my partitions for LMDE 6:
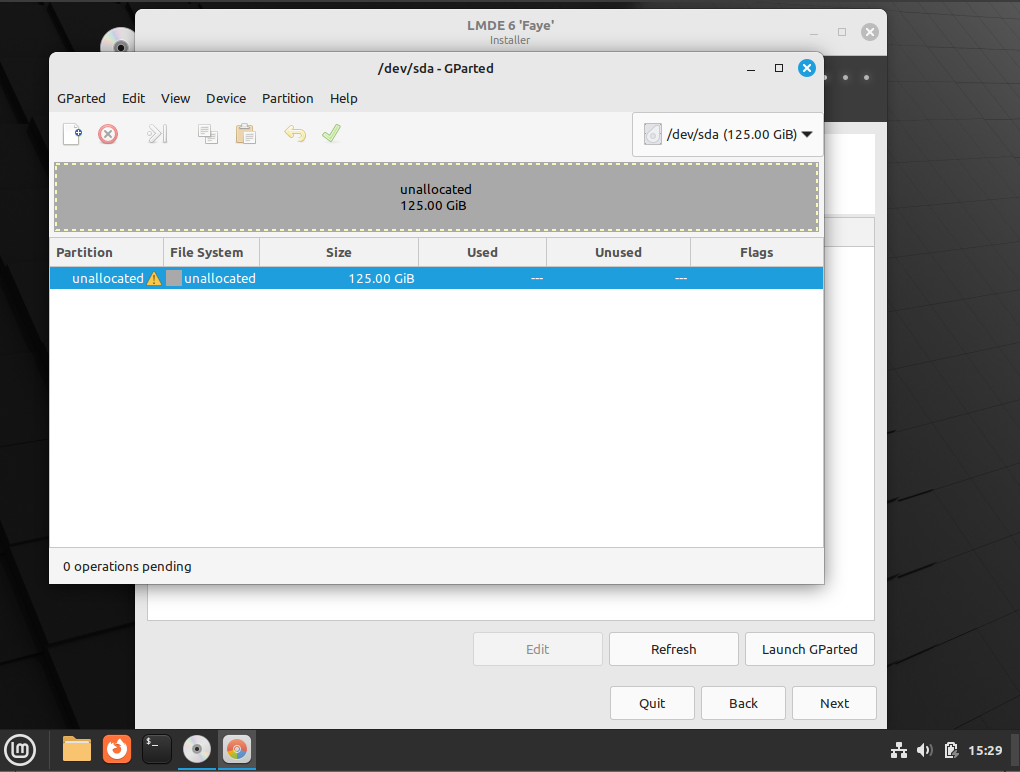
Since there is no partition table on the VHD (Virtual Hard Disk), the first step is to create one by selecting ‘Device → Create Partition Table’:
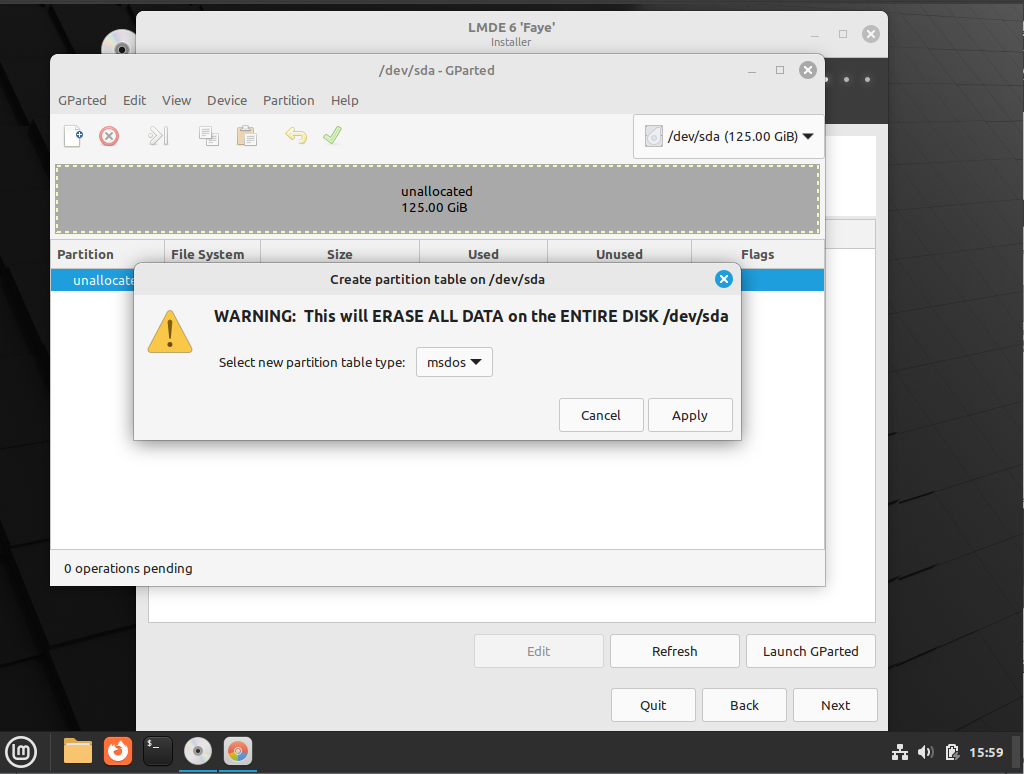
The default is to create an msdos partition table, but since this VM will support Secure Boot, I’ll click the drop-down and choose ‘gpt’, then press the ‘Apply’ button:
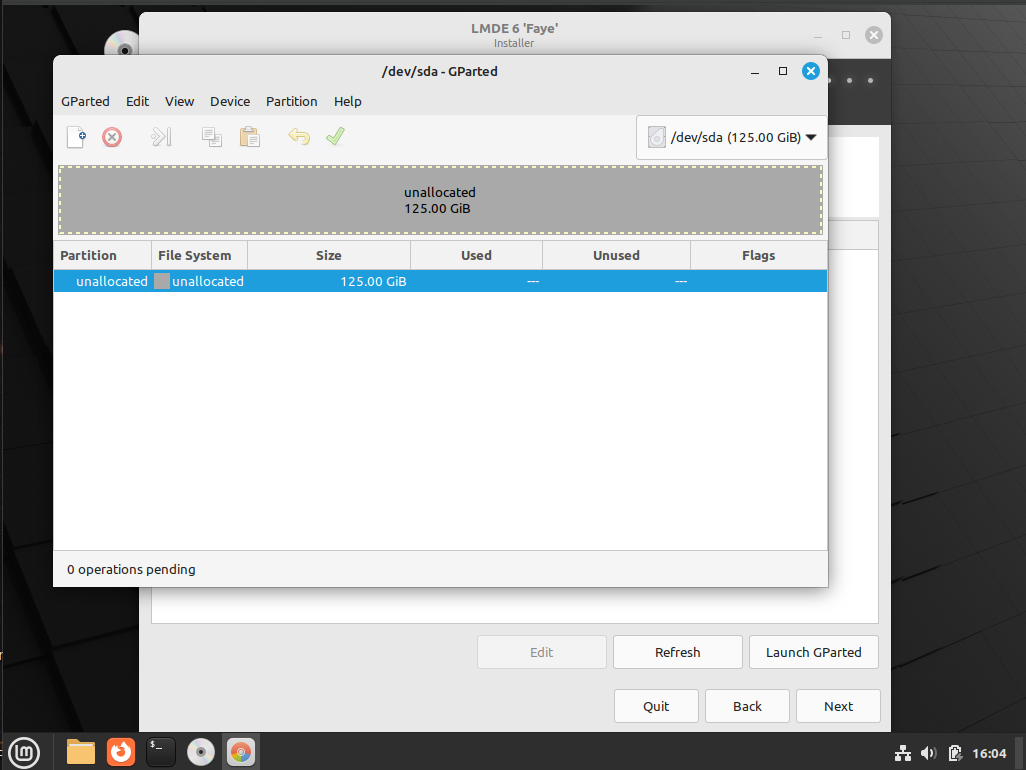
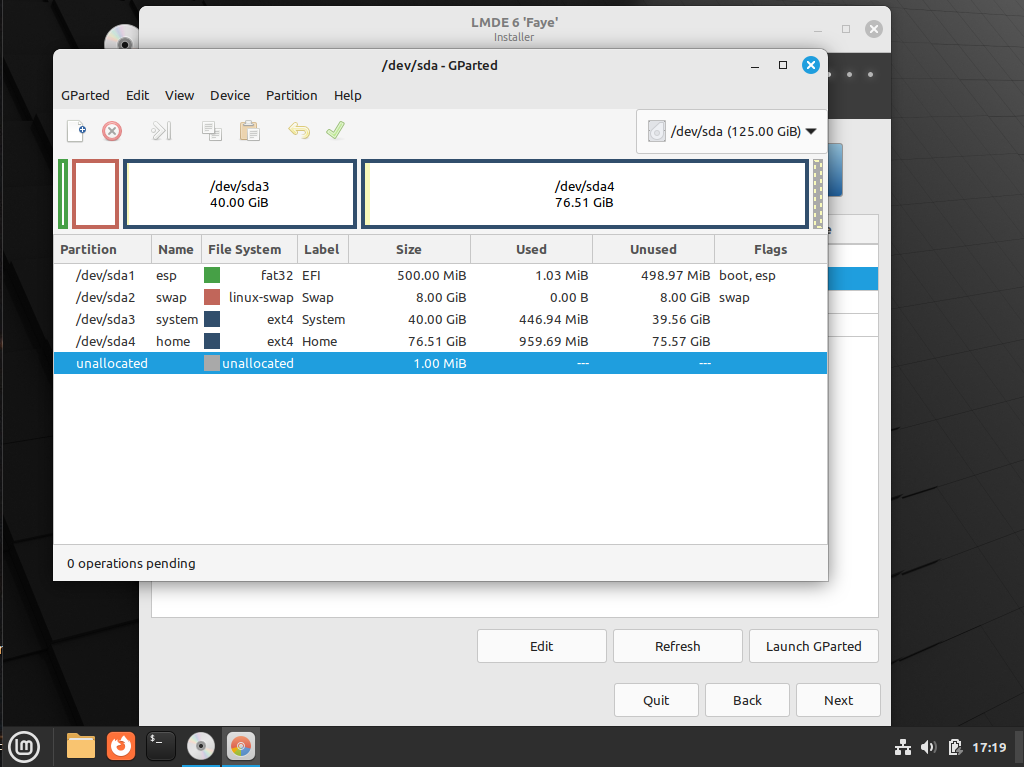
Now, I can create my partitions, a 500MB EFI partition, formatted with the fat32 file-system, with the boot and esp flags set, an 8GB swap partition, a 40GB system partition (for the system files), formatted with the ext4 filesystem, and the remaining space as a home partition formatted with the ext4 file-system. After defining all partitions listed above, I click the green check-mark icon in the too bar at the top of the window to write my partitions to the disk:
Next, I ALT-Click the EFI partition and choose ‘Manage Flags’. In the new dialog, check-mark the boot item (the esp item will be selected automatically).
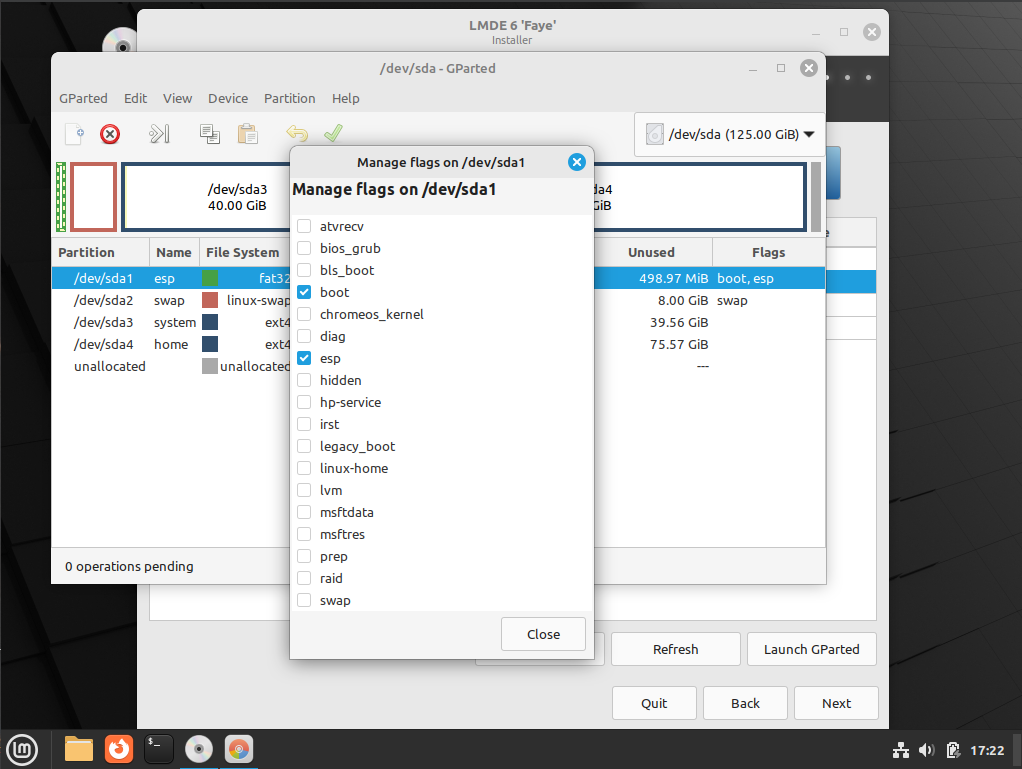
With the EFI partition flags set correctly, click the ‘Close’ button. I have chosen to name the EFI partition esp, so I ALT+Click the EFI partition and choose Name Partition. In the dialog, I enter ‘esp’ then click the ‘OK’ button to close it. Finally, I click the green Check-mark icon in the tool bar at the top of the window to write my changes to disk. With all partitions created, configured, and written to disk, I can close GParted, returning to the installer window, then click the ‘Refresh’ button to see the new drive configuration:
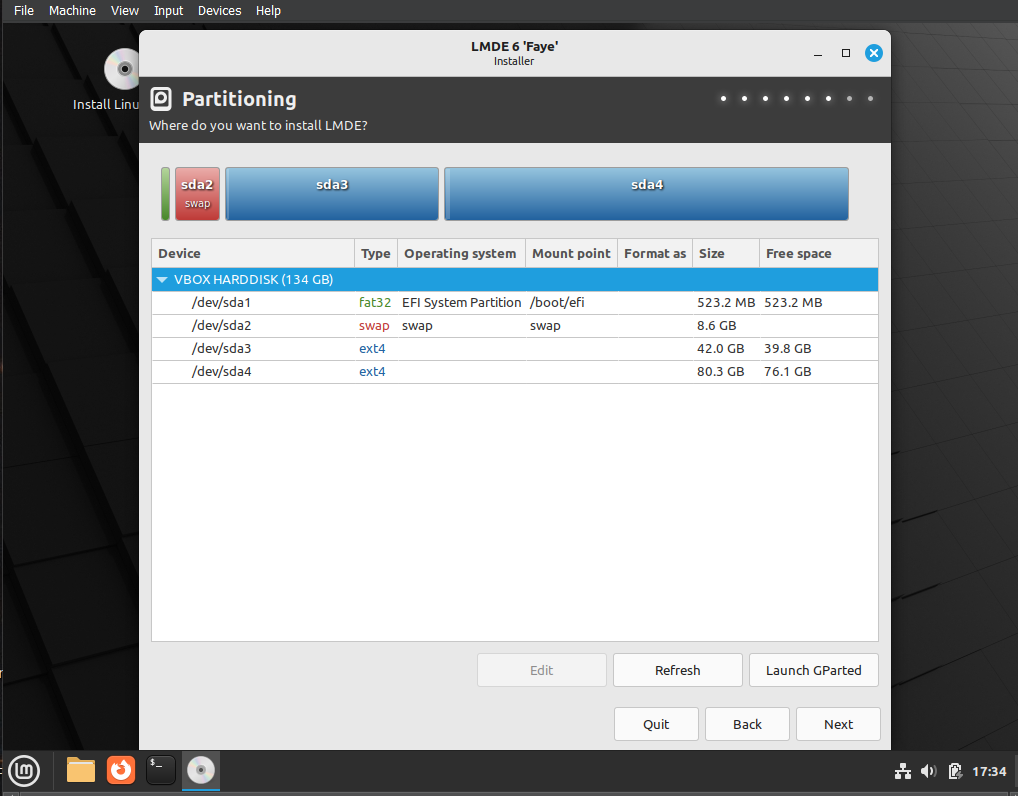
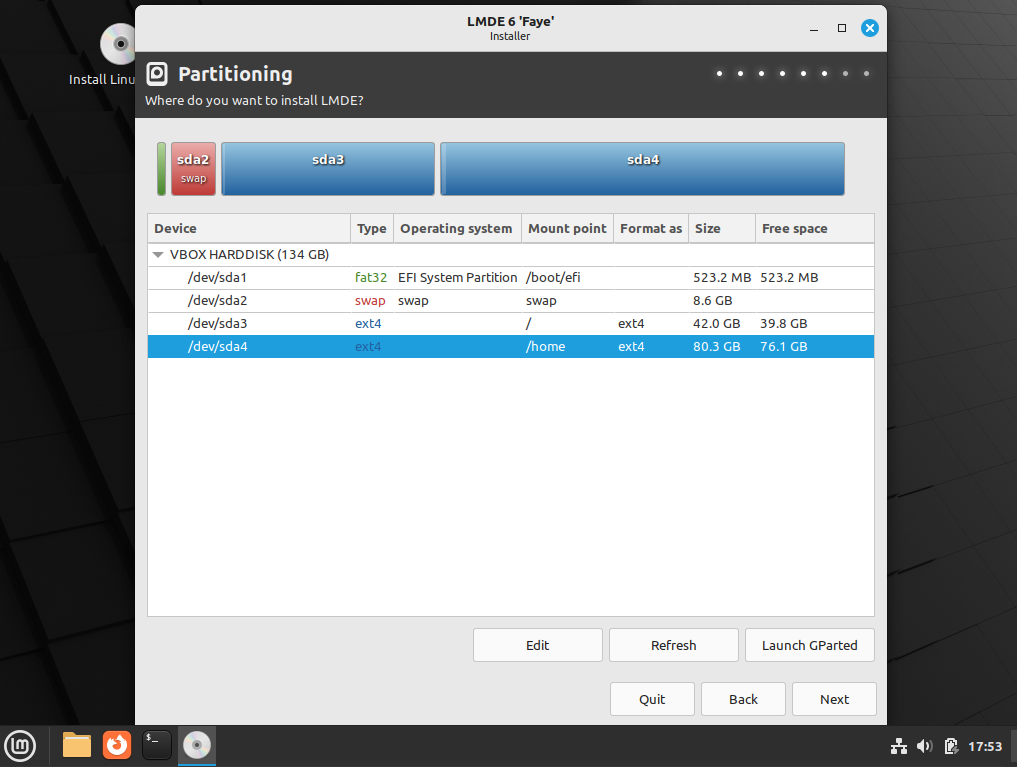
The EFI and swap partitions will already have their Operating system and mount points configured so there will be nothing to do for them. ALT+Click the system partition (42GB here) and select ‘Edit’ in the context menu. In the Edit Partition dialog, Click the Mount point field’s drop-down and choose ‘/’. In the Format as field, click the drop-down and choose ‘ext4’:

Click the ‘OK’ button to close the dialog. Perform similar operations on the home partition (the only remaining one), choosing ‘/home’ and /ext4’, respectively:
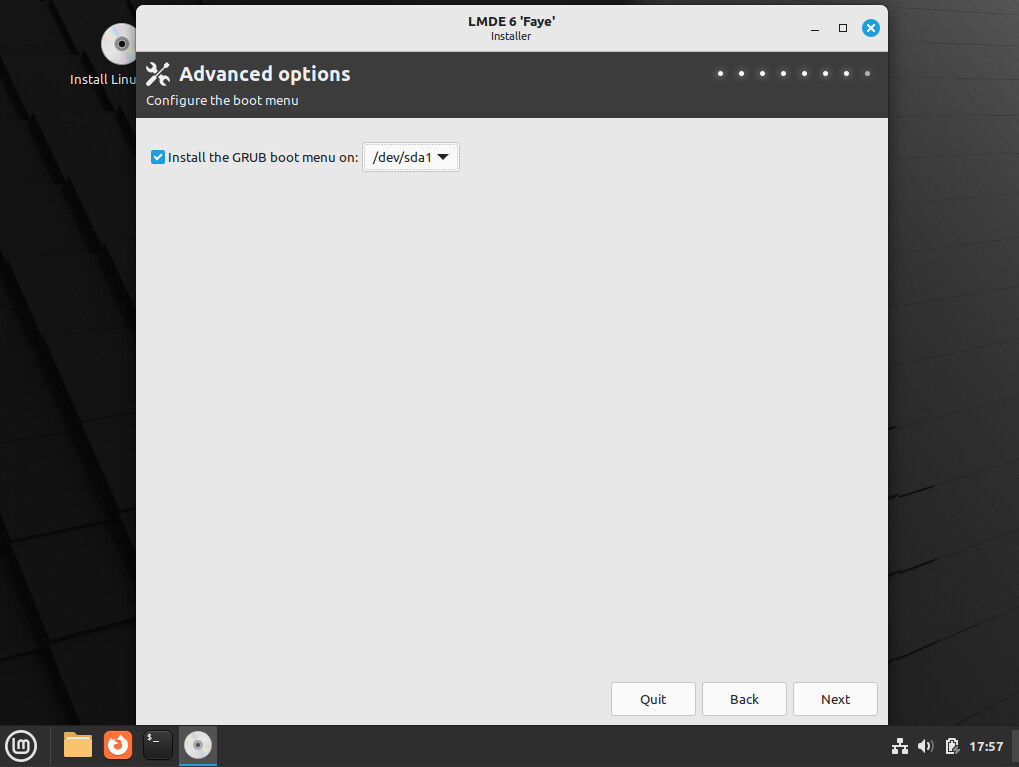
Now we’re ready to click the ’Next’ button. In the Advanced options screen, the default for the ‘Install GRUB boot menu on:’ is ‘/dev/sda’. Click the drop-down and choose ‘/dev/sda1’ (the EFI partition):
Click the ‘Next’ button. In the Summary screen, review all the information to make sure it’s what you want. This is your last chance to go back and make any changes, so review everything very carefully:

When you’re satisfied, click the ‘Install’ button:

The installer will install LMDE 6 on the disk. As the installation proceeds, the installer will show several informational screens describing a few of the things your new OS can do for you, and how to get help if you need it. When the installation finishes, you can choose whether to reboot into your new OS or continue using the live image:
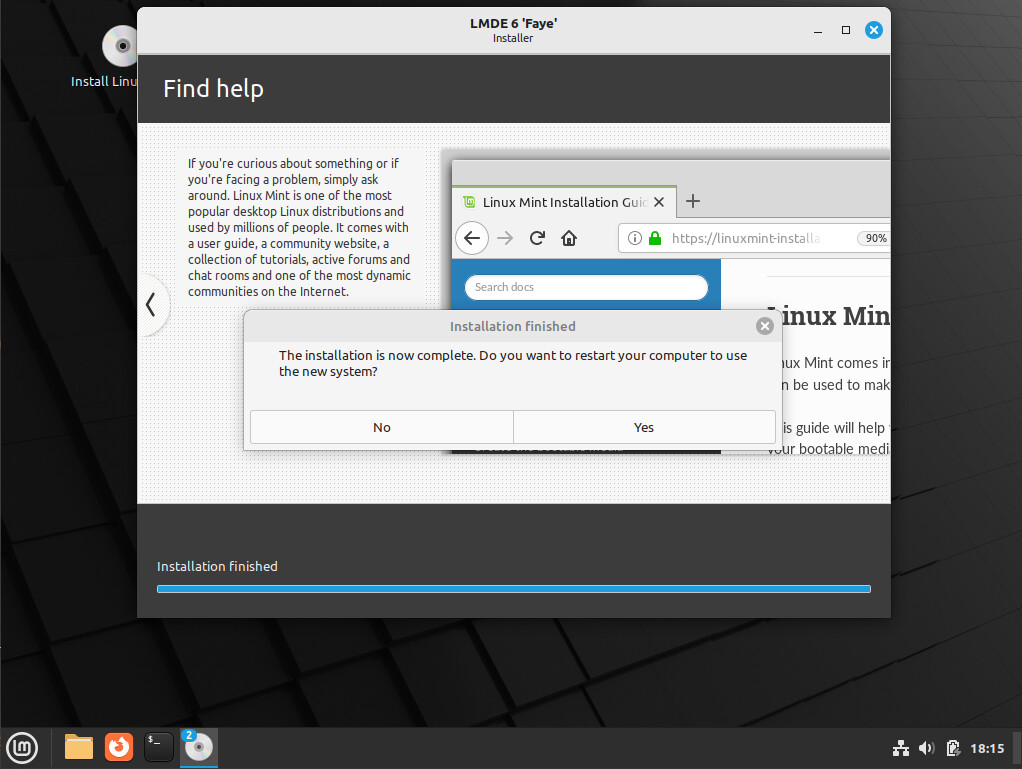
Most of us will want to click the ‘Yes’ button:
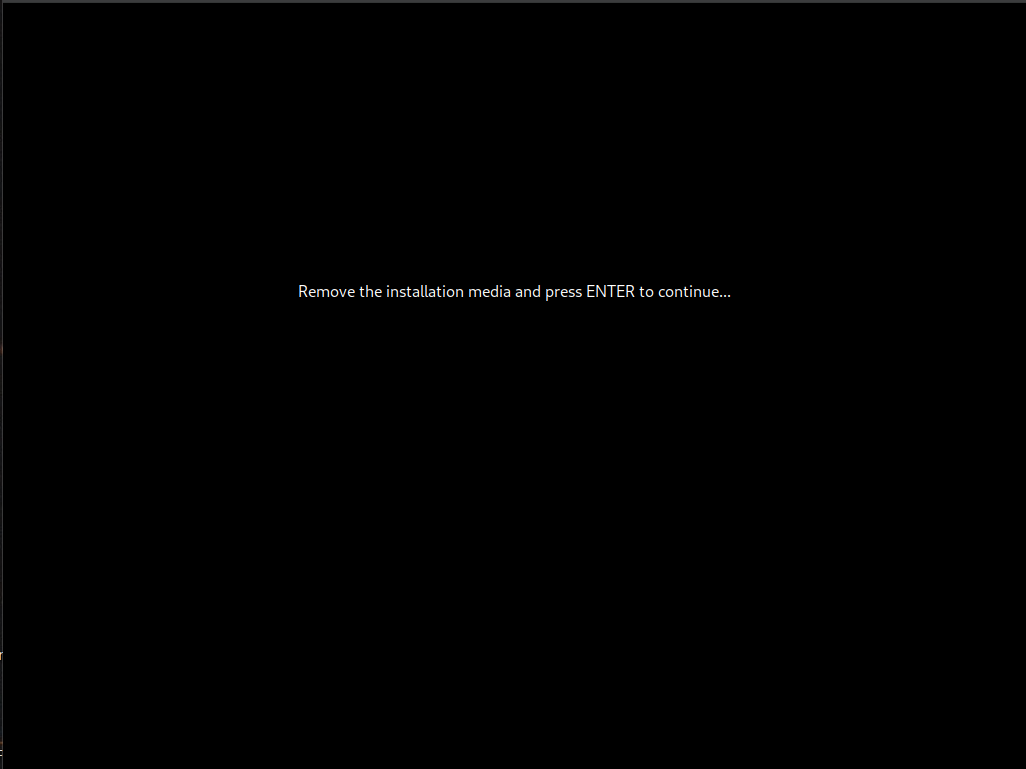
Before the system reboots, you will be asked to remove your USB stick (media) and press the ‘ENTER’ button to continue with the reboot. When your new system boots up for the first time, you’ll be greeted with the login screen:
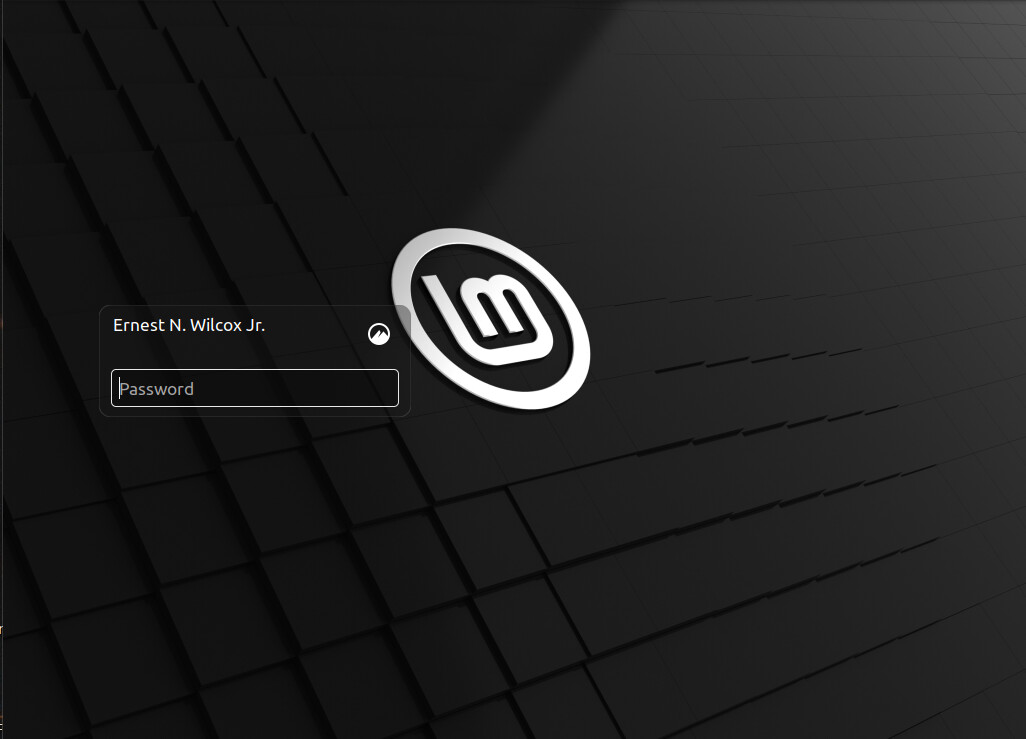
Enter your password to log in. You will be greeted with the Welcome app (a local web-page):
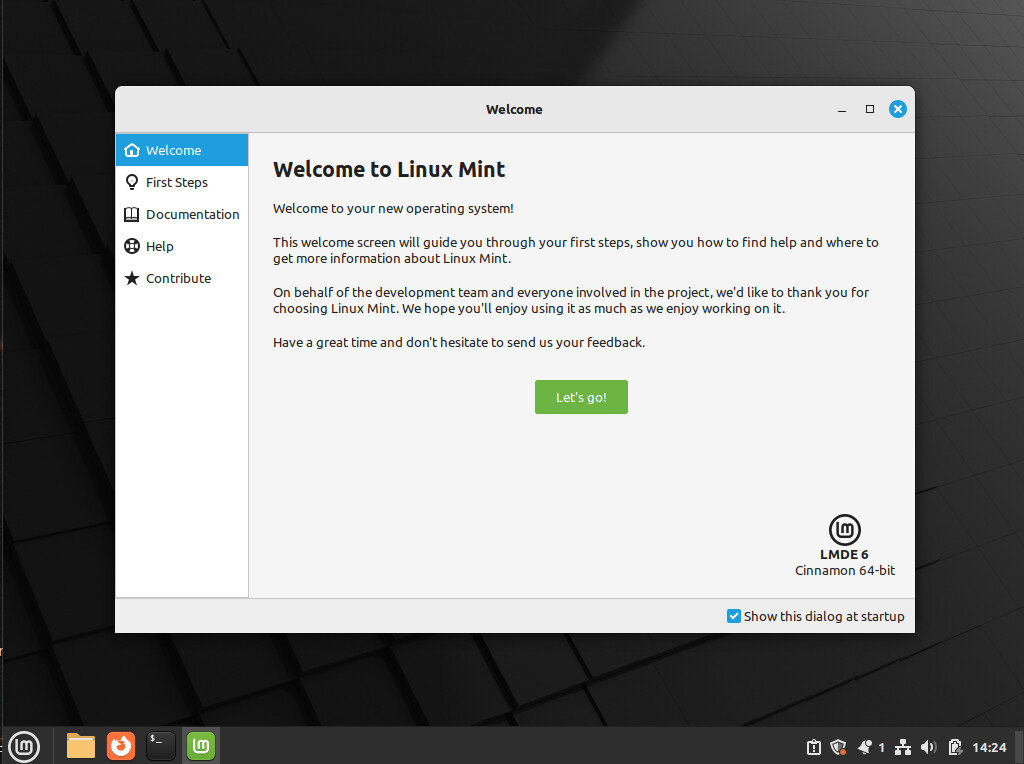
Soon after you restart the computer, LMDE 6 will want to install updates. A shield icon will appear (half white, half shaded) in the notification area near the system clock. Click it to run the system update utility to get the latest security patches as well as the latest stable versions of all installed software.
After you update the system, click the ‘First Steps’ item in the menu at the left side of the Welcome window:

Here you can configure your system to suit your preferences. You can choose Desktop Colors, configure the systems backup program (System Snapshots), install Multimedia Codecs, run the Update Manager, Configure System Settings, Install Software (Software manager), and configure the systems Firewall.
That’s about it. If you have any questions/suggestions, please post a reply to this item’ I hope this helps anyone who wants to switch to the latest release of Linux Mint Debian Edition (LMDE) or is curoious about it,
Ernie (Oldster)